PVRTexTool GUI
The PVRTexTool GUI provides easy and intuitive access to all of the capabilities of PVRTexTool. It makes processing and compressing textures very simple and pain-free.
User Interface Layout
The general layout of the GUI is illustrated below. The GUI makes use of tabs to support working on multiple documents simultaneously.
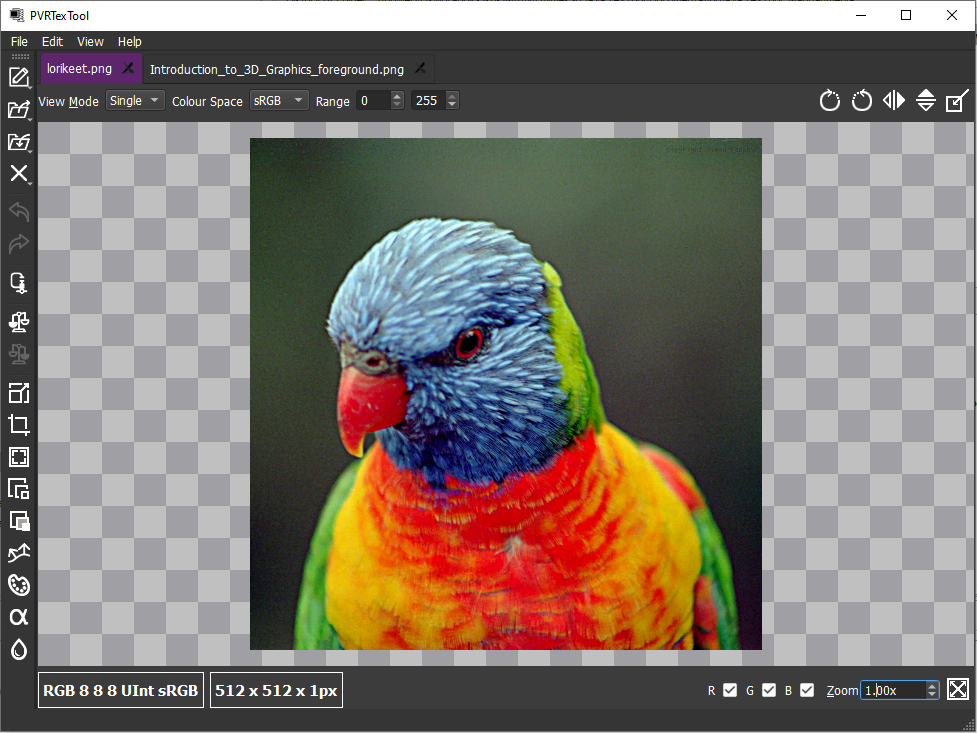
Fig. 1 GUI
The largest section of the GUI in the centre displays the texture that is currently being worked on.
The various sections around the edge of the tab provide tools for viewing the information contained within the texture.
Changing the View Mode

Fig. 2 View mode
The View Mode changes how the texture is displayed in the GUI. There are three different options.
Single - This is the default value. This mode displays a single surface of a texture. If the loaded texture is a cubemap then this will only display a single face. The displayed face can be changed via the Face dropdown in the bottom right of the GUI.
Tiled - This shows a tiled view of the texture. The single surface of the texture is repeated infinitely in both the X and Y directions.
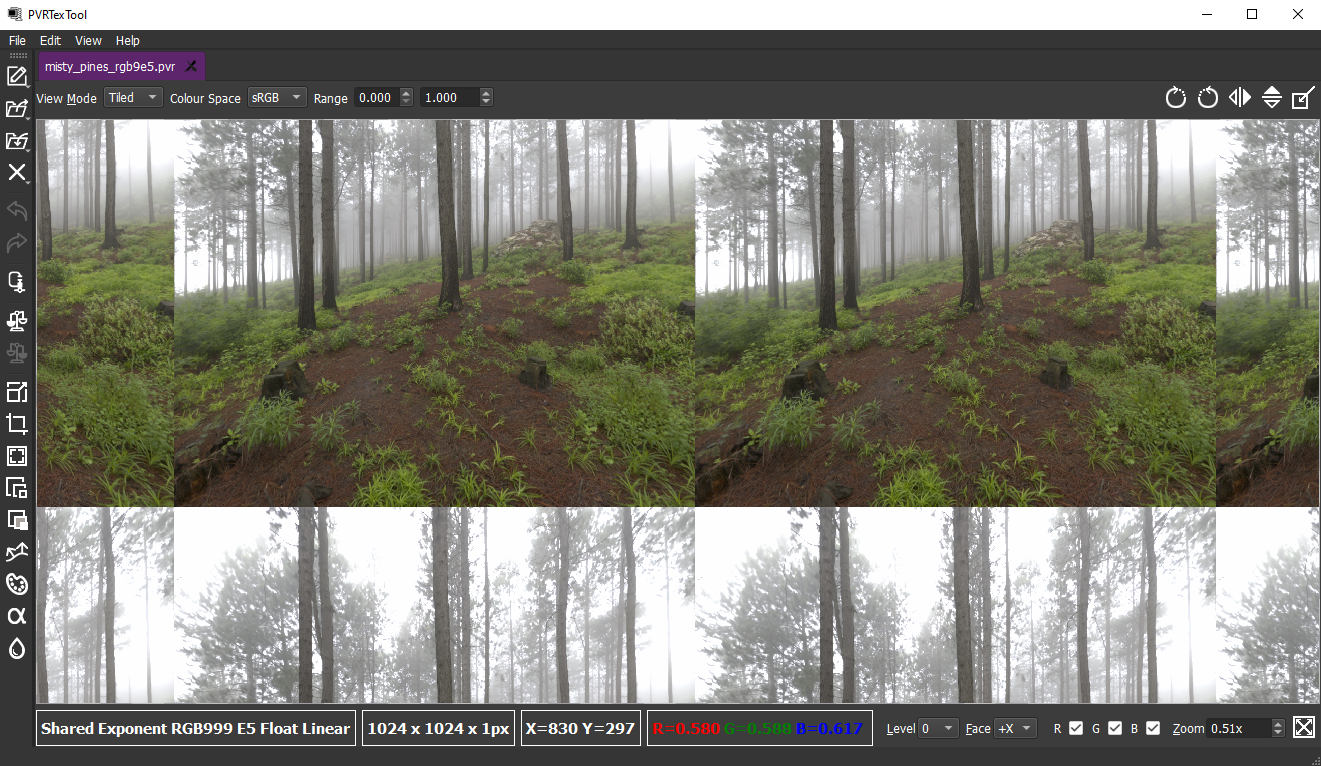
Fig. 3 Tiled view
Cube - If the loaded texture is a cubemap this displays a 3d rendering on cubemap, allowing the viewing direction to the moved with the mouse.
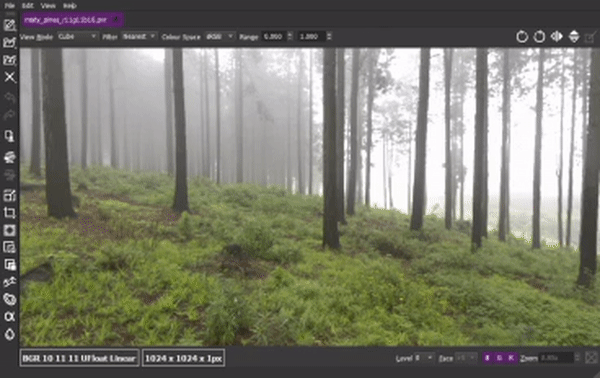
Fig. 4 Cube view
Note
Each axis of mouse movement for the viewing direction can be inverted by selecting “View -> Cube View Mouse Control ->” and toggling “Invert X Axis” or “Invert Y Axis” respectively.
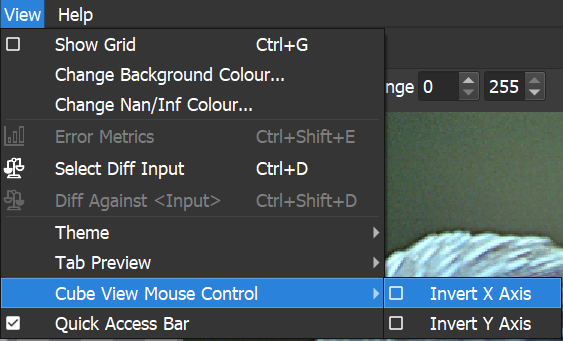
Fig. 5 Invert mouse controls
Cube Net - If the loaded texture is a cubemap, this displays the six “faces” of the cube, allowing for all the textures on the cubemap to be viewed at the same time. The layout of the cube net is as follows:
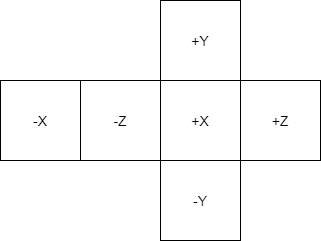
Fig. 6 cubenet
Changing the Colour Space
Fig. 7 View mode
The Colour Space option changes how the texture colours are displayed on screen.
The two options are:
sRGB - This is the standard colour space used across the web. It applies a non-linear gamma curve to better simulate how the human eye perceives colours.
Linear - This colour space does not apply any gamma curve, so the colours are always one-to-one.
Viewing Texture Information

Fig. 8 Texture information
The texture information panel at the bottom left of the GUI displays valuable information about the texture.
The first box on the left gives the encoding information. In the case of the image above this is PVRTC2 encoded data in linear RGB colourspace, with 4 bits per pixel, stored as unsigned normalised bytes.
The second box gives the dimensions of the texture in pixels with a third dimension for 3D textures.
The final two boxes give the location and RGB values of the pixel at the current cursor location.
Adjusting Texture View

Fig. 9 Adjusting view
This menu in the bottom right of the GUI provides more options for changing how a texture is displayed.
The Level dropdown allows the selection of different mipmap levels.
The Face menu allows the different faces of a cubemap to be displayed.
The RGBA tickboxes allow different colour channels of the texture to be toggled.
Finally, the Zoom and Fit image to window options allow the magnification of the texture to be adjusted.
Manipulating Textures

Fig. 10 Manipulating textures
The options in the top right of the GUI allow textures to be rotated and flipped.
The first two options allow the texture to be rotated clockwise and anti-clockwise. The second two options allow the texture to be flipped horizontally and vertically.
The final option allows an image to be loaded to the current surface. Surfaces include an individual mipmap level, array entry, or cubemap face.