OpenGL ES Examples#
HelloAPI#

Draws a basic triangle to the screen.
API#
OpenGL ES 2.0+
Description#
A basic tutorial that guides the user, step-by-step, through the process of drawing a basic triangle to the screen.
This includes:
initialising a window using raw OpenGL ES
drawing a triangle with a simple shader
terminating the window - depending on the platform, either after a few seconds, or when the user closes the window.
Controls#
Quit- Close the application
IntroducingPVRShell#

This example introduces the PVRShell library.
API#
OpenGL ES 2.0+
Description#
This example shows basic use of the PVRShell library. The PowerVR Shell handles all OS specific initialisation code. It has several built-in command-line features which allow for the specifying of attributes such as window width/height, quitting after a number of frames, taking screenshots and others.
When using the PVR Shell, the application uses the class pvr::Shell as its base class, and is constructed and returned from a pvr::newDemo function.
Controls#
Quit- Close the application
IntroducingPVRUtils#
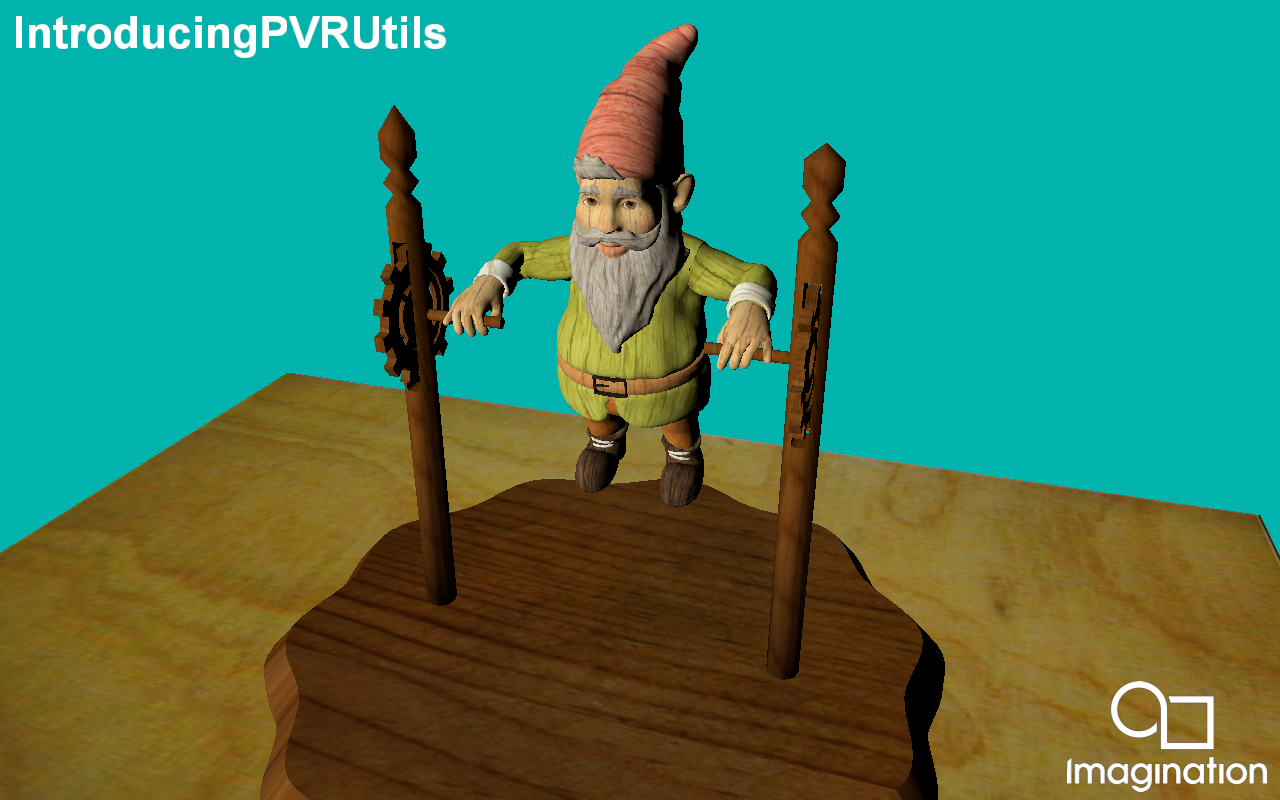
This example renders a .POD scene using a a simple vertex and fragment shader, making use of the PVRUtils library for various utility functions.
API#
OpenGL ES 2.0+
Description#
This example demonstrates how to make the most of the PVRUtils library for handling API-agnostic utility functions such as loading shaders and creating buffers. Various API-specific utility functions are also provided such as the OpenGL ES-specific EGL context creation. The PVRUtils UIRenderer library is also used to display simple text on screen.
Controls#
Quit- Close the application
IntroducingUIRenderer#
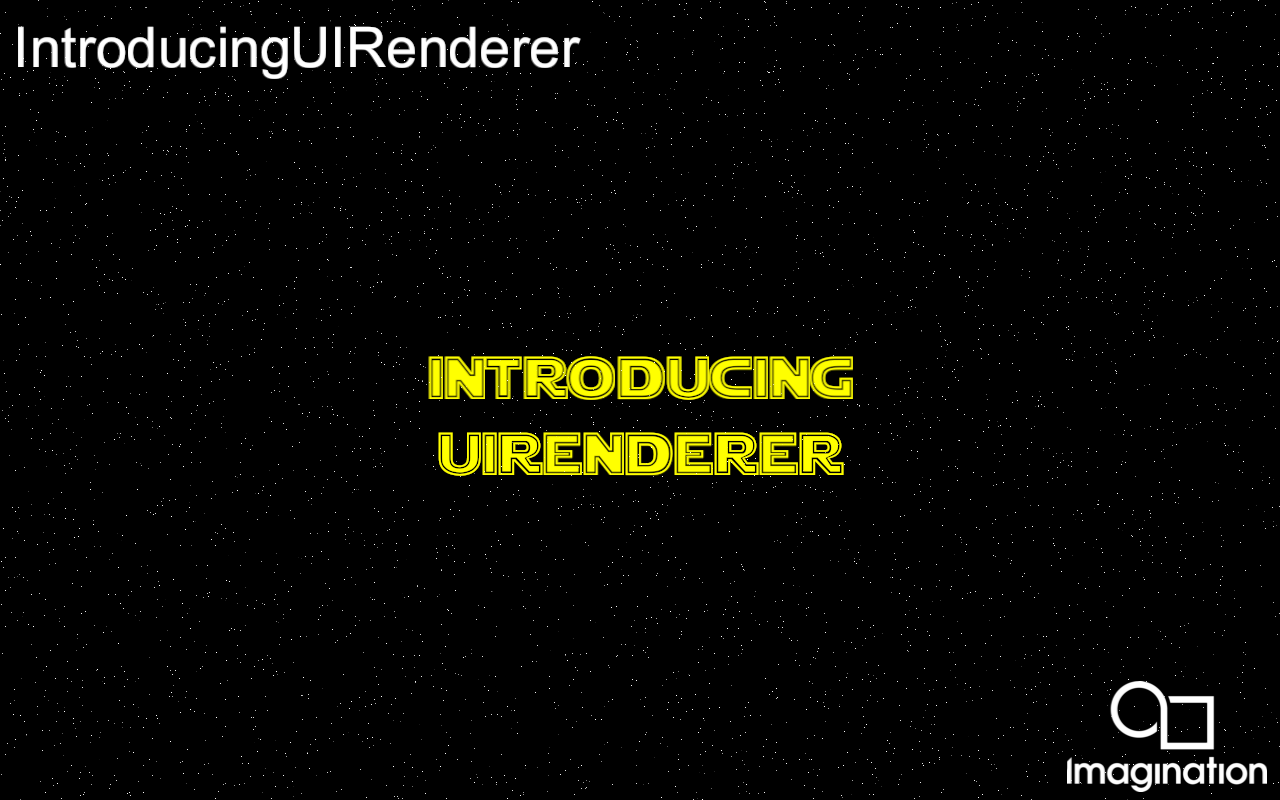
This example introduces the UIRenderer from the PVRUtils library for advanced Text tasks.
API#
OpenGL ES 2.0
Description#
The UIRenderer allows the user to create “Sprites” (2D elements) which can be grouped in 2D and/or 3D groups to be displayed as UIs or world text. This includes:
2D transformations (pixel and/or NDC coordinates) both single, and in a group
anchoring on different parts of the screen or the group
3D transformations of groups of sprites
In this example, UIRendererer is used to display images and Unicode text, screen aligned, and with 3D transformations.
Controls#
Quit- Close the application
IntroducingPVRCamera#
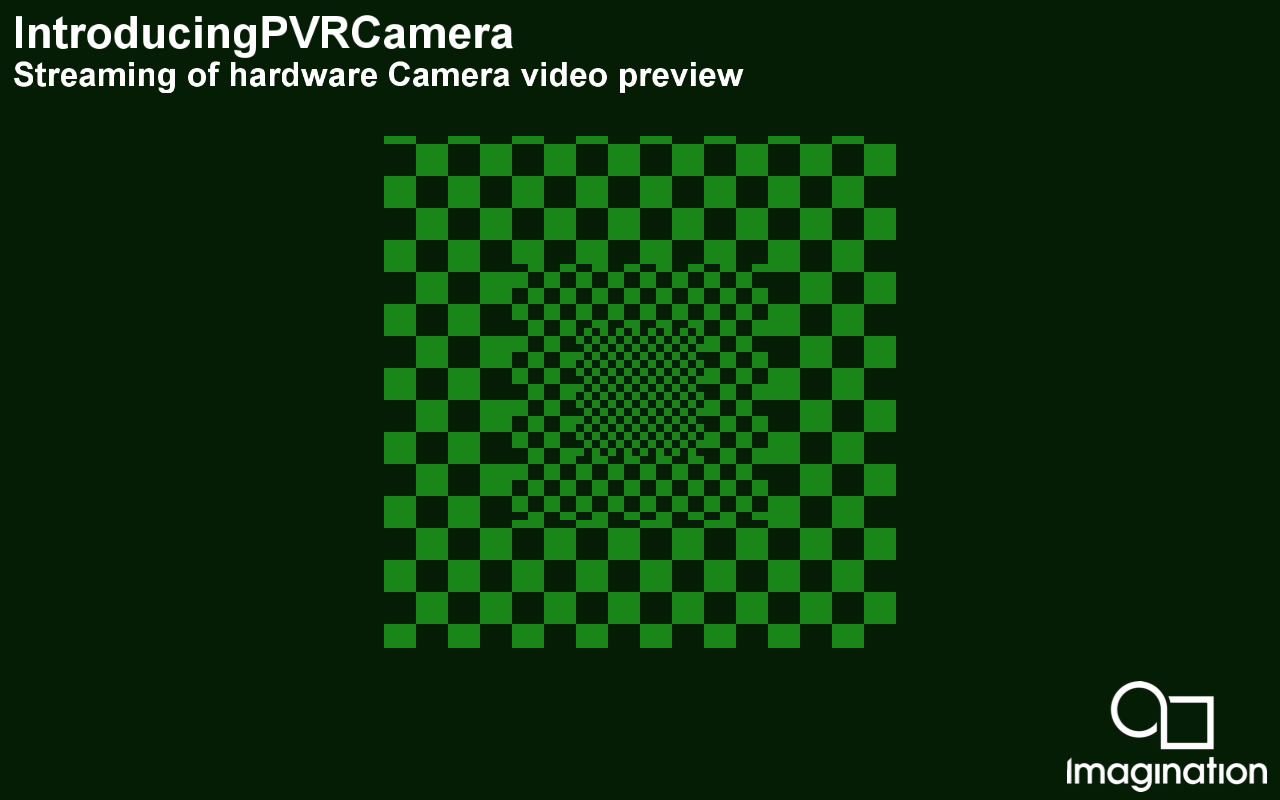
Uses the PVRCamera library to get the hardware camera of a device, and applies a simple colour inversion shader.
API#
OpenGL ES 2.0+
Description#
The PVRCamera library provides a very simple, unified API to access the video feed of an iOS or Android device as an OpenGL ES texture. This example displays the texture on the screen using a very simple shader that inverts the colours.
Note: On desktop platforms, the camera interface returns a dummy static texture to aid development. On Android N and above, the Camera permission must be given to the application.
Controls#
Quit- Close the application
AntiAliasing#
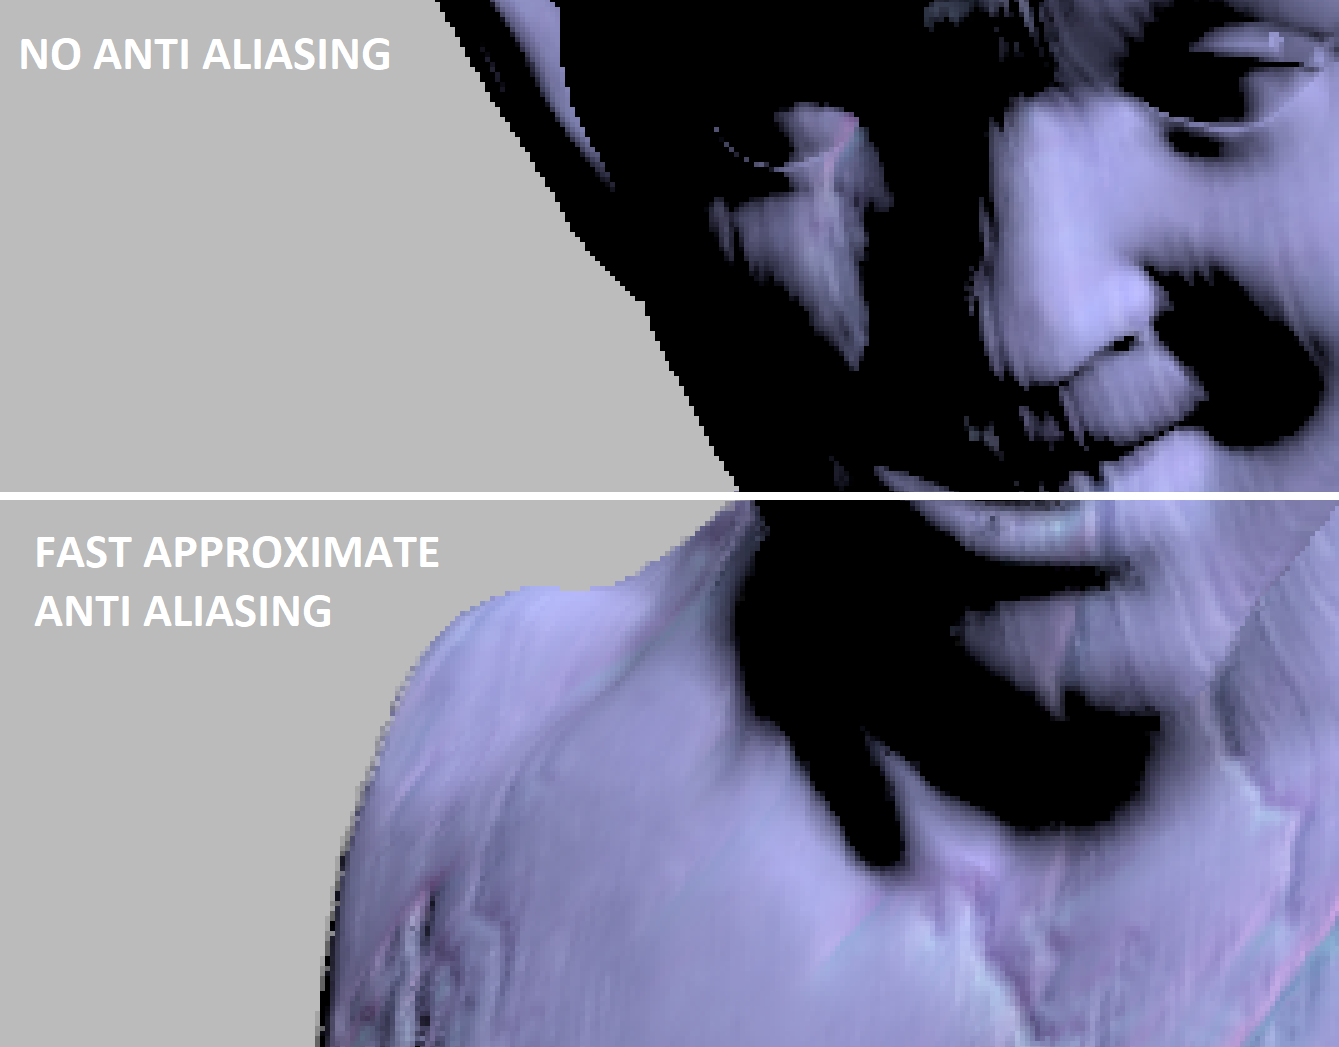
This example demonstrates different kinds of shader-based anti-aliasing techniques.
API#
OpenGL ES
Description#
In MSAA, if any of the multi sample locations in a pixel is covered by the triangle being rendered, a shading computation must be performed for that triangle.
FXAA uses a high contrast filter to find edges before sampling those edges and blending them.
TXAA is similar to FXAA. It’s a post-process form of anti-aliasing that samples each pixel in a frame. However, it samples a different location within each frame, and uses past frames to blend the samples together.
These techniques are used extensively in graphics applications to remove aliasing.
Controls#
Swipe Up/Up Arrow - MSAA
Swipe Right/Right Arrow - TXAA
Swipe Left/Left Arrow - FXAA
Swipe Down/Down Arrow - NO AA
BinaryShaders#
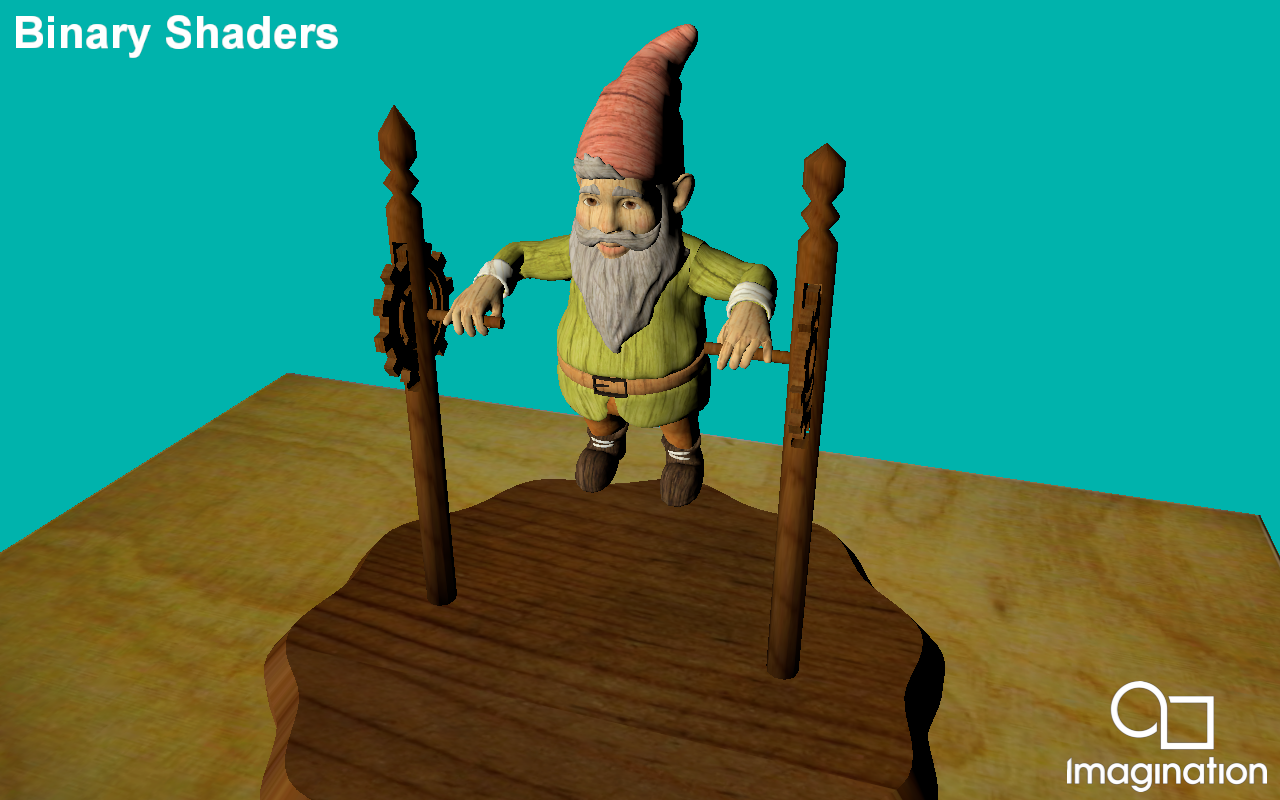
This examples shows how to store an OpenGLES shaders into a binary format and load it.
API#
OpenGL ES 3.0+
Description#
This examples uses glGetProgramBinary and glProgramBinary to store a shader program into a binary buffer and then load it into a different shader program to be used.
Controls#
Quit- Close the application
Bumpmap#
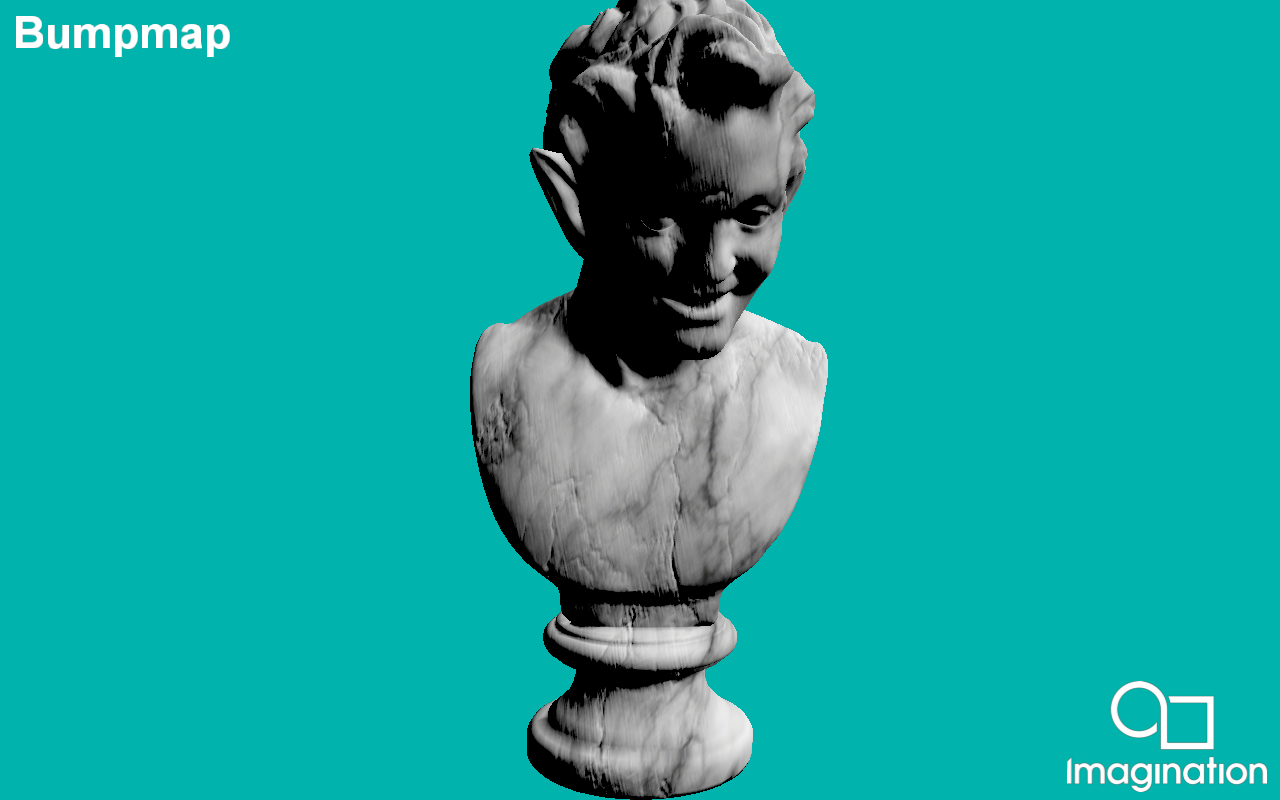
This example demonstrates using a normal map to implement bumpmapping using the PowerVR Framework.
API#
OpenGL ES 3.0+
Description#
Bumpmapping is a technique for simulating bumps and wrinkles on the surface of an object. This is achieved by perturbing the surface normals of the object and using the perturbed normal during the illumination calculations. The result is an apparently bumpy surface rather than a perfectly smooth surface, although the surface of the underlying object is not actually changed.
This technique is used extensively in graphics applications to add perceived detail to models without adding further geometry, and could be considered the baseline for modern rendering.
Controls#
Quit- Close the application
DeferredShading#
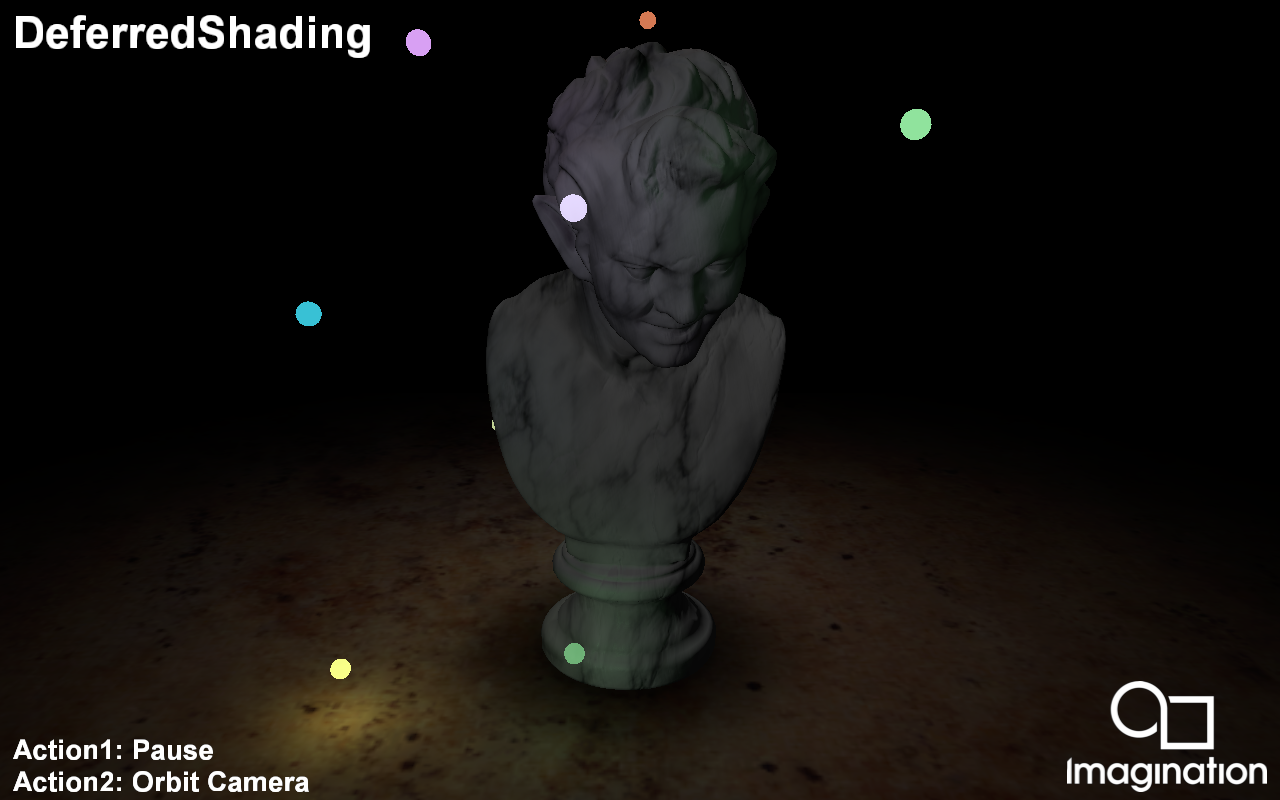
This example demonstrates optimal deferred shading using Pixel Local Storage (PLS).
API#
OpenGL ES 3.0+
Description#
Traditional rendering algorithms submit geometry and immediately apply shading effects to the rasterized primitives. Complex shading effects may require multiple draw calls (one per object per light) or render passes to produce the final pixel colour, with the geometry submitted every pass.
Deferred shading is an alternative rendering technique that submits the scene geometry once, storing per-pixel attributes into local video memory to be used in the subsequent rendering passes.
In these later passes, light volume primitives are rendered, and the per-pixel attributes contained in the buffer are retrieved at a 1:1 mapping ratio so that each pixel is shaded individually.
With the PowerVR architecture, the developer can use fast on-chip memory instead of the render target by using the Pixel Local Storage OpenGL ES extension.
Requires the extension GL_EXT_shader_pixel_local_storage for PLS.
Controls#
Action1- Pause
Action2- Orbit camera
Quit- Close the application
GameOfLife#
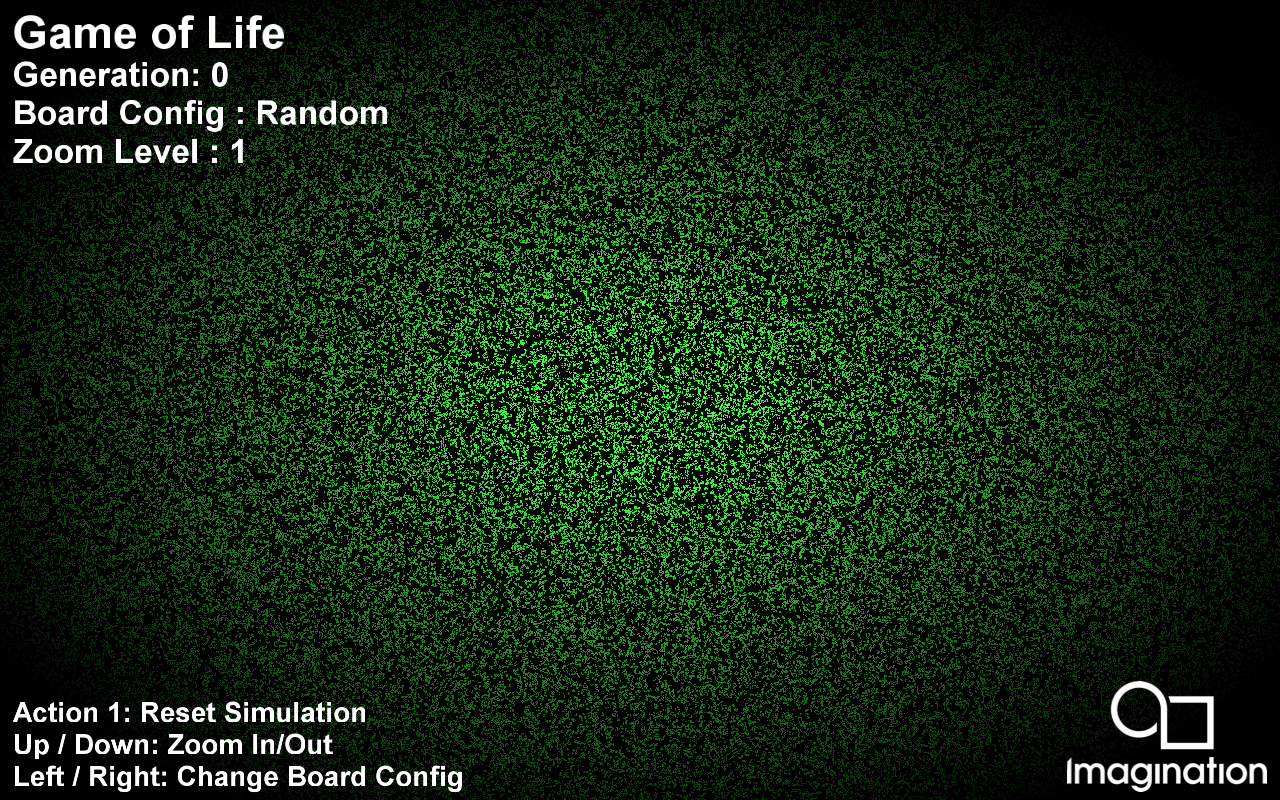
Implementation of John Conway’s Game of Life using GPGPU (GPU Compute).
API#
OpenGL ES 3.0+
Description#
This example demonstrates how to implement John Conway’s Game of Life. It takes a starting texture as an input and uses Compute to calculate the next generation. It then renders to screen the result.
Controls#
Action1 to reset board configuration.
Up/Down to change zoom levels.
Left/Right to change board configuration.
Quit- Close the application
GaussianBlur#
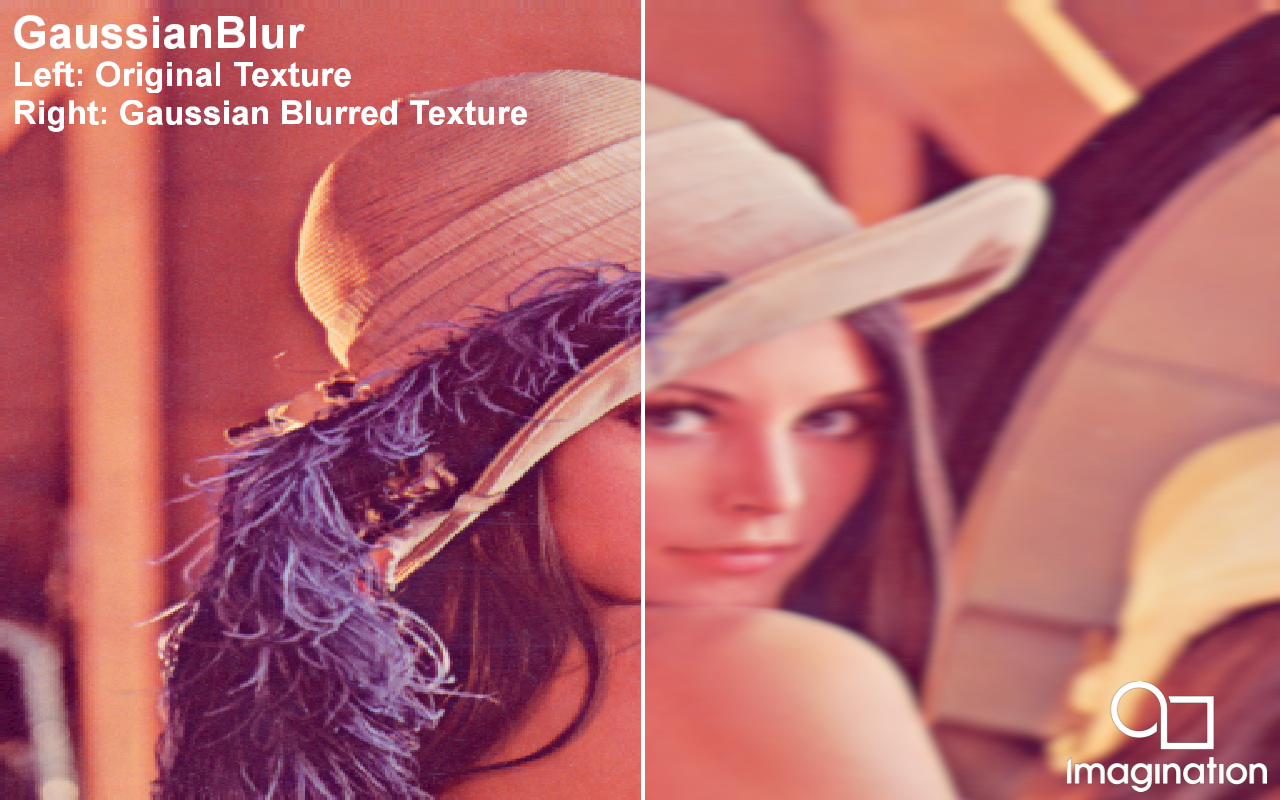
Shows how to perform a extremely wide, highly optimised Gaussian Blur using compute shaders.
API#
OpenGL ES 3.0+
Description#
This example demonstrates how to perform a 19x19 Gaussian Blur. It uses every input and output step to blur an image by reading from an input using compute while blurring in one direction, and then writing to the output with a fragment shader whilst blurring in the other direction.
This technique has been highly optimised for PowerVR and is very suitable for a very large convolution width.
Controls#
Quit- Close the application
ImageBasedLighting#
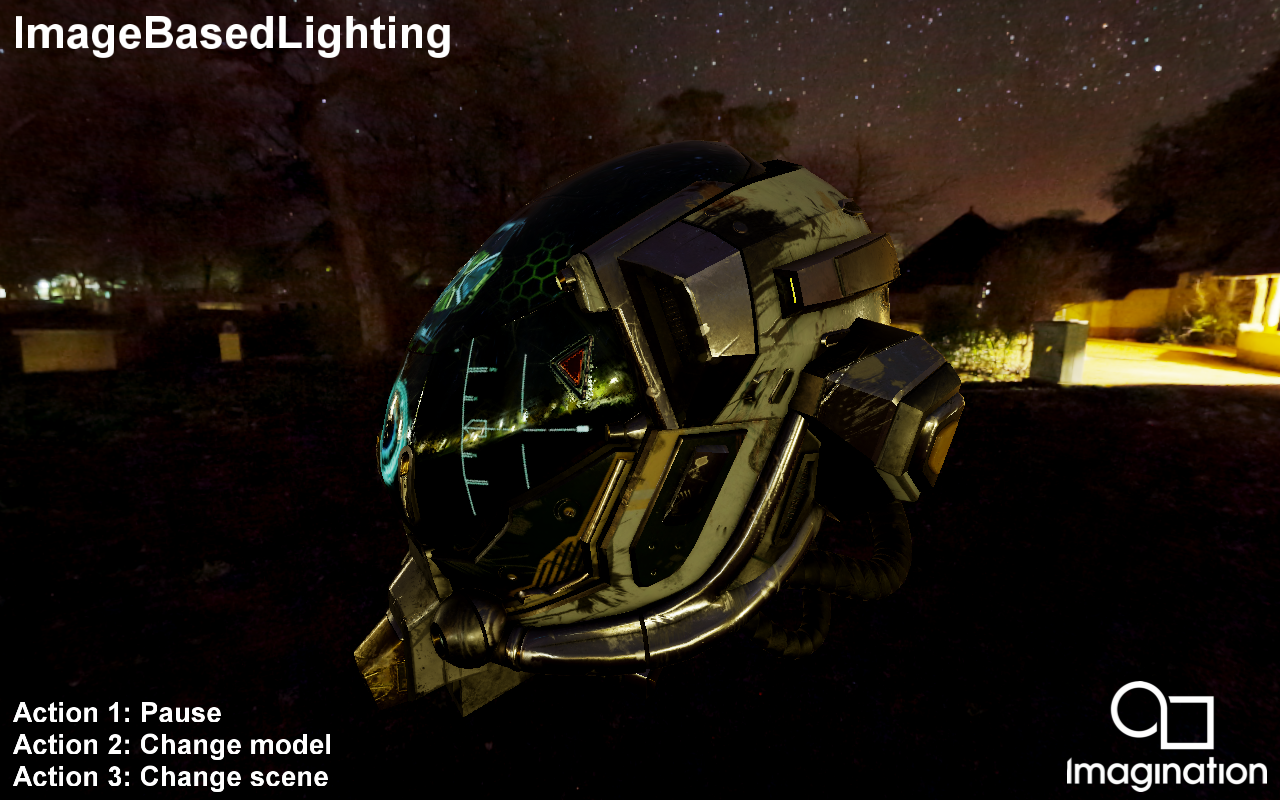
This example demonstrates Physically Based Rendering (PBR) with Image Based Lighting (IBL).
API#
OpenGL ES 3.1+
Description#
This example has two scenes using Metallic-Roughness PBR workflow. It features two scenes, a GLTF model rederered with albedo, metallic roughness and emissive map, and a collection of spheres showcasing different metallic and non metallic non-texture values. The examples uses a Diffuse map pre-computed offline from the environment map, using the lambert diffuse BRDF, and two specular maps (also calculated offline): A Pre-Filtered Environment map for different roughness values, and an Environment BRDF including the rest of the equation.
Controls#
Quit- Close the application
Left/Right to change the scene
Action1 to pause.
IMG_framebuffer_downsample#
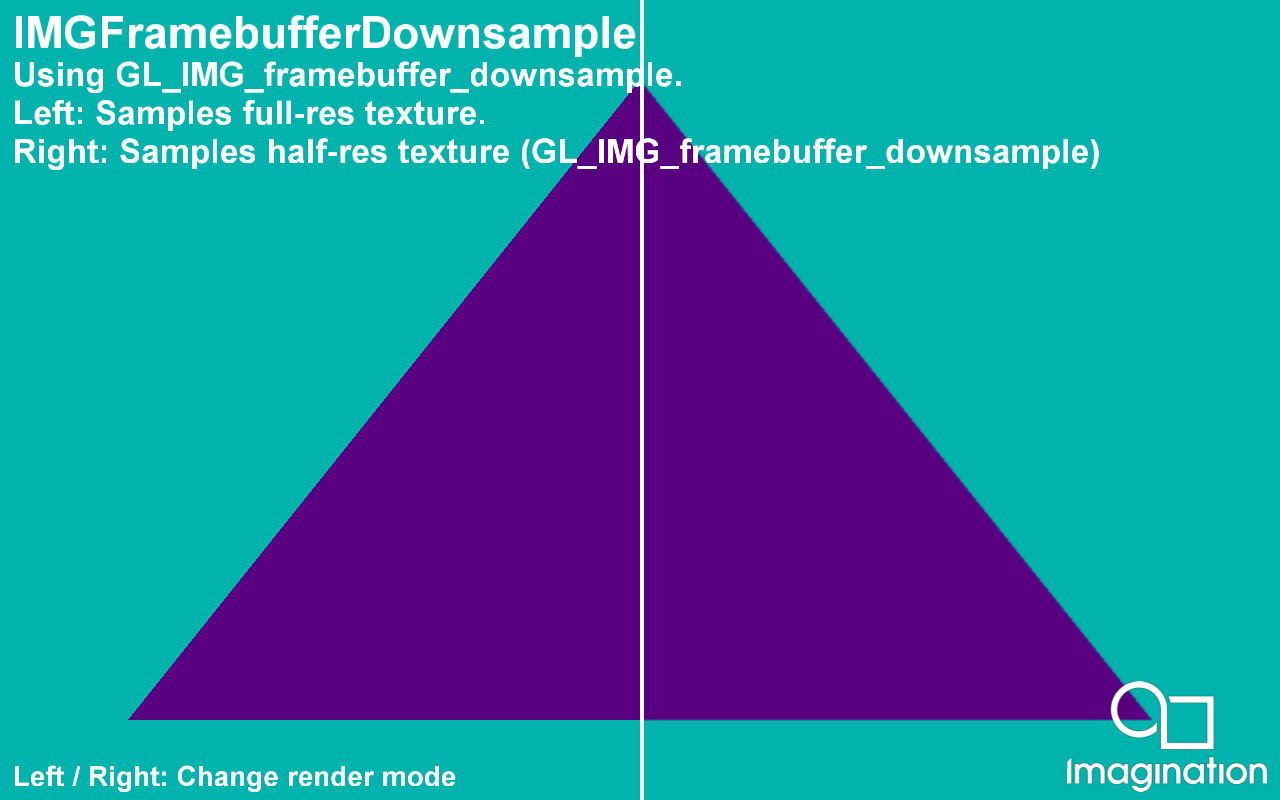
This example shows the power of the extension GL_IMG_framebuffer_downsample which enables automatic downsampling of textures.
API#
OpenGL ES 2.0+
Description#
This example demonstrates the advantages of using the extension GL_IMG_framebuffer_downsample. A triangle is first rendered to a special FBO with a texture of half-size set as a downsampled texture using glFramebufferTexture2DDownsampleIMG and a full-size texture set as normal.
The application then renders to both the full-size texture and half-size texture, and the GPU automatically downsamples the colour attachment render. The left side of the rendered image samples from the full-size texture, and the right side samples from the half-size texture.
This extension can be extremely useful for various post processing techniques where it is desirable to generate downsampled images efficiently.
Controls#
Quit- Close the application
IMGTextureFilterCubic#
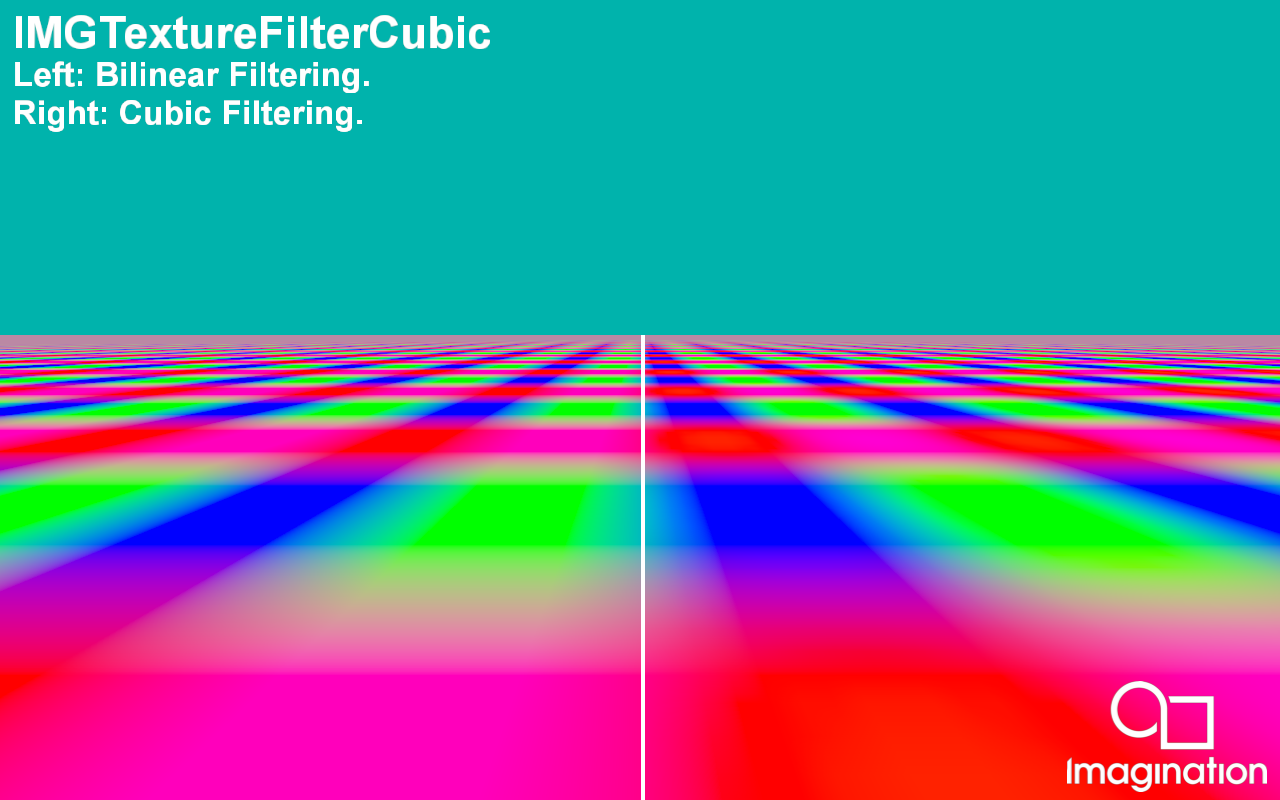
This example demonstrates the advantages of using the extension GL_IMG_texture_filter_cubic for cubic texture filtering
API#
OpenGL ES 2.0+
Description#
This example shows the advantages of using cubic texture filtering using the extension GL_IMG_texture_filter_cubic. The left side of the image is rendered using traditional bilinear texture filtering with mipmapping. The right side of the image is rendered using cubic texture filtering.
Controls#
Quit- Close the application
Multithreading#

This example shows how to use the PowerVR Framework to stream assets asynchronously into an application.
API#
OpenGL ES 3.0+
Description#
This example will display a loading screen (using UIRenderer) while assets are being loaded in, and then switch to displaying the statue from the Bumpmap demo.
Controls#
Quit- Close the application
MultiviewVR#
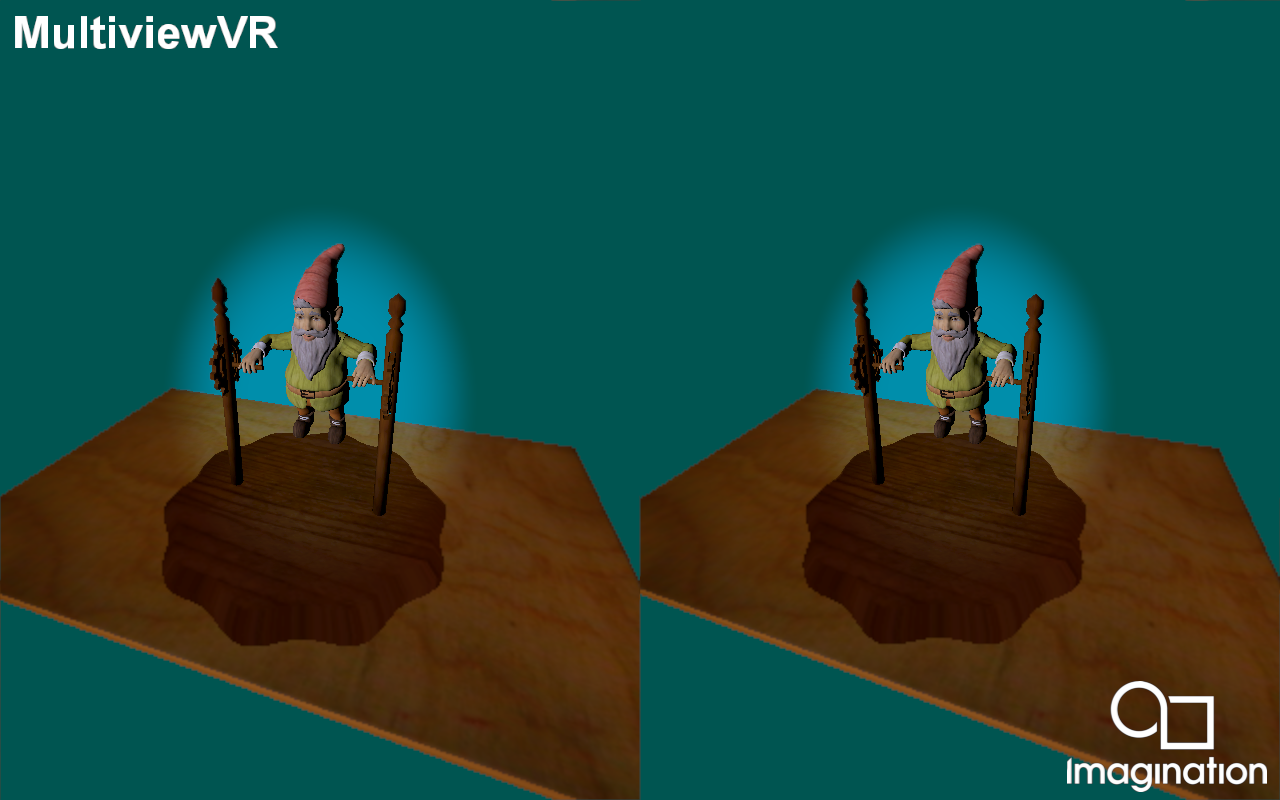
Render a scene stereoscopically intended for VR hardware using the GL_OVR_multiview extension.
API#
OpenGL ES 3.0+
Description#
This example introduces the GL_OVR_multiview extension and shows how to use it to render the scene from two different eye locations.
Two sets of FBOs are being used, one low resolution and one high resolution. The intention is to render the centre of the screen in high resolution, and the edges of the screen (which will be distorted by the VR lenses) at a lower resolution. The end result is a split screen suitable for VR.
Controls#
Quit- Close the application
OpenCLExample#

This example demonstrates using small image convolution OpenCL kernels.
API#
OpenGL ES 2.0+
OpenCL
Description#
This example shows how to structure an application with OpenCL / OpenGL interoperability (or if necessary, CPU fallback) to process images on the GPU using OpenCL.
Several 3x3 convolution filters are shown:
Gaussian Blur
erode/dilate
edge detection
emboss
Controls#
Left/Right- Change the convolution filter
Quit- Close the application
ParticleSystem#
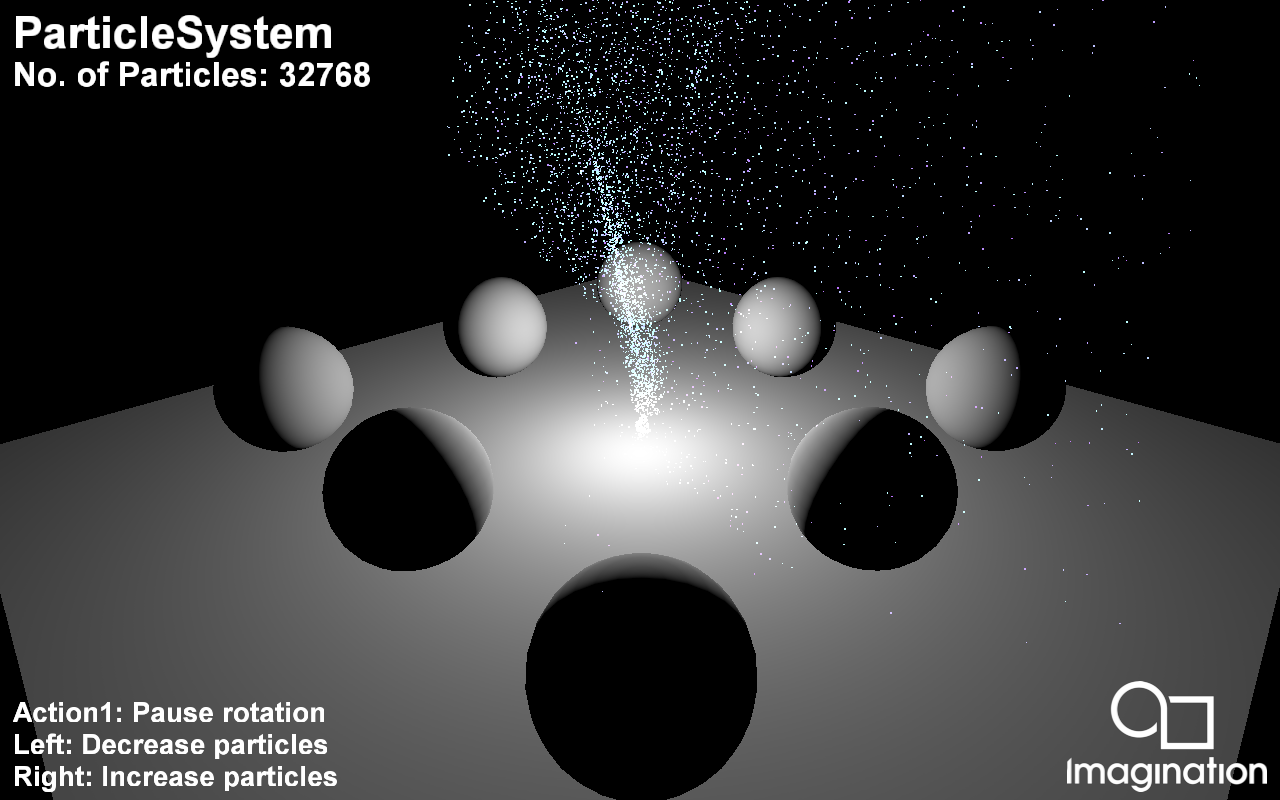
This example shows how to implement a simple particle system using GPGPU.
API#
OpenGL ES 3.1+
Description#
Particle systems are techniques that use a large amount of sprites to simulate phenomena that would be difficult to reproduce with conventional rendering techniques.
This example uses GPGPU (GPU compute) to implement a particle system. This is a simple integration-based simulation which is advanced and then rendered every frame strictly on the GPU, without any CPU access of that data. It also highlights the interaction between the compute and the rendering part of a simulation.
Controls#
- Quit- Close demo
Left/Right- Decrease/increase number of particles
Up/Down- Switch between GPU compute and CPU particle system implementation.
PostProcessing#
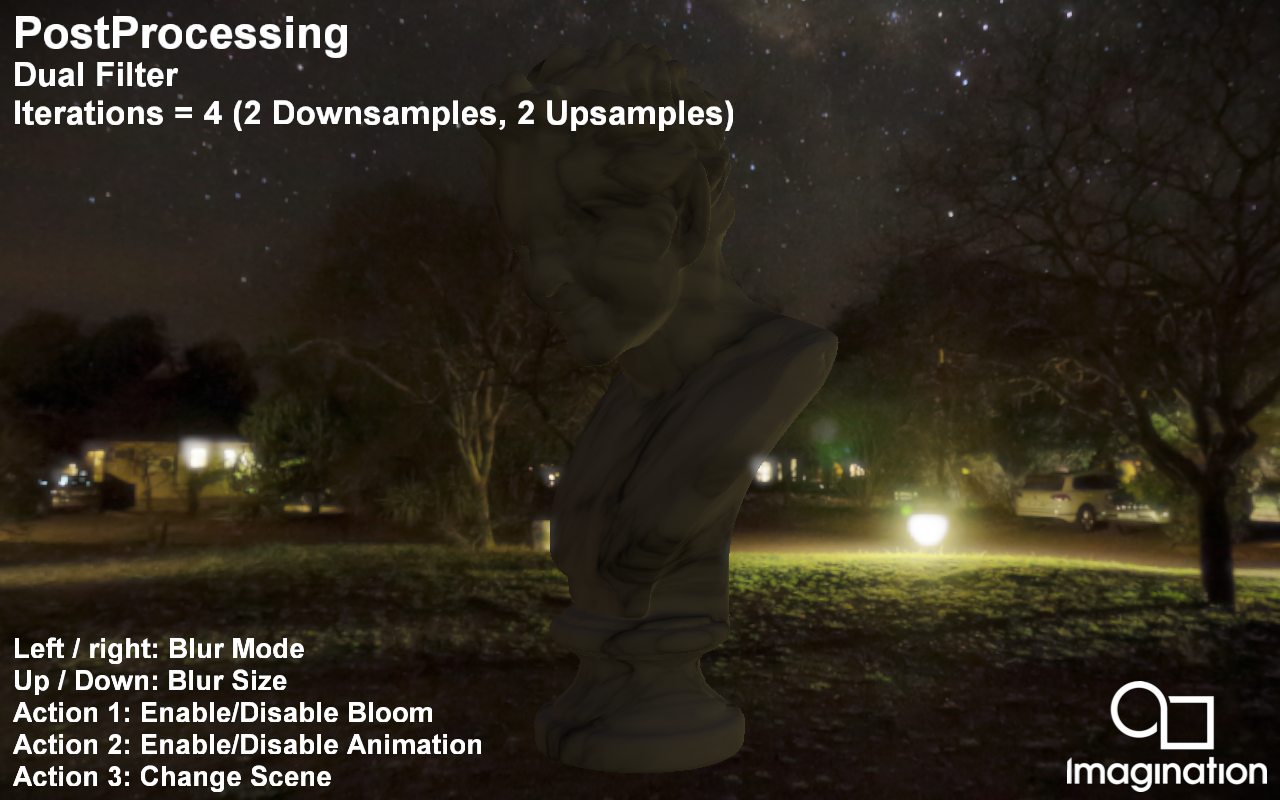
This example demonstrates a set of heavily-optimised bloom post-processing implementations.
API#
OpenGL ES 3.0+
Description#
This example demonstrates a set of heavily optimised bloom post-processing implementations including:
Reference implementation of a separated Gaussian Blur.
Linear sampler-optimised separated Gaussian Blur.
Sliding average compute-based separated Gaussian Blur.
Linear sampler-optimised separated Gaussian Blur with samples of negligible value truncated. This means the approximate blurs can be achieved with far fewer samples.
Hybrid Gaussian Blur using the truncated separated Gaussian Blur along with a sliding average-based Gaussian Blur.
Kawase Blur - Framebuffer post-processing effects in “DOUBLE-S.T.E.A.L.” aka “Wreckless”.
Dual Filter - Bandwidth-efficient rendering - siggraph2015-mmg-marius.
Tent Filter - Next generation post-processing in “Call Of Duty Advanced Warfare”.
Other than the Dual Filter and Tent Filter, the bloom post-processing implementations follow a similar high-level pattern:
Downsampling the brighter regions of an input image to a lower resolution.
Several post-process passes, each working from the output of the previous pass, rendering to intermediate textures.
The resulting blurred image is then composited onto the original image to create a smooth bloom around the brighter regions.
Controls#
Left/Right - Cycle through the various bloom implementations
Up/Down - Increase/decrease the size of the bloom intensity
Action1 - Pause
Action2 - Enable/disable rendering of bloom only
Quit - Close the application
PVRScopeExample#
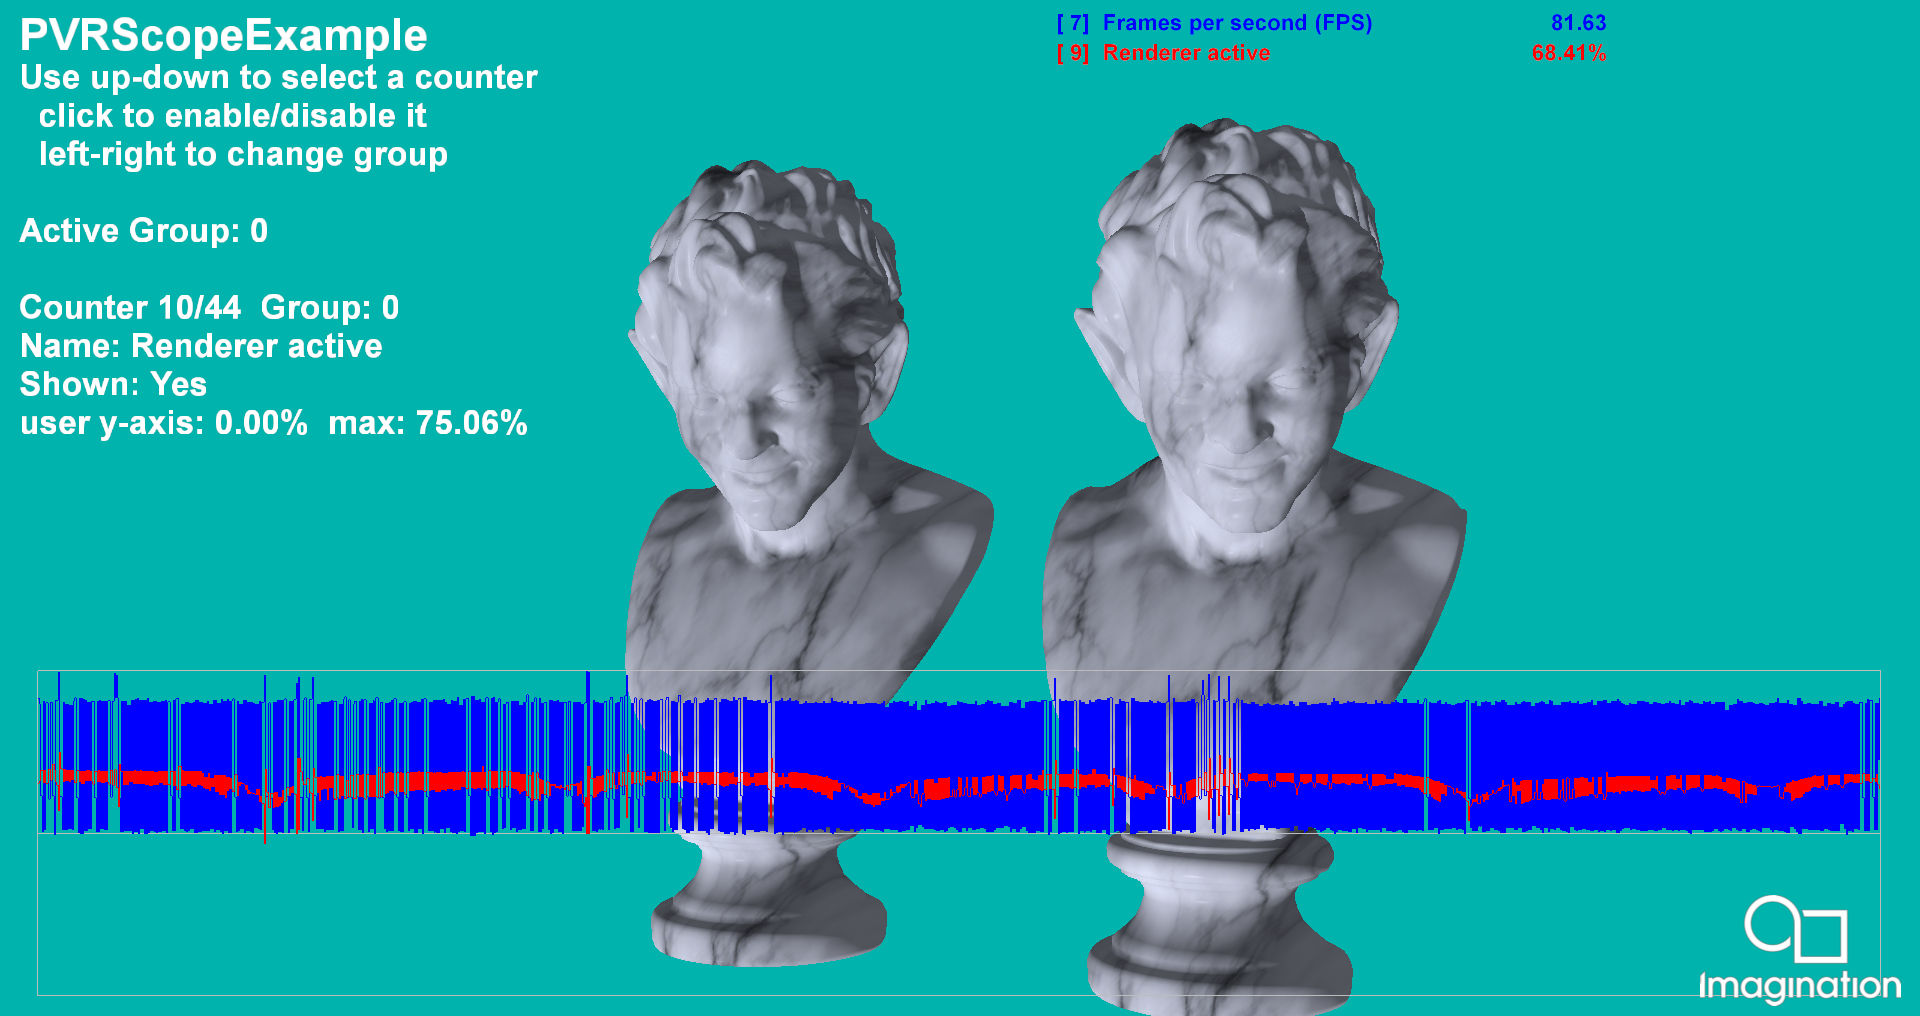
Demonstrates the use of PVRScope and the example graphing code.
API#
OpenGL ES 2.0+
Description#
This example uses a simple PBR-style shader, and shows the use of PVRScope to allow an application to return performance statistics from the GPU in real time. It uses the example graphing code to render a graph of the selected counters on the screen. For further details, refer to the PVRScope User Manual.
Controls#
Quit- Close demo
Up/Down- Select a counter from the available list of HW counters
Action1- Add/remove selected counter to the graph
PVRScopeRemote#
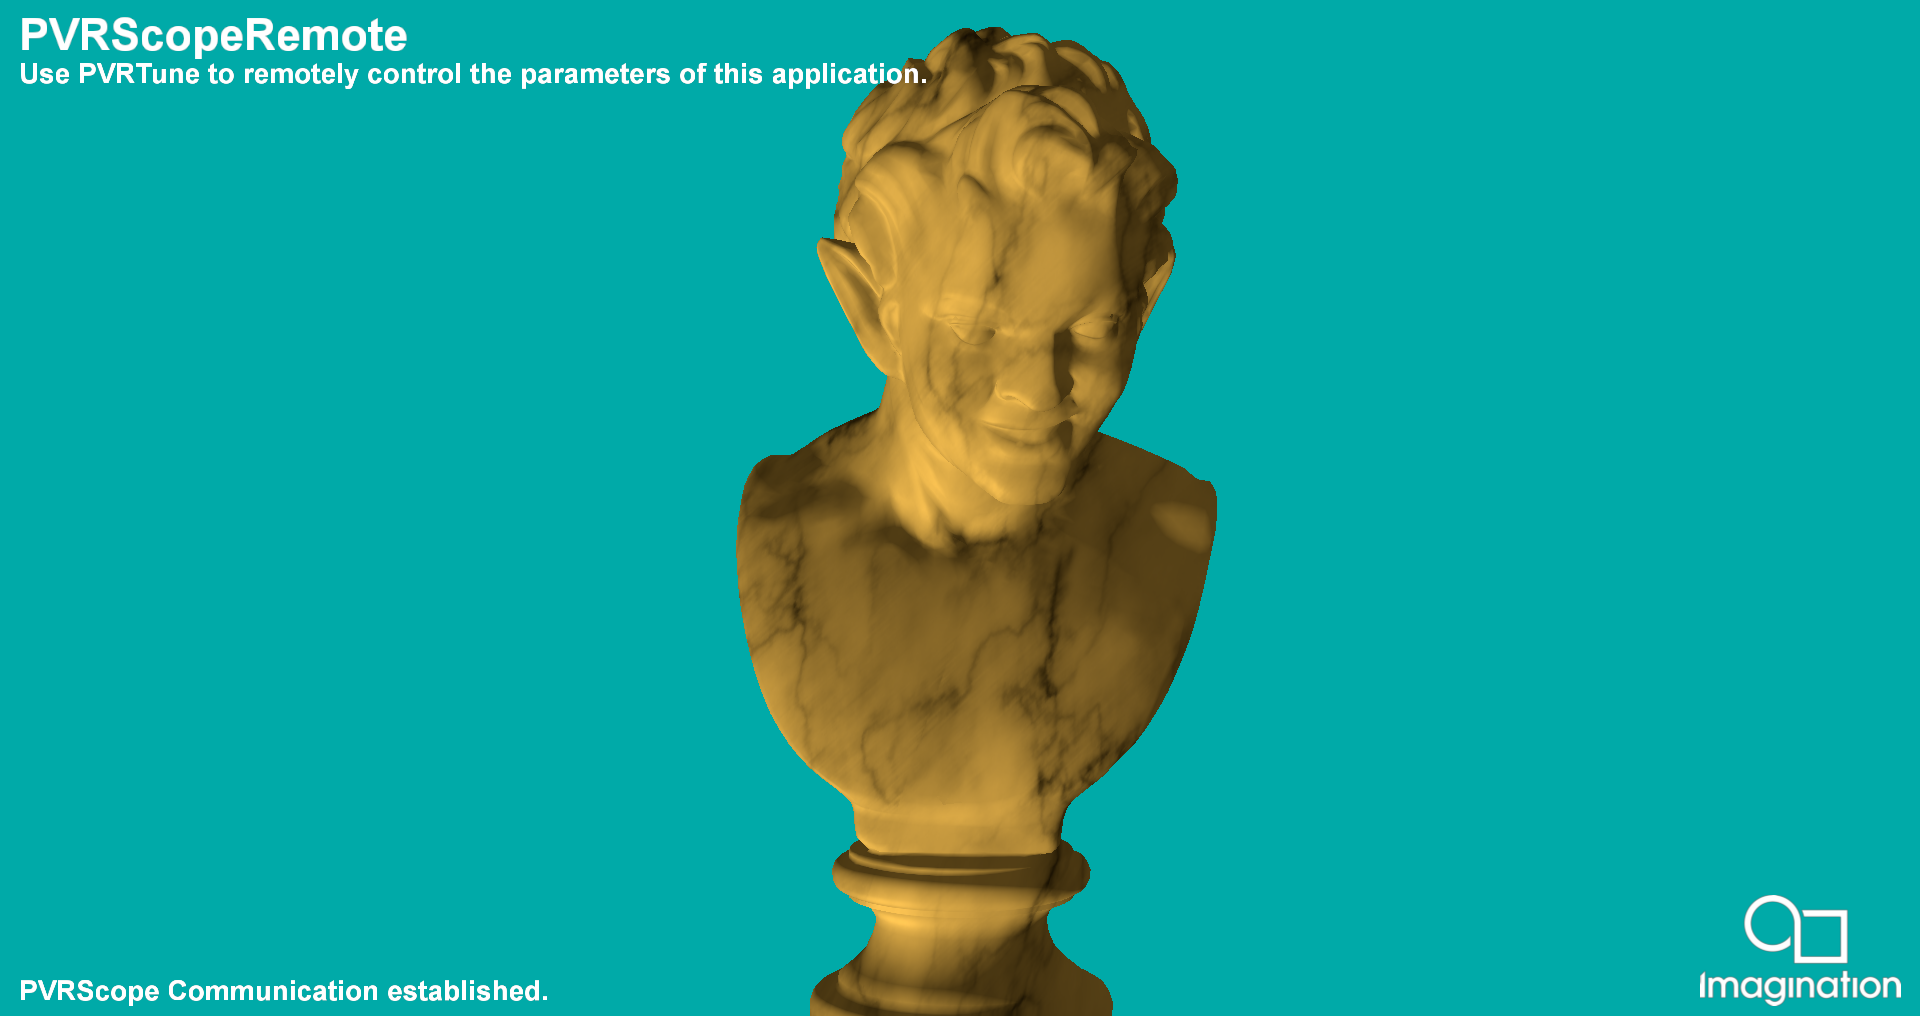
Demonstrates the use of PVRScope’s remote communication features.
API#
OpenGL ES 2.0+
Description#
This example shows how to use the editable data and custom mark functionality of PVRScope. PVRTune must be running and connected to an instance of PVRPerfServer running on the target device for this example to function.
A simple physically-based shader is provided with properties of Albedo, Metallicity and Glossiness. These, together with the shaders, can be edited from the PVRTune GUI. This allows immediate modification of the appearance of the statue.
Controls#
Quit- Close demo
PVRTune- Control example variables through PVRTune
Shadows#
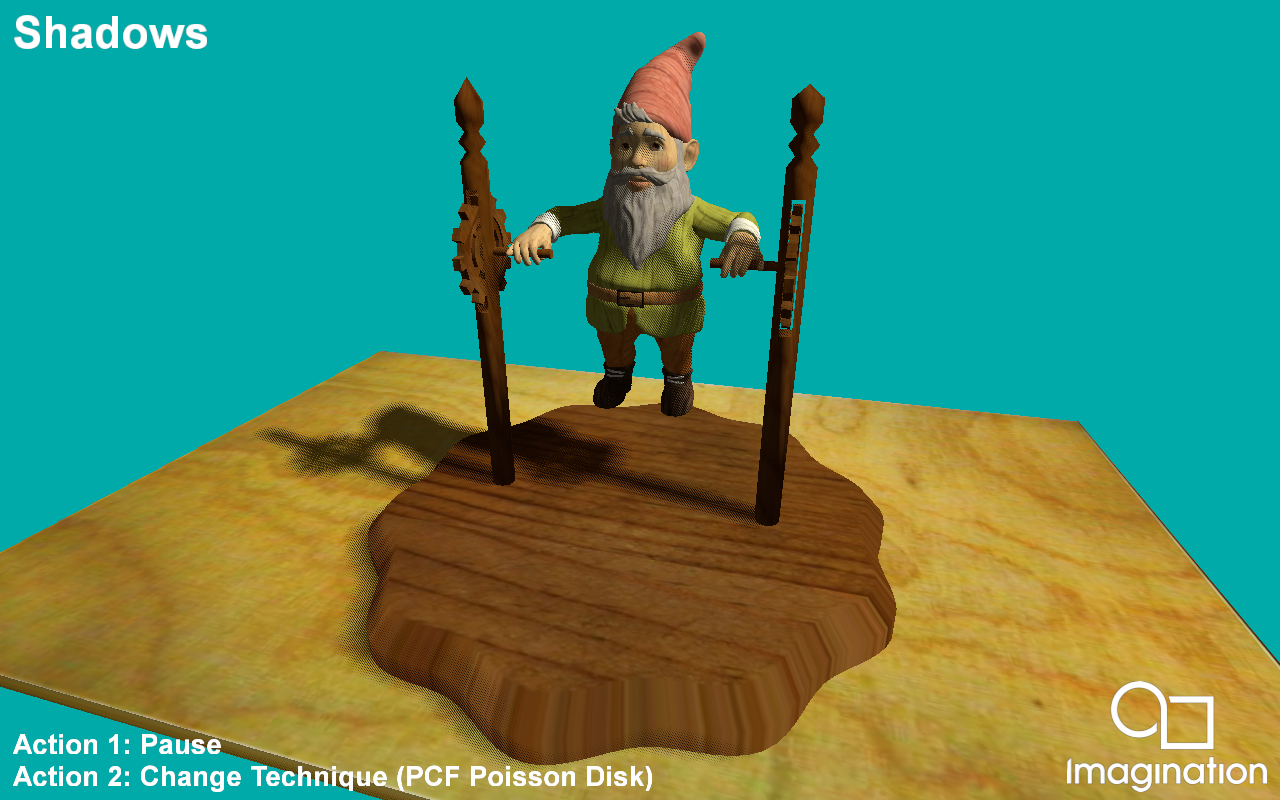
This example demonstrates a variety of techniques for rendering shadows on mobile devices using shadow maps.
API#
OpenGL ES 3.0+
Description#
This sample demonstrates various shadow mapping techniques such as Percentage Closer Filtering and Variance Shadow Maps.
For PCF we present a poisson disc sampled approach that gives soft, yet slightly noisy results fit for mobile that only use 8 samples with random rotations using Interleaved Gradient Noise. There is also a technique created by Thekla Inc. for use in their game ‘The Witness’ which uses hardware PCF capabilities to archieve a soft result using minimal samples.
For Variance Shadow Maps we include the basic VSM implementation using depth and depth squared stored in the shadow map. We also include two Exponential Variance Shadow Map implementations that improve upon the VSM technique by reducing light bleed at the cost of using more memory, in the case of EVSM4.
Controls#
Action1- Pause Camera Animation
Action2- Cycle between techniques
Quit- Close the application
Skinning#
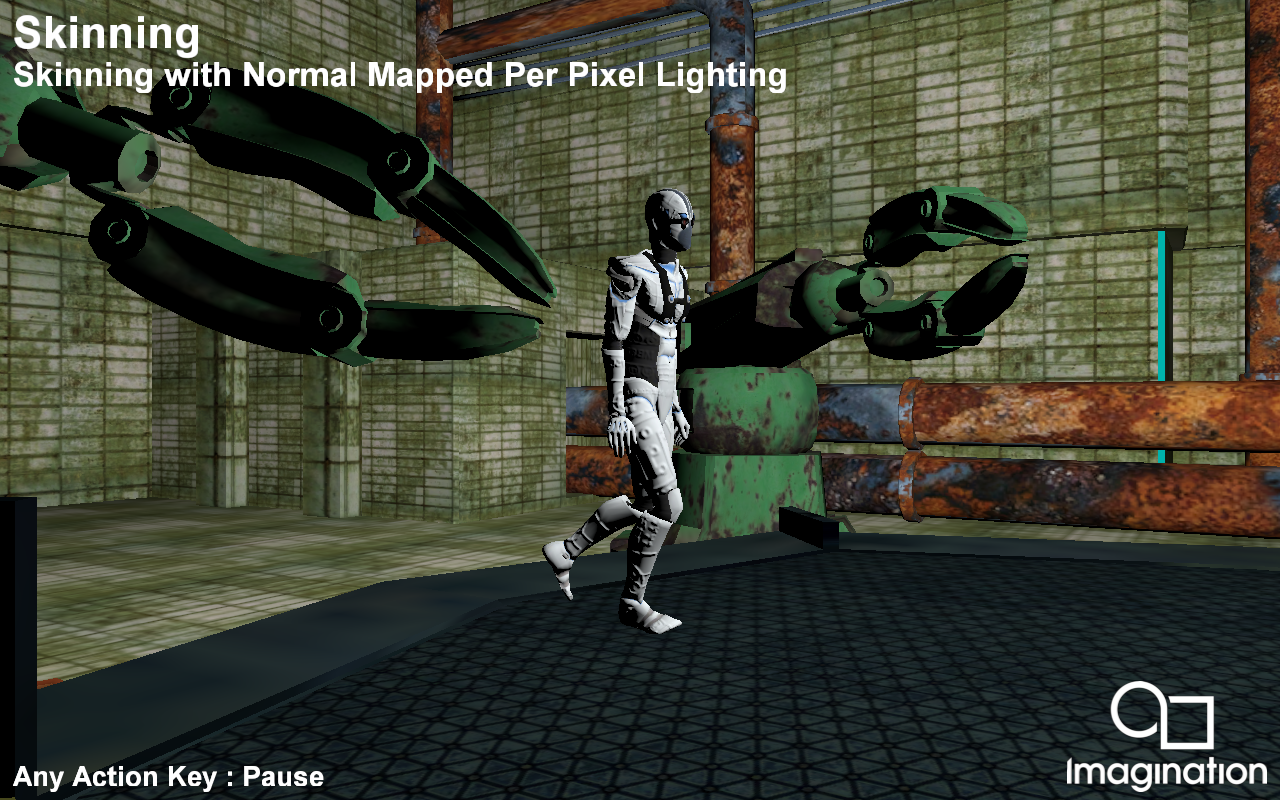
This example shows a scene with a combination of a skinned, bumpmapped character with non-skinned, non-bumpmapped objects.
API#
OpenGL ES 3.0+
Description#
Skinning is the act of animating a vertex over time given a set (palette) of matrices, and a known set of blend weights assigned to those matrices.
The Skinning example shows a skinned character in combination with bump mapping. For each frame, the matrix palette is recomputed based on time.
PVRAssets and POD files support skinning with either full transformation matrices, or Quaternion rotation with scaling and translation vectors. The provided POD file contains matrix animation. A shader storage buffer object is used to support a dynamic number of bones.
Controls#
Action1/2/3- Pause
Esc- Close