Vulkan Examples#
HelloAPI#

Draws a basic triangle to the screen.
API#
Vulkan
Description#
A basic tutorial that guides the user, step-by-step, through the process of drawing a basic triangle to the screen.
This includes:
initialising a window using raw Vulkan
drawing a triangle with a simple shader
terminating the window - depending on the platform, either after a few seconds, or when the user closes the window.
Controls#
Quit- Close the application
IntroducingPVRShell#

This example introduces the PVRShell library.
API#
Vulkan
Description#
This example shows basic use of the PVRShell library. The PowerVR Shell handles all OS specific initialisation code. It has several built-in command-line features which allow for the specifying of attributes such as window width/height, quitting after a number of frames, taking screenshots and others.
When using the PVR Shell, the application uses the class pvr::Shell as its base class, and is constructed and returned from a pvr::newDemo function.
Controls#
Quit- Close the application
IntroducingPVRVk#

This example introduces the PVRVk library.
API#
Vulkan
Description#
This example shows basic use of the PVRVk library. PVRVk provides an advanced interface similar to the original Vulkan interface, making it useable with the Vulkan specification. It offers a sweet spot combination of simplicity, ease of use, with minimal overhead.
The most important features of PVRVk are considered to be:
C++ language, offering defaults and constructors for all objects
deterministic lifecycle management through reference counting
a clean, modern interface.
Controls#
Quit- Close the application
IntroducingPVRUtils#
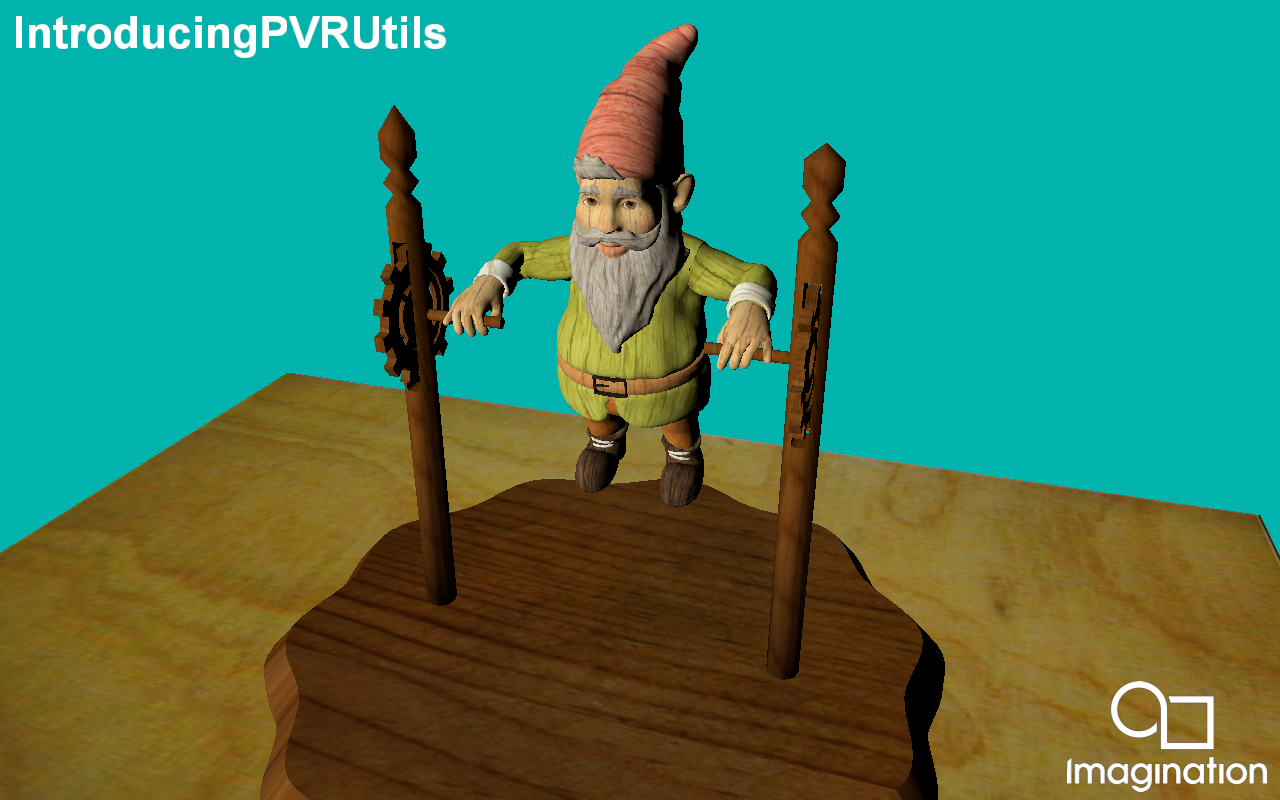
This example renders a .pod scene using a a simple vertex and fragment shader, making use of the PVRUtils library for various utility functions.
API#
Vulkan
Description#
This example demonstrates how to make the most of the PVRUtils library for handling API-agnostic utility functions such as loading shaders and creating buffers. Various API-specific utility functions are also provided such as the Vulkan swapchain and instance creation helper.
The PVRUtils UIRenderer library is also used to display simple text on the screen.
Controls#
Quit- Close the application
IntroducingUIRenderer#
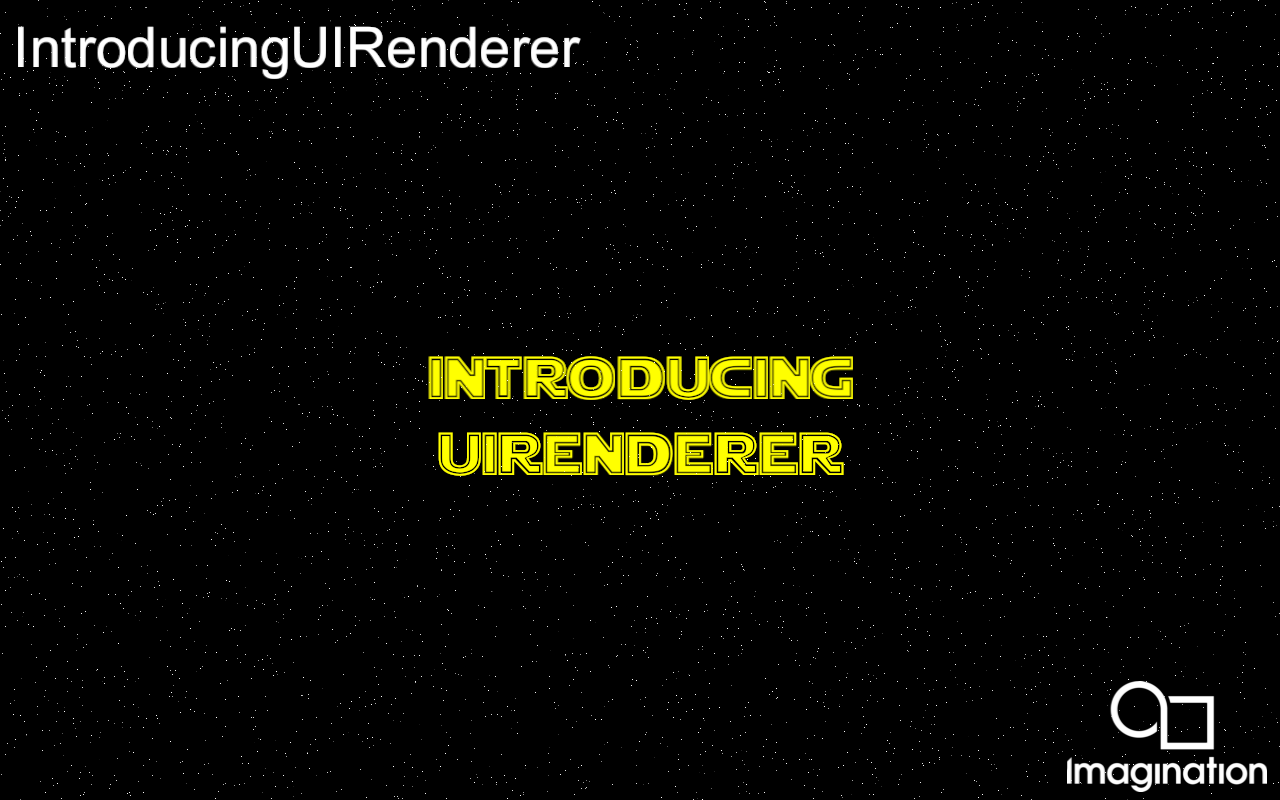
This example introduces the UIRenderer from the PVRUtils library for advanced text tasks.
API#
Vulkan
Description#
The UIRenderer allows the user to create “Sprites” (2D elements) which can be grouped in 2D and/or 3D groups to be displayed as UIs or world text. This includes:
2D transformations (pixel and/or NDC coordinates) both single, and in a group
anchoring on different parts of the screen or the group
3D transformations of groups of sprites
In this example, UIRendererer is used to display images and Unicode text, screen aligned, and with 3D transformations.
Controls#
Quit- Close the application
AmbientOcclusion#
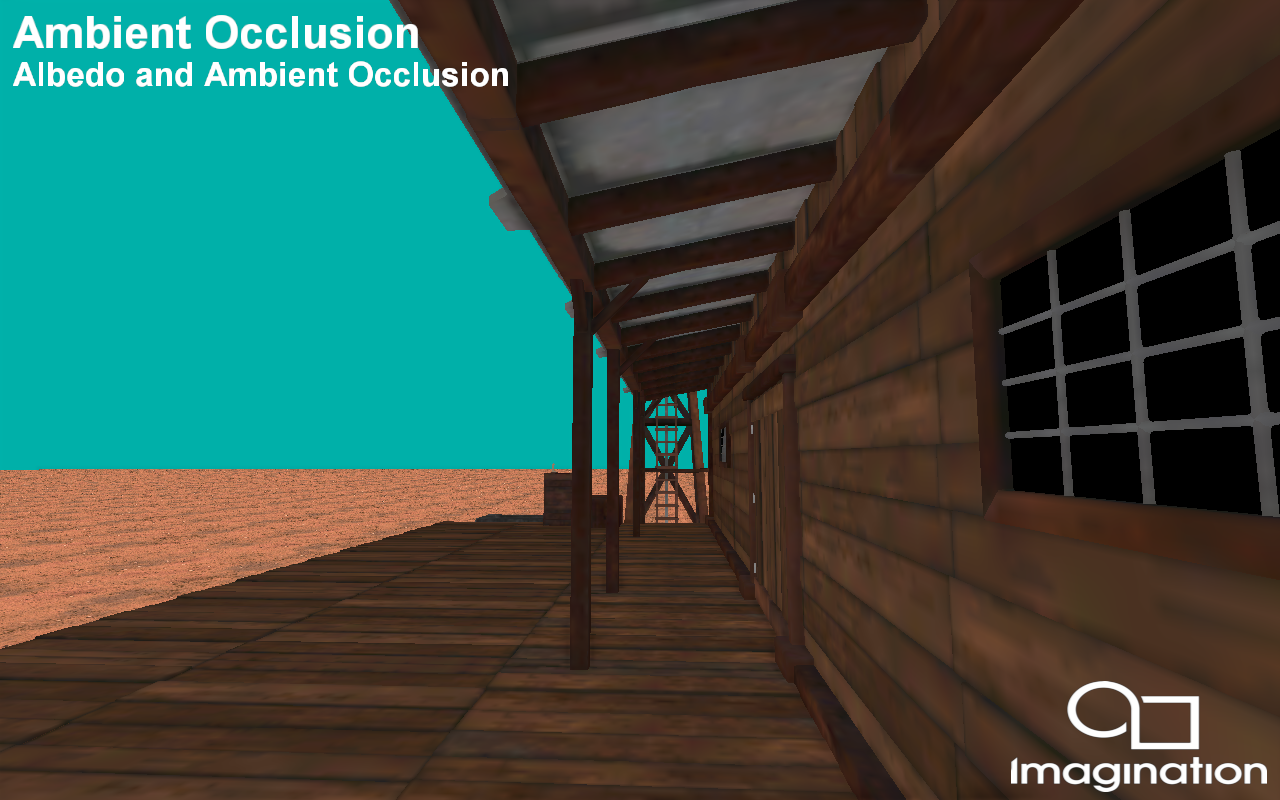
This example demonstrates an PowerVR optimised implementation of screen space ambient occlusion(SSAO) using a deferred shading pipeline with Pixel Local Storage (PLS), or Subpasses with Transient Attachments (Vulkan).
API#
Vulkan
Description#
Deferred rendering pipelines lend themselves to implementing a SSAO algorithm, because the information required to generate SSAO already exists within the GBuffer. However, ambient occlusion requires a lot of texturing processing, this demo tries to minimise this as much as possible to make the application optimized for mobile.
After the GBuffer pass has been completed, a series of screen space effects are used to generate the ambient occlusion texture. Since AO algorithms require sampling around the current fragment, separate render passes need to be used. However, the blurred and finalized ambient occlusion texture is passed to the composition pass via fast on-chip memory via a subpass and a transient lazily allocated image, which is available to the PowerVR architecture.
Controls#
Action1- Pause or play animation
Left / Right- Change how the on screen buffer is composited
Quit- Close the application
Bumpmap#
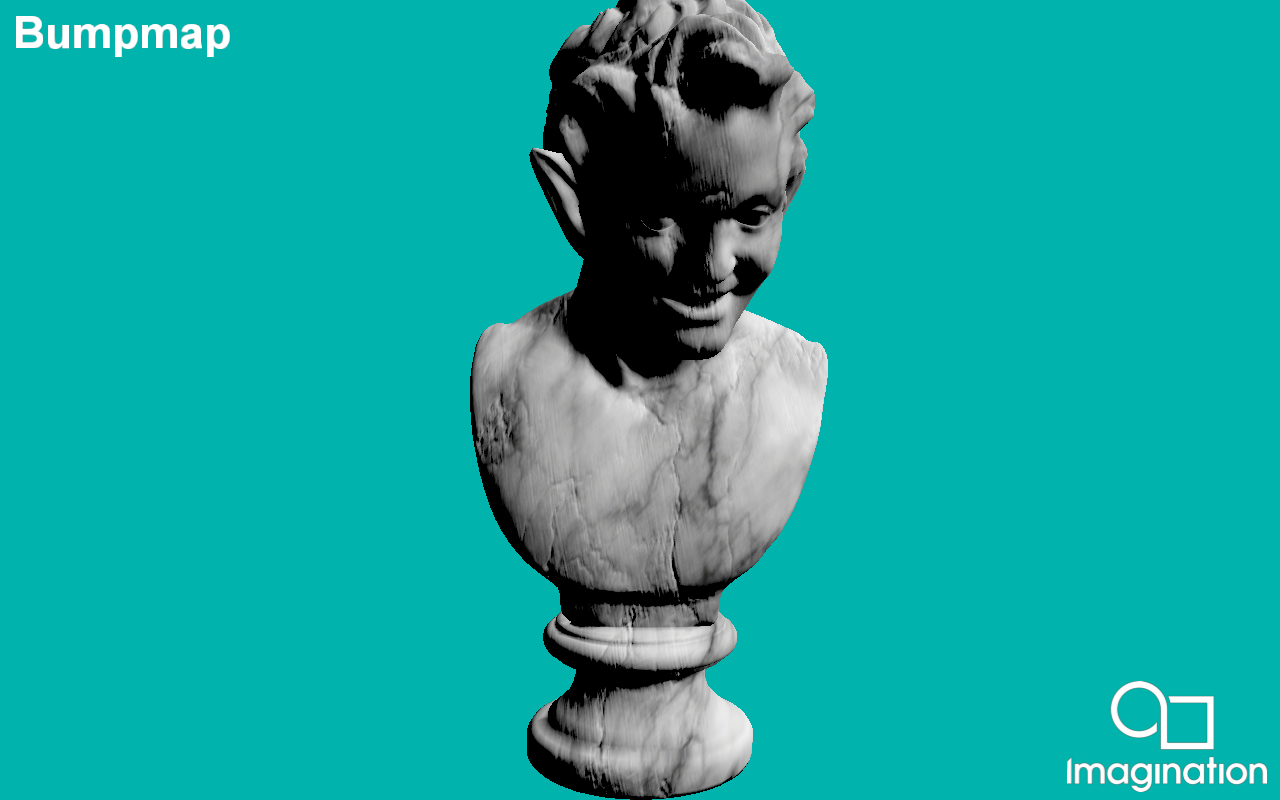
This example demonstrates using a normal map to implement bumpmapping using the PowerVR Framework.
API#
Vulkan
Description#
Bumpmapping is a technique for simulating bumps and wrinkles on the surface of an object. This is achieved by perturbing the surface normals of the object and using the perturbed normal during the illumination calculations. The result is an apparently bumpy surface rather than a perfectly smooth surface, although the surface of the underlying object is not actually changed.
This technique is used extensively in graphics applications to add perceived detail to models without adding further geometry, and could be considered the baseline for modern rendering.
Controls#
Quit- Close the application
DeferredShading#
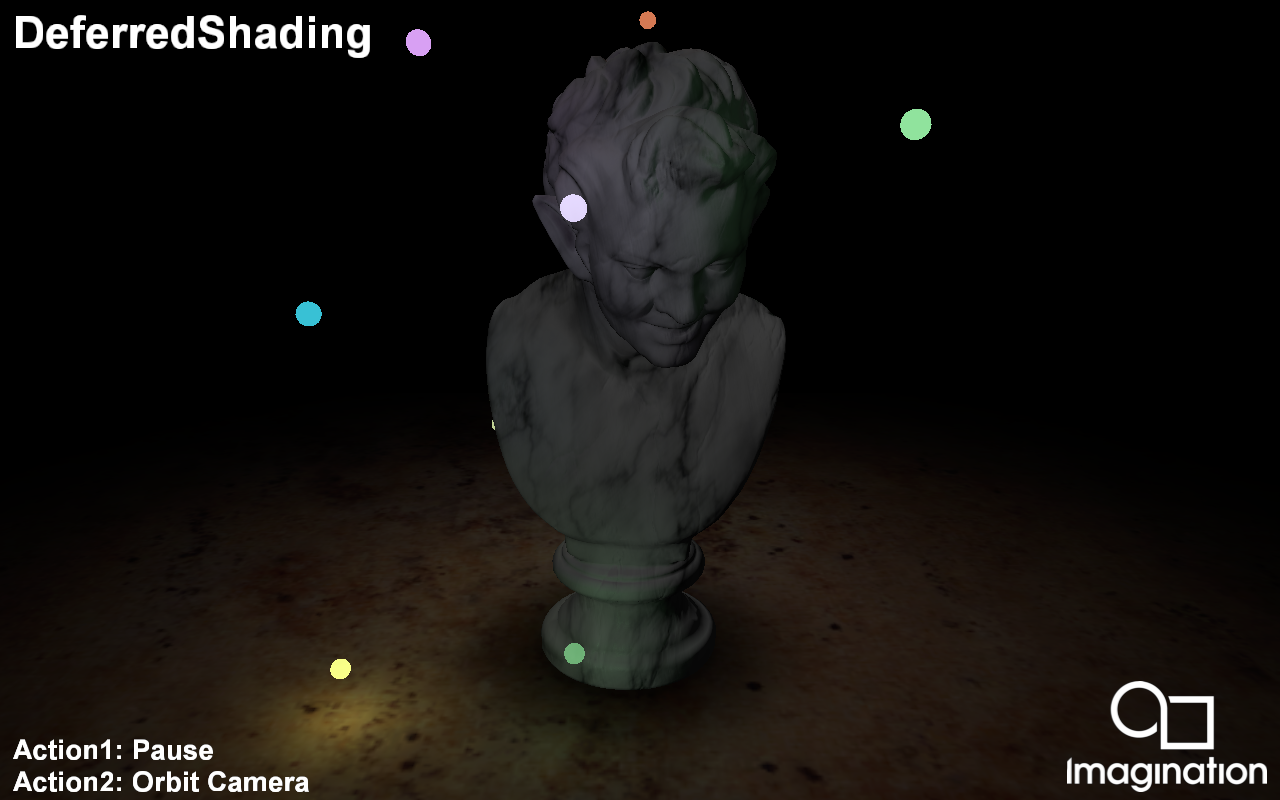
This example demonstrates optimal deferred shading using Pixel Local Storage (PLS), or Subpasses with Transient Attachments (Vulkan)
API#
Vulkan
Description#
Traditional rendering algorithms submit geometry and immediately apply shading effects to the rasterized primitives. Complex shading effects may require multiple draw calls (one per object per light) or render passes to produce the final pixel colour, with the geometry submitted every pass.
Deferred shading is an alternative rendering technique that submits the scene geometry once, storing per-pixel attributes into local video memory to be used in the subsequent rendering passes.
In these later passes, light volume primitives are rendered, and the per-pixel attributes contained in the buffer are retrieved at a 1:1 mapping ratio so that each pixel is shaded individually.
With the PowerVR architecture, the developer can use fast on-chip memory instead of the render target by using Subpasses with input attachments corresponding to transient, lazily allocated images.
Controls#
Action1- Pause
Action2- Orbit camera
Quit- Close the application
DeferredShadingPFX#
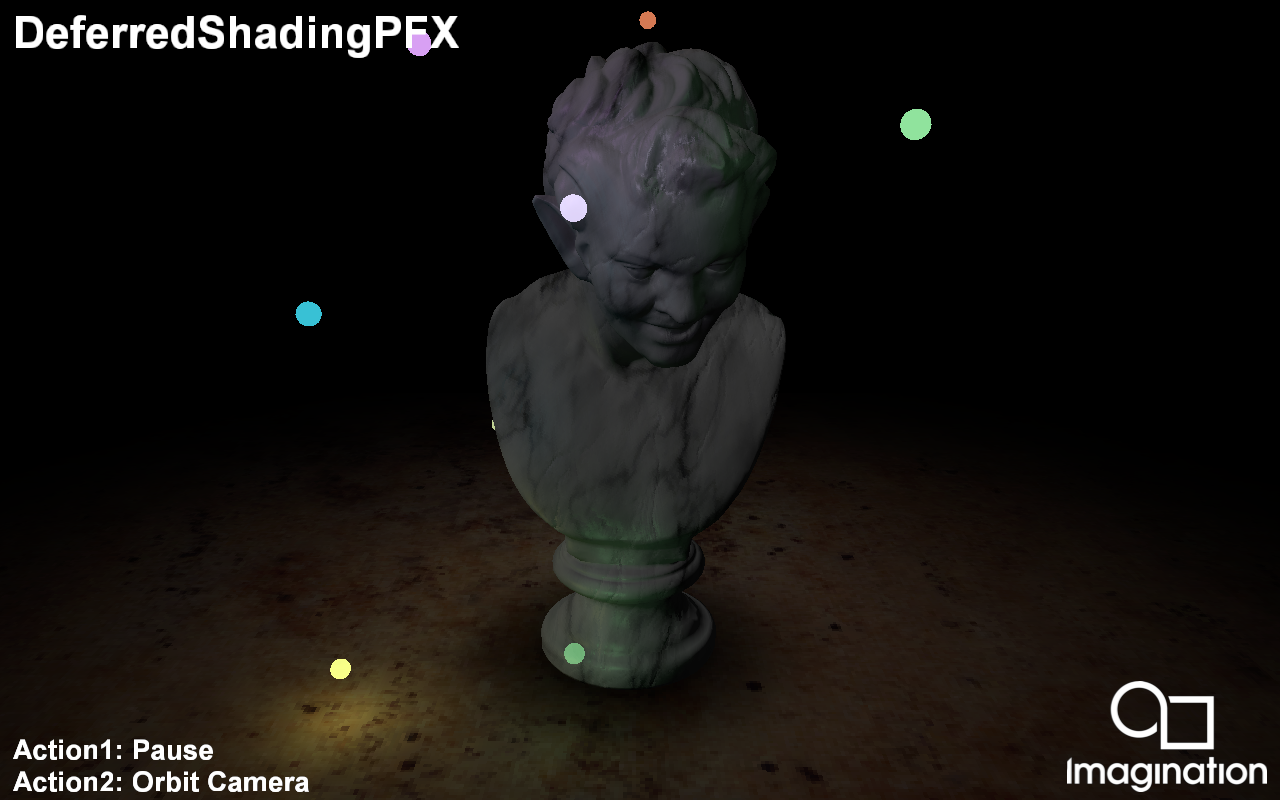
Duplicates the DeferredShading example, using a simple PFX scene description to describe this complex rendering scenario.
API#
Vulkan
Description#
Traditional rendering algorithms submit geometry and immediately apply shading effects to the rasterized primitives. Complex shading effects may require multiple draw calls (one per object per light) or render passes to produce the final pixel colour, with the geometry submitted every pass.
Deferred shading is an alternative rendering technique that submits the scene geometry once, storing per-pixel attributes into local video memory to be used in the subsequent rendering passes.
In these later passes, light volume primitives are rendered, and the per-pixel attributes contained in the buffer are retrieved at a 1:1 mapping ratio so that each pixel is shaded individually.
With the PowerVR architecture, the developer can use fast on-chip memory instead of the render target by using Subpasses with input attachments corresponding to transient, lazily allocated images.
In this example, the same technique is described in a PFX file, and rendered with the RenderManager. This avoids almost all the code in the example except for the most basic, demonstrating the power of the RenderManager combined with PFX files as a scene description.
Controls#
Action1- Pause
Action2- Orbit camera
Quit- Close the application
ExampleUI#
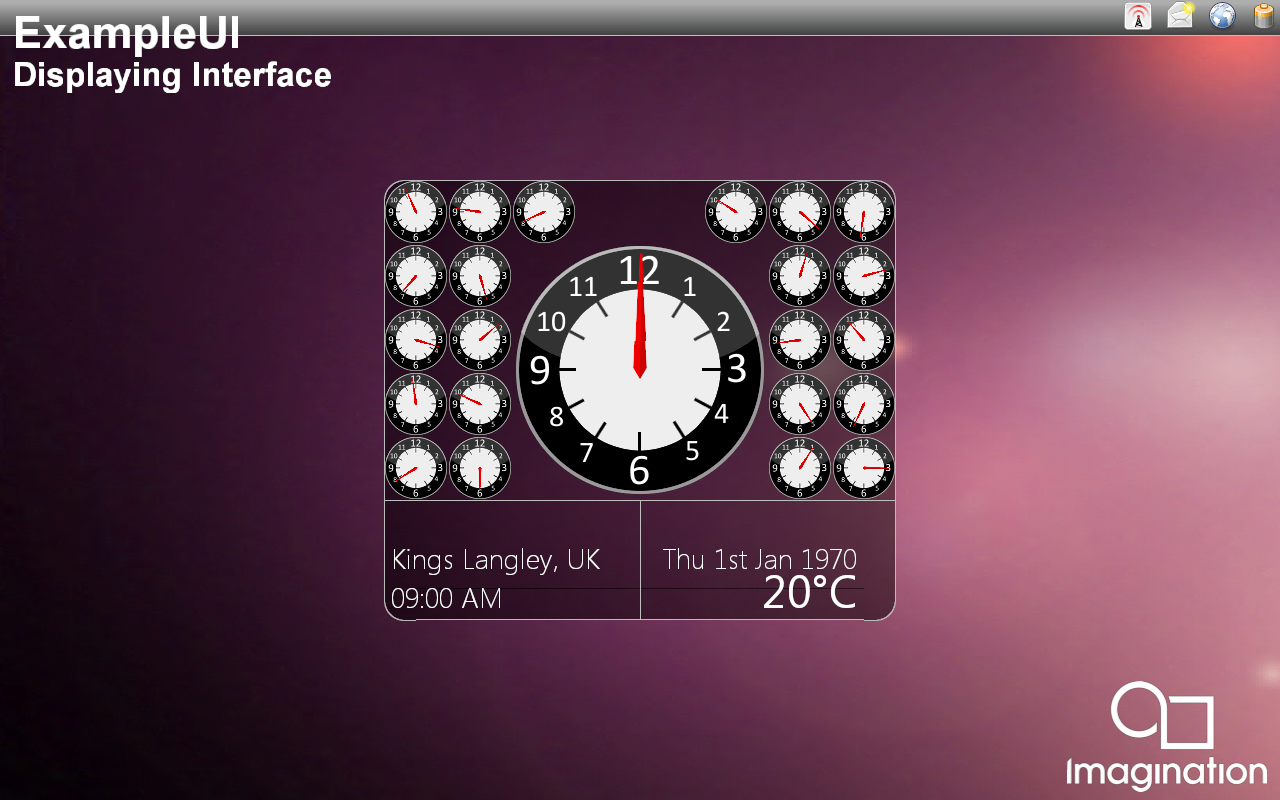
Use the PVRUtils library to efficiently render sprites, to create a complex user interface.
API#
Vulkan
Description#
Rendering graphical user interfaces can quickly become very complex. PVRUtils can help with rendering a lot of sprites with different complicated transformations, while remaining crisp and responsive. Usability and performance optimisations can both be found in this example, such as UIRenderer transformation groups.
Controls#
Left/Right- Change UI page
Quit- Close the application
GameOfLife#
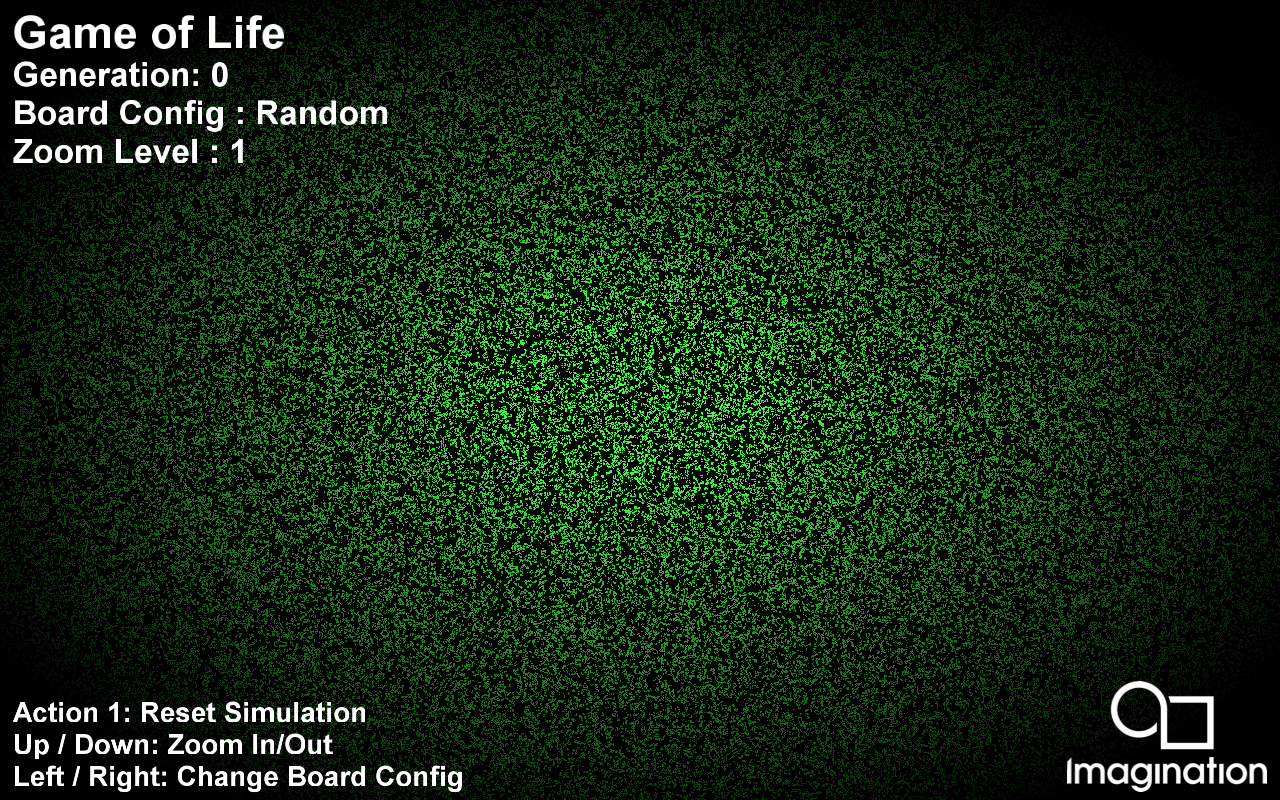
Implementation of John Conway’s Game of Life using GPGPU (GPU Compute).
API#
Vulkan
Description#
This example demonstrates how to implement John Conway’s Game of Life. It takes a starting texture as an input and uses Compute to calculate the next generation. It then renders to screen the result.
Controls#
Action1 to reset board configuration.
Up/Down to change zoom levels.
Left/Right to change board configuration.
Quit- Close the application
GaussianBlur#
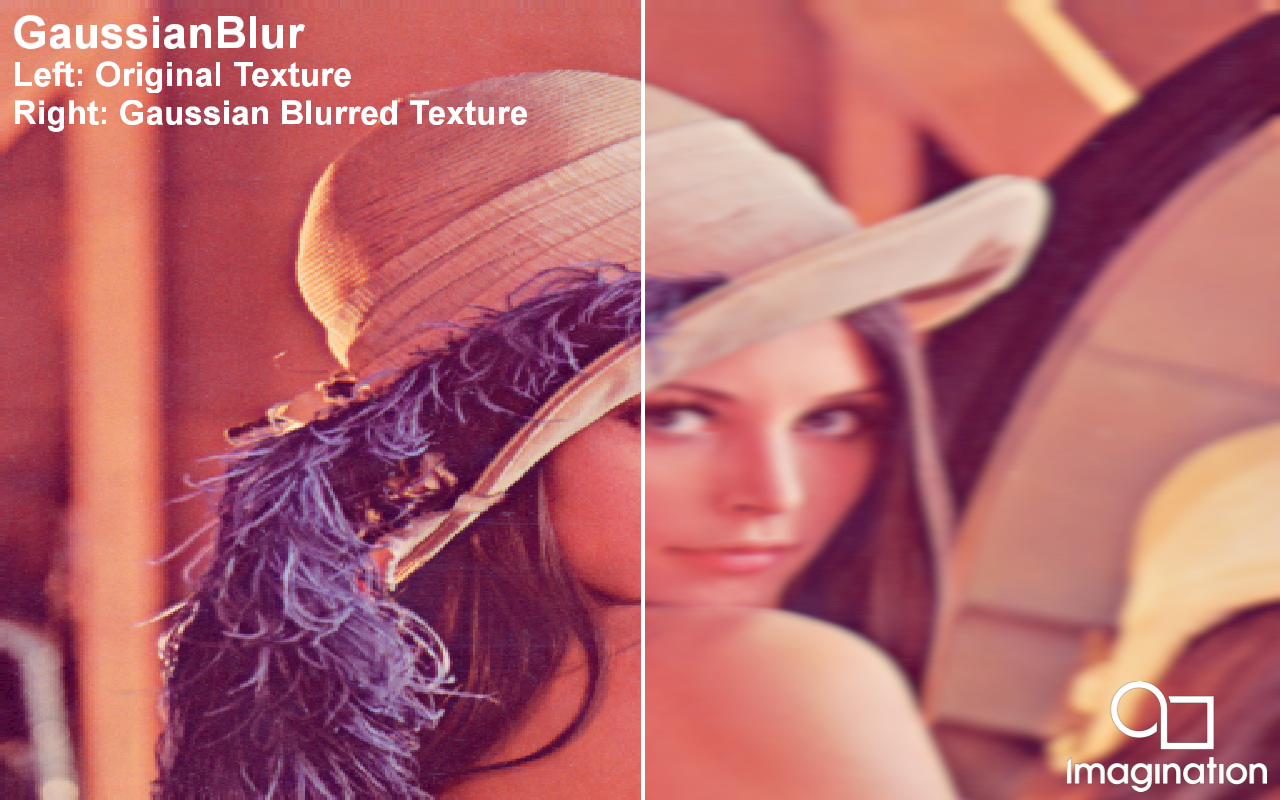
Shows how to perform a extremely wide, highly optimised Gaussian Blur using compute shaders.
API#
Vulkan
Description#
This example demonstrates how to perform a 19x19 Gaussian Blur. It uses every input and output step to blur an image by reading from an input using compute while blurring in one direction, and then writing to the output with a fragment shader whilst blurring in the other direction.
This technique has been highly optimised for PowerVR and is very suitable for a very large convolution width.
Controls#
Quit- Close the application
Glass#
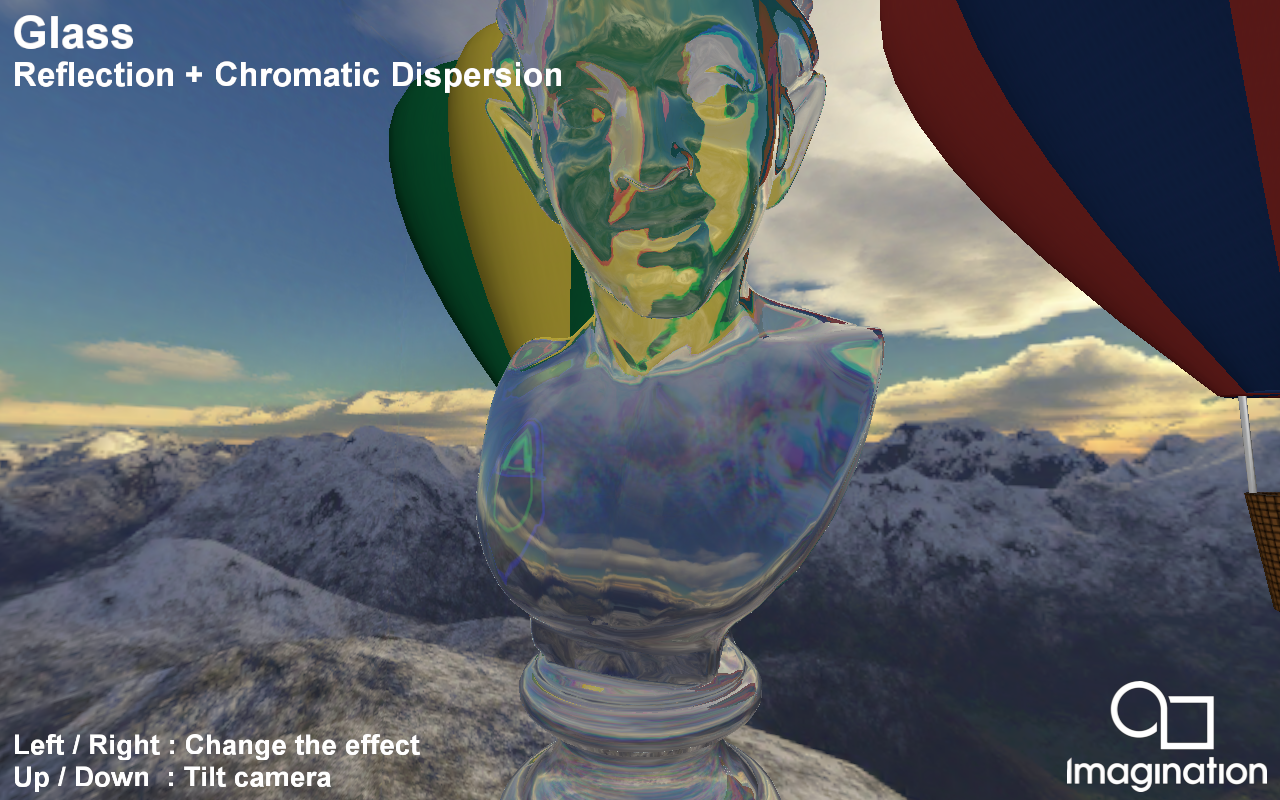
Demonstrates dynamic reflection and refraction using a dual paraboloid environment map.
API#
Vulkan
Description#
This example shows a technique to maintain a dynamic environment map by rendering both hemispheres of the scene to two halves of a single rectangular texture.
This example also demonstrates rendering skyboxes with a full screen quad, reflection, and refraction with chromatic dispersion.
Controls#
Quit- Close the application
Left/Right - Change the effect between combinations of reflection and refraction/chromatic dispersion
Up/Down- Look up or down.
GnomeHorde#

This example shows a very efficient technique for multithreaded command buffer generation and rendering.
API#
Vulkan
Description#
The GnomeHorde example divides its world into tiles, each containing a small number of objects.
It uses three groups of threads:
the Main thread - which kicks all other tasks and performs command buffer submission (rendering)
a number of Visibility threads - which each process large groups of tiles
a number of Tile Processing threads, which each generate command buffers for a tile.
As required, command buffers are:
created when the tile has just become visible
recalculated when the level-of-detail (LOD) of the tile has changed
recycled when the tile has just become non-visible.
The communication of the threads is abstracted using Producer-Consumer Queues passing the co-ordinates of tiles as parameters.
When all generation is done, the main thread collects all secondary command buffers and submits them to the GPU rendering queue.
Controls#
Esc- Close
GPUControlledRendering#
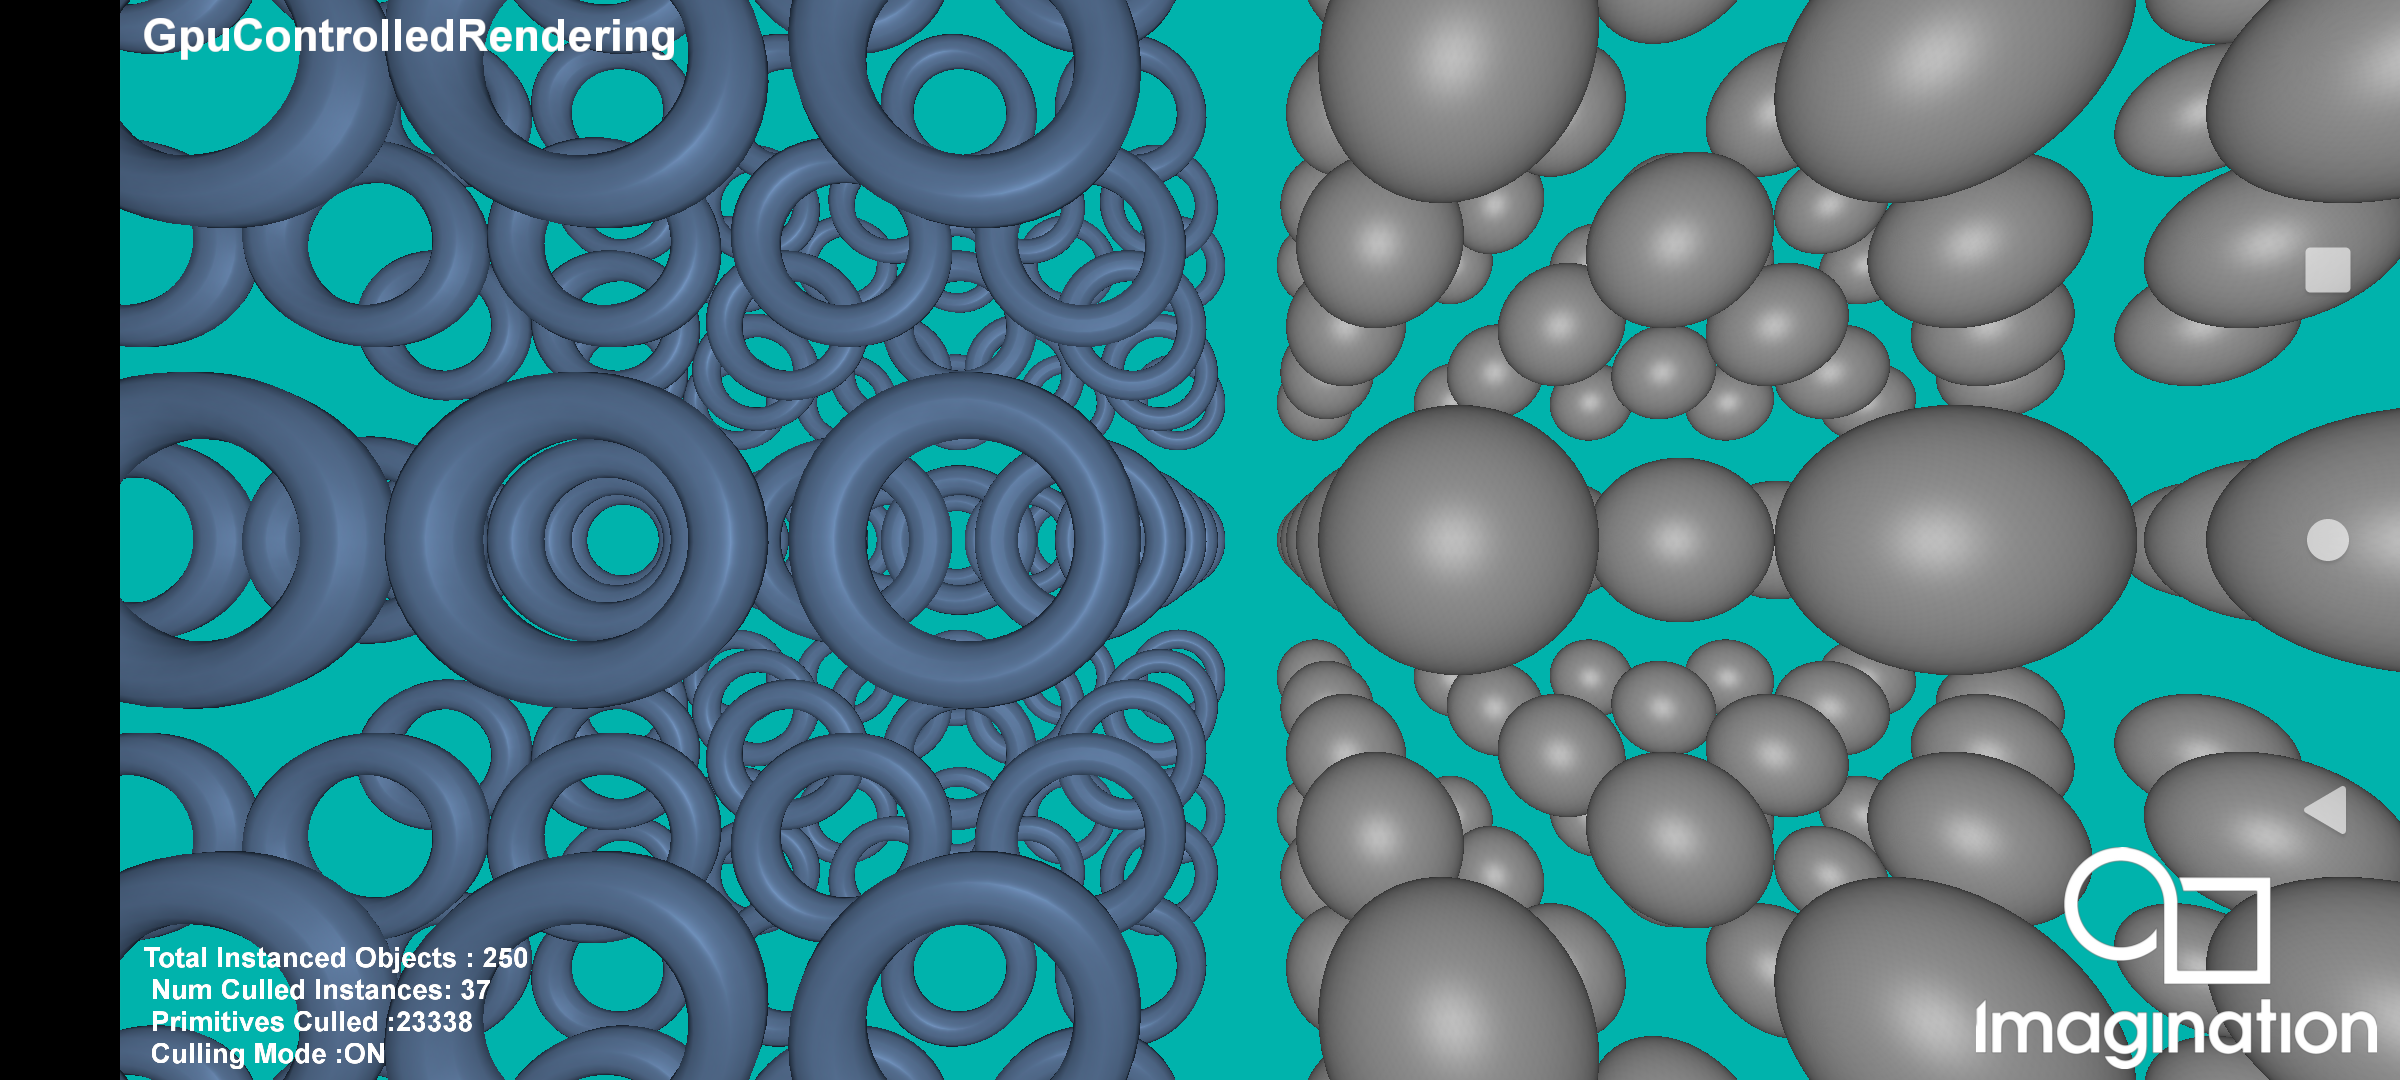
This example demonstrates GPU controlled rendering technique using the PowerVR Framework.
API#
Vulkan
Description#
GPU Controlled or GPU Driven Rendering is a technique used to offload some of the earlier CPU driven calculations such as scene traversal, sorting, and culling to the GPU using indirect drawing and compute shaders. This implementation demonstrates performing early frustrum culling using compute shader and indirect draw. Which allows us to effectively reduce the number of primitives to be processed during our vertex/geometry stages and ultimately reduce the overhead on our TBDR tiler stage.
This technique is used extensively in the modern rendering engines to eliminate the extra overhead during the processing of geometry /tiler stages in the pipeline and resulting in reduced memory footprint, improved efficiency and potentially achieve higher frame rates.
To see performance differences in the Tiler task execution, take a PVRTune capture while toggling the culling mode.
For the full documentation, see GPU Controlled Rendering Using Compute & Indirect Drawing.
Controls#
Touchscreen : Tap - Toggle Compute Cull ON/OFF
Mouse : Left Click - Toggle Compute Cull ON/OFF
HelloRayTracing#
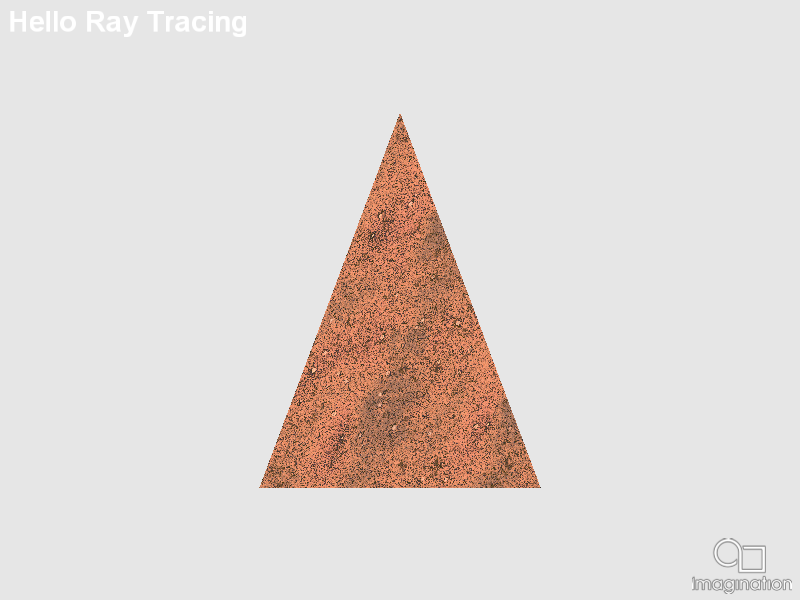
This example demonstrates the basics on how to use the new Vulkan Khronos Ray Tracing extension, to render a triangle on an off-screen render target.
API#
Vulkan
Description#
The new Khronos Vulkan Ray Tracing extension, with its Final Specification released officially in December of 2020, allows the usage of ray tracing cores on the GPU to perform hardware accelerated ray tracing.
This opens the GPUs to a new plethora of techniques, some of them 100% render, some of them hybrid rendering, that can be implemented with the Vulkan API.
In this example, the code inside the SDK is exposed to build the basic structures required for ray tracing, (Top and Bottom Level Acceleration Structures and the Shader Binding Table), to ray trace a single 3D triangle.
Controls#
HybridHardShadows#
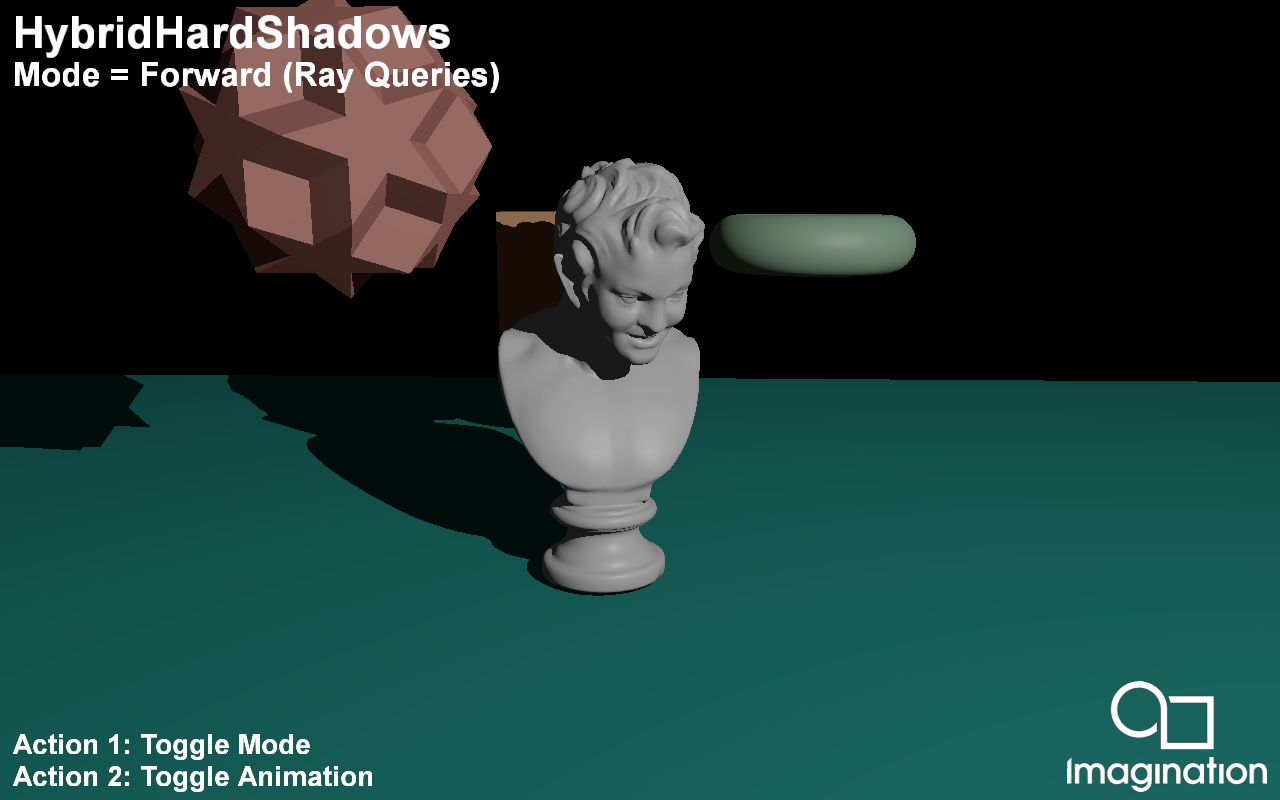
This example demonstrates Ray Traced Hard Shadows using the Vulkan Ray Tracing Pipeline and Ray Queries.
API#
Vulkan
Description#
Shadow rendering in traditional rasterization based pipelines is commonly done via Shadow Maps. While this approach produces acceptable result it has a variety of issues.
Ray Traced shadows do not suffer from these issues and produce pixel perfect shadows.
In this demo present two methods for integrating Ray Traced Hard Shadows into your rasterized application:
For an application with a Forward Rendering pipeline you can integrate Ray Traced Shadows quite easily by using Ray Queries in your Forward Shading pass with a single ray per pixel.
If your application requires a G-Buffer we also present a Deferred Shaded approach that creates a Ray Tracing Pipeline and traces rays from the positions stored in the G-Buffer to create a visibilty mask which is later used in the Deferred Shading pass as visiblity for each pixel.
Controls#
Action1- Toggle mode
Action2- Toggle animation
Quit- Close the application
HybridReflections#
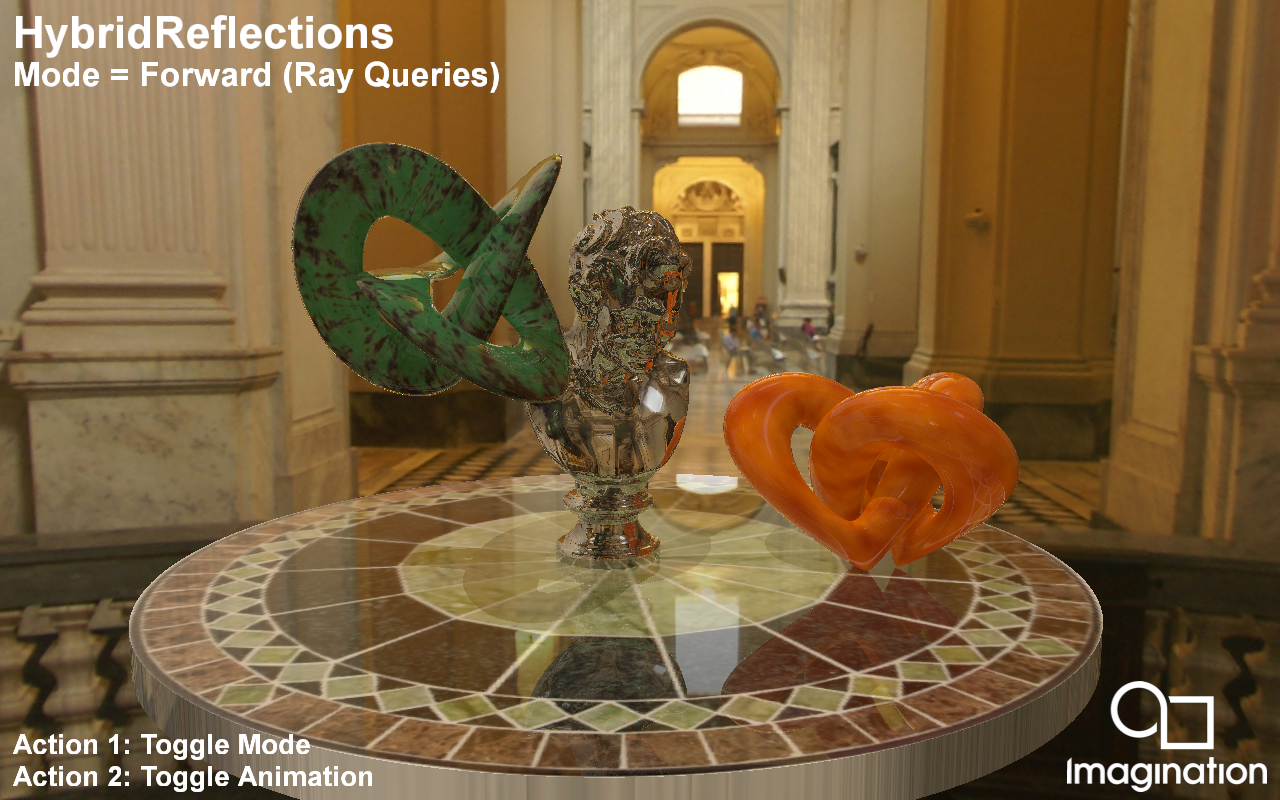
This example demonstrates Ray Traced Reflections using the Vulkan Ray Tracing Pipeline and Ray Queries.
API#
Vulkan
Description#
Rendering reflections in a rasterization pipeline is quite costly and requires techniques that do not offer perfect results such as Screen Space Reflections or Cubemaps.
Ray Tracing offers perfect reflections of on and offscreen objects without any of the shortcomings of the earlier techniques.
In this demo present two methods for integrating Ray Traced Reflections into your rasterized application:
For an application with a Forward Rendering pipeline you can integrate Ray Traced Reflections quite easily by using Ray Queries in your Forward Shading. If inter-reflections are required you can trace rays in a loop and accmulate the throughput of each ray similar to a path tracer.
The final result can be used as a substitute for a pre-filtered environment map, making this a perfect companion to Image Based Lighting.
If your application requires a G-Buffer we also present a Deferred Shaded approach that creates a Ray Tracing Pipeline and traces rays from the positions stored in the G-Buffer to create a reflection mask which is later used in the Deferred Shading pass. Inter-reflections can be handled as using recursive calls to the traceRayEXT() function in the Ray Hit shaders similar to recursive path tracing.
Controls#
Action1- Toggle mode
Action2- Toggle animation
Quit- Close the application
HybridRefractions#
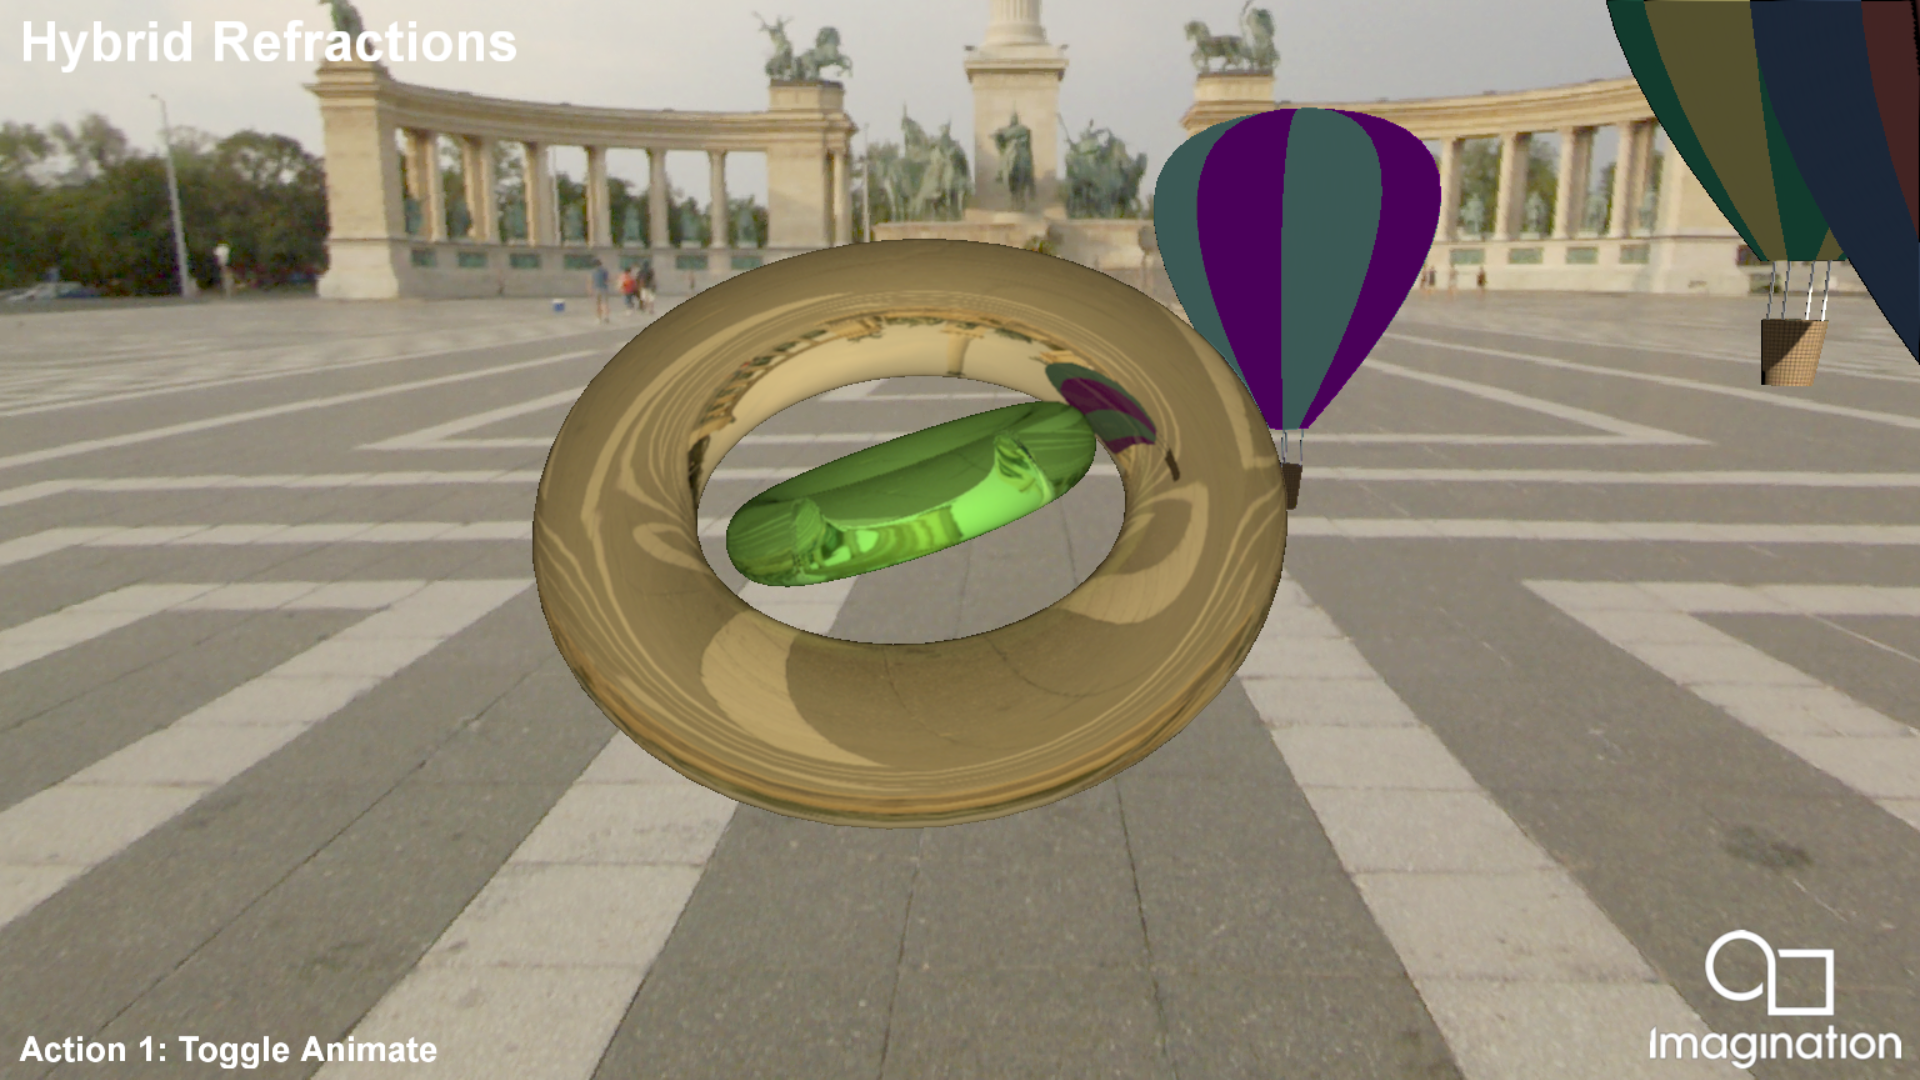
This example demonstrates Hybrid Ray Traced Refractions using the Vulkan Ray Tracing Pipeline. It ray traces two dielectric torus meshes, including all the interactions between themselves and the rest of the scene elements and the environment, and rasterizes the remaining three scene elements which have a diffuse Phong shading.
API#
Vulkan
Description#
Rendering refractions in a rasterization pipeline is quite costly and requires techniques that do not offer perfect results such as Screen Space Reflections or Cubemaps.
Ray Tracing offers perfect refractions of on and offscreen objects without any of the shortcomings of the earlier techniques.
We also present a Deferred Shaded approach that creates a Ray Tracing Pipeline and traces rays from the positions stored in the G-Buffer to create a refractions mask which is later used in the Deferred Shading pass.
Controls#
Action1- Toggle scene elements update
Quit- Close the application
HybridSoftShadows#
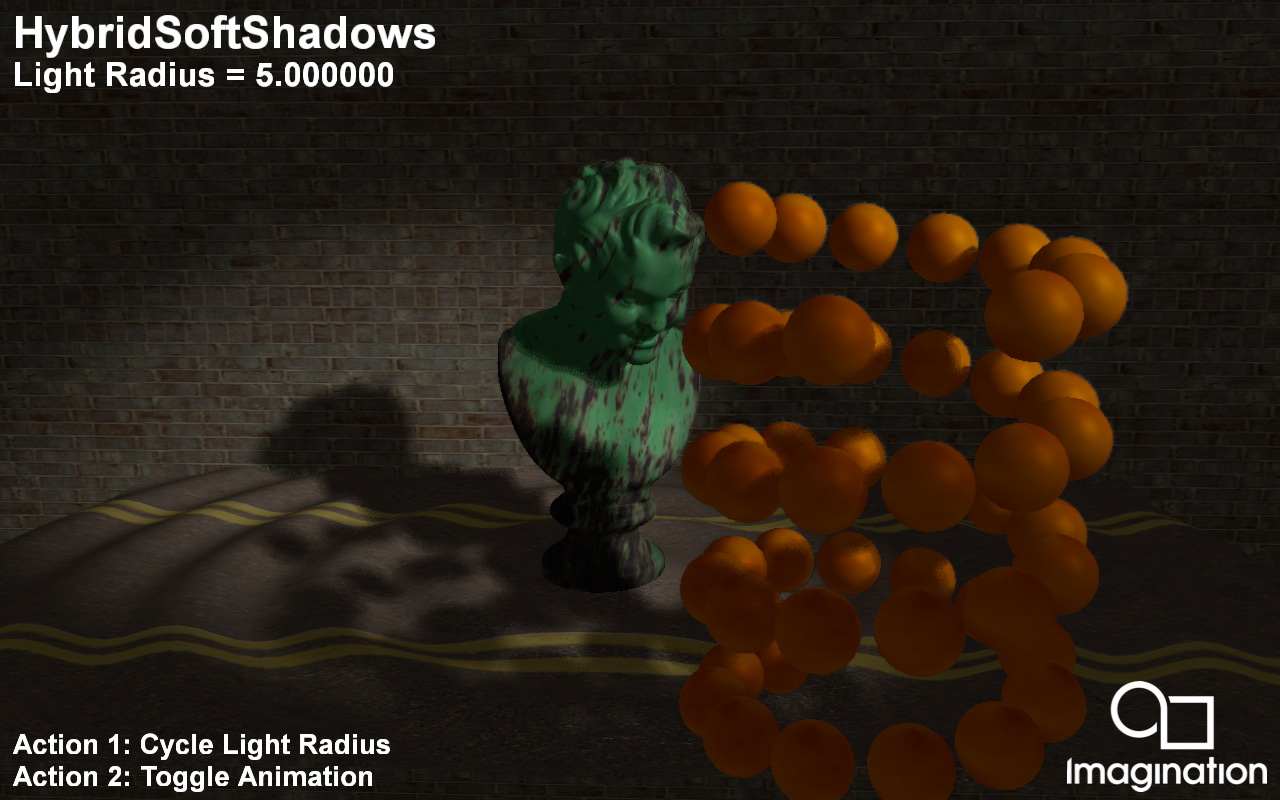
This example demonstrates Ray Traced Soft Shadows using Vulkan Ray Queries and a simple denoiser.
API#
Vulkan
Description#
In this demo we present a method for generating Soft Shadows using 1-sample-per-pixel (1spp) Ray Tracing within a Deferred Shaded application.
The ray tracing pass is integrated into the G-Buffer pass and generates a shadow mask using Ray Queries which eliminates the bandwidth cost that would otherwise be present if used with a separate ray tracing pass.
The ray direction is computed using a random number that is based on the world position as to retain image stability when objects are stationary.
A few mip levels for this shadow mask is generated which is used to determine if a pixel belongs to the penumbra region. This prevents the denoiser from being used on every fragment shader invocation.
The actual denoising is performed using a poisson disk blur with random rotations based on world position. The blur radius is determined by the ray hit distance. The denoising step itself is integrated into the deferred shading pass, thus minimizing the number of new passes required.
Controls#
Action1- Cycle light radius
Action2- Toggle animation
Quit- Close the application
Hybrid Transparency#

This example demonstrates Hybrid Ray Traced Transparency using the Vulkan Ray Tracing Pipeline.
API#
Vulkan
Description#
Rendering order independent transparency through ray tracing becomes straighforward applying some OIT techniques like Weighted blended order-independent transparency implemented on this sample.
We also present a Deferred Shaded approach that creates a Ray Tracing Pipeline and traces rays from the positions stored in the G-Buffer to create a transparency mask which is later used in the Deferred Shading pass. Two types of rays are dispatched: From every texel in the DS render target that represents an opaque scene element towards the emitter, to add emitter contribution through transparent objects to that opaque scene element, and rays from those scene elements with a transparent material, with ray direction camera -> world position, intersecting other transparent objects until they come across an opaque scene element or the environment.
Controls#
Action1- Toggle scene elements update
Quit- Close the application
ImageBasedLighting#
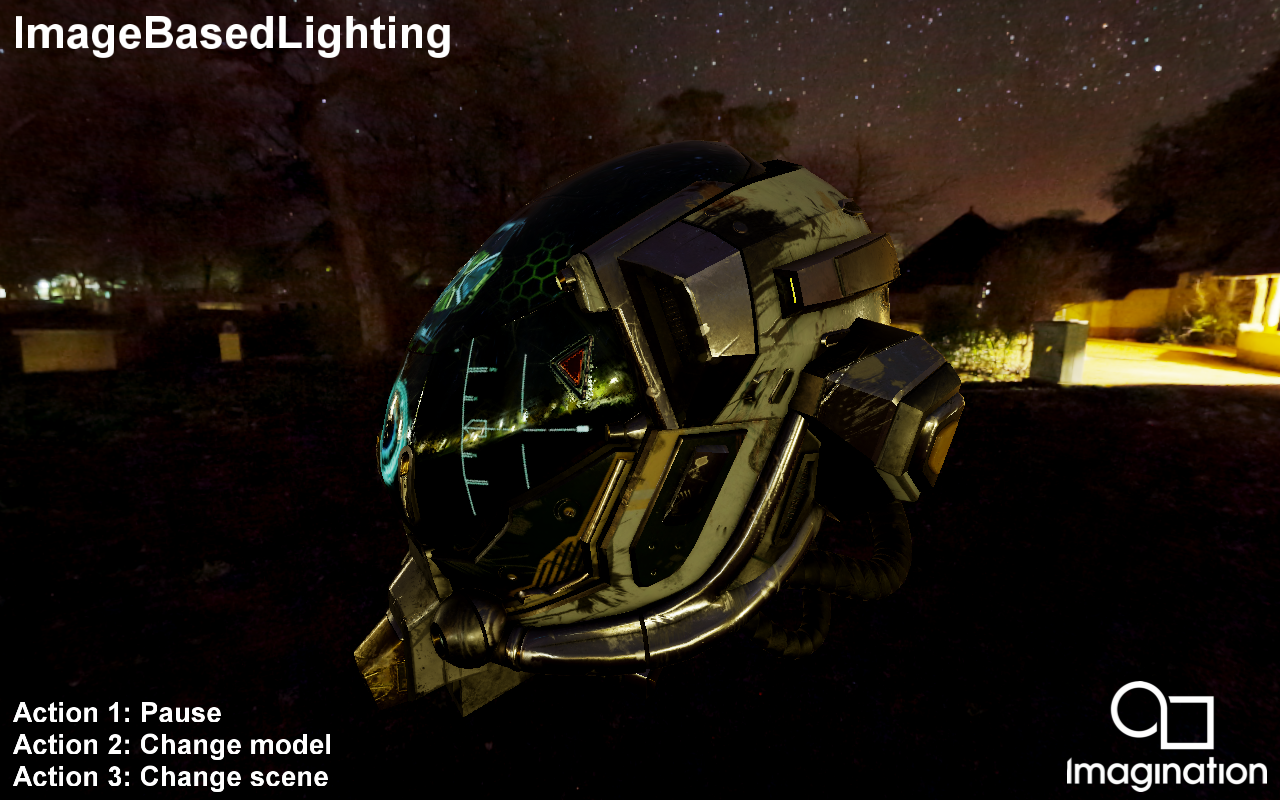
This example demonstrates Physically Based Rendering (PBR) with Image Based Lighting (IBL).
API#
Vulkan
Description#
This example has two scenes using Metallic-Roughness PBR workflow. It features two scenes, a GLTF model rederered with albedo, metallic roughness and emissive map, and a collection of spheres showcasing different metallic and non metallic non-texture values. The examples uses a Diffuse map pre-computed offline from the environment map, using the lambert diffuse BRDF, and two specular maps (also calculated offline): A Pre-Filtered Environment map for different roughness values, and an Environment BRDF including the rest of the equation.
Controls#
Quit- Close the application
Left/Right to change the scene
Action1 to pause.
ImageBasedLightingMapGenerator#
A command-line tool showing how to use headless Vulkan to generate Image Based Lighting irradiance and reflection maps from a skybox.
API#
Vulkan
Description#
This tool is different from the rest of the SDK in that it is a command line tool that can be used to generate two maps used in Image Based Lighting using GPU shaders to optimise the procedure. A single-thread cpu calculation would easily take minutes for each of the maps, hence this Vulkan implementation. The input is a skybox, a Cubemap that represents the entire environment around a point in space. The Irradiance map the uses this skybox to calculate the incoming energy for each direction, in other words how much does this skybox light a surface with a specific orientation, assuming perfect diffusion. The Pre-Filtered Reflection map is essentially a copy of the skybox whose mip-maps are mapped to different roughness values, with smaller mipmaps being progressively more blurred in order to be used in larger roughness values, simulating the effect of rougher surfaces having blurrier reflections.
Controls#
Usage: VulkanIBLMapGenerator.exe [input cubemap] [options]
- -skipDiffuse
do not create a diffuse irradiance map
-diffuseSize=[NUMBER] the size of the output Irradiance map
-diffuseSamples=[NUMBER] the number of samples per output texel of the irradiance map (default 10000)
- -skipSpecular
do not create a Pre-Filtered Reflection map
-specularSize=[NUMBER] the size of the output Pre-Filtered Reflection map
-specularSamples=[NUMBER] the number of samples per output texel of the irradiance map (default 10000)
-specularDiscardMips=[NUMBER] the number of specular mips NOT to generate (i.e. 2 means that the smallest mipmap will be 4x4)
IMGTextureFilterCubic#
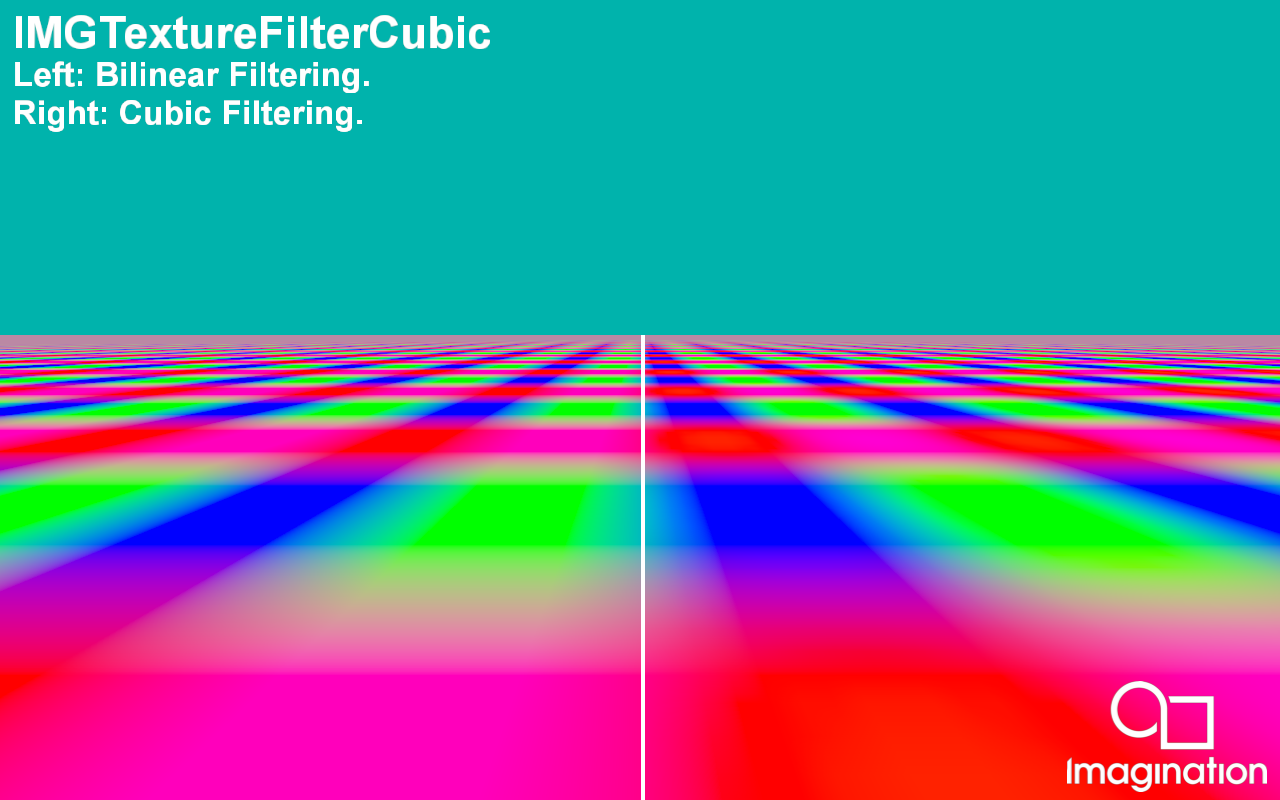
This example demonstrates the advantages of using the device extension VK_IMG_filter_cubic for cubic texture filtering
API#
Vulkan
Description#
This example shows the advantages of using cubic texture filtering using the extension VK_IMG_filter_cubic. The left side of the image is rendered using traditional bilinear texture filtering with mipmapping. The right side of the image is rendered using cubic texture filtering.
Controls#
Quit- Close the application
MatrixMultiplication#
This command line tool demonstrates the computation of the product of two matrices using various methods for Single Precision General Matrix Multiplication (SGEMM)
API#
Vulkan
Description#
This command line tool implements multiple methods for matrix multiplication using Vulkan compute. The example is headless, meaning no surface or frame is generated; as a result, the example does not use PVR::Shell. The different implementations use different methods and optimisations to compute the product, this includes using different memory layouts and utilisation of shared memory.
Each implementation has its own shader, as multiple entry points per shader are not supported. by default the application will run in “demo mode” which will run all of the shaders one after another in sequence, timing each one. To get accurate test results the shaders are ran twice, and only the second time is recorded, this is to stabilise the results, as the first run can sometimes be inconsistent.
Command line arguments can be passed to the example to change different aspects of the demo, including manually specifing which tests to run, and changing the size of the matrices, workgroups and other settings. pass the “-h” argument to see the full list of settings
Any variables that are not set through the command-line will be set to their default values. default values can be seen with the “-default” option. This includes the size of workgroups launched, in some cases the default sizes can be too large for some devices and will therefore need to be scaled down.
Notes#
The Workgroup sizes have been optimised for PowerVR hardware, meaning that the workgroup sizes are set to 32. However, this can still be changed to suit the platform via a command line argument. On Windows, when computing the product of very large matrices, the computation can take too long and the driver will “loose” the Vulkan device, so just be weary of the sizes you pick. Unlike most examples in the SDK, this demo is entirely command line based, so you might find that you require different instructions to run it. On android this does not compile into a .apk but instead to a resource folder and an executable, this is more similar to a linux executable the SDK builds and as such the instructions to run it are a bit more involved.
first push it onto the device:
`shell
adb push VulkanMatrixMultiplicaion /data/local/tmp/
adb push Assets_VulkanMatrixMultiplication /data/local/tmp/
`
Enter into the shell of the device
`shell
adb shell
`
Make the executable runnable
`shell
chmod 777 /data/local/tmp/VulkanMatrixMultiplication
`
Run it with desired command line arguments
`shell
/data/local/tmp/VulkanMatrixMultiplication -va
`
On MacOS the project is build into a .app file, and you can run it by simply double clicking, however MacOS will not spawn a terminal for you to see the output. If you wanted to see the results on the command line or specify any extra command line options, you can run the app using an already opened terminal. In this case you actually launch the executable which is inside the app package
`shell
VulkanMatrixMultiplication.app/Contents/MacOS/VulkanMatrixMultiplication -va
`
An interesting thing to note is that you must type the path case sensitive. MacOS will find the executable even if case isn’t taken into account. However, the application will not be able to find the shader source code packaged into the app. This is because file loading from within the app is case sensitive, and because the application cannot use PVR::Shell it relies on the path supplied to it to find the files.
MultiSampling#

Renders a scene to a multisampling framebuffer object.
API#
Vulkan
Description#
This example demonstrates how to use the PowerVR Framework to render a scene using the multisampling feature.
Controls#
Quit- Close the application
Multithreading#

This example shows how to use the PowerVR Framework to stream assets asynchronously into an application. API — * Vulkan
Description#
This example will display a loading screen (using UIRenderer) while assets are being loaded in, and then switch to displaying the statue from the Bumpmap demo.
Controls#
Quit- Close the application
ParticleSystem#
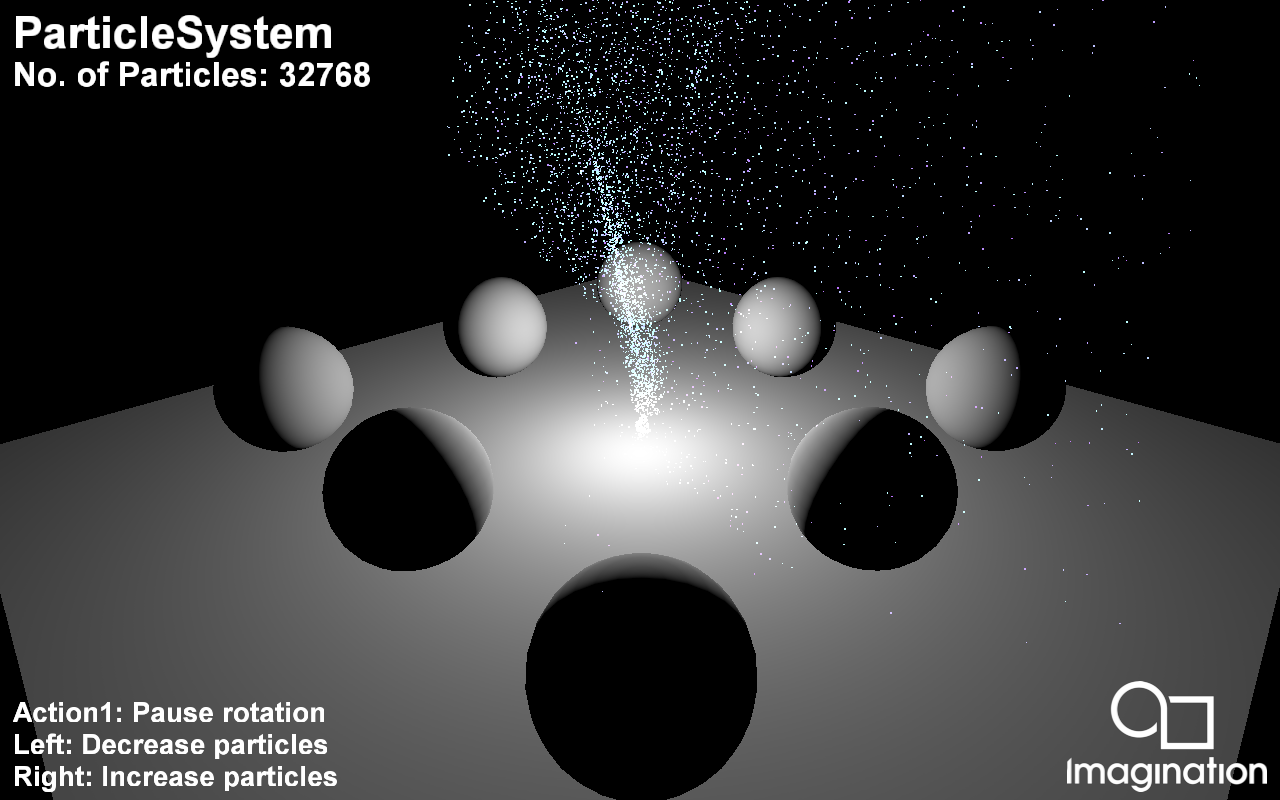
This example shows how to implement a simple particle system using GPGPU.
API#
Vulkan
Description#
Particle systems are techniques that use a large amount of sprites to simulate phenomena that would be difficult to reproduce with conventional rendering techniques.
This example uses GPGPU (GPU Compute) to implement a particle system. This is a simple integration-based simulation which is advanced and then rendered every frame strictly on the GPU, without any CPU access of that data. It also highlights the interaction between the compute and the rendering part of a simulation.
Controls#
- Quit- Close demo
Left/Right- Decrease/increase number of particles
Up/Down- Switch between GPU Compute and CPU Particle System implementation.
IntroducingPVRUtils#
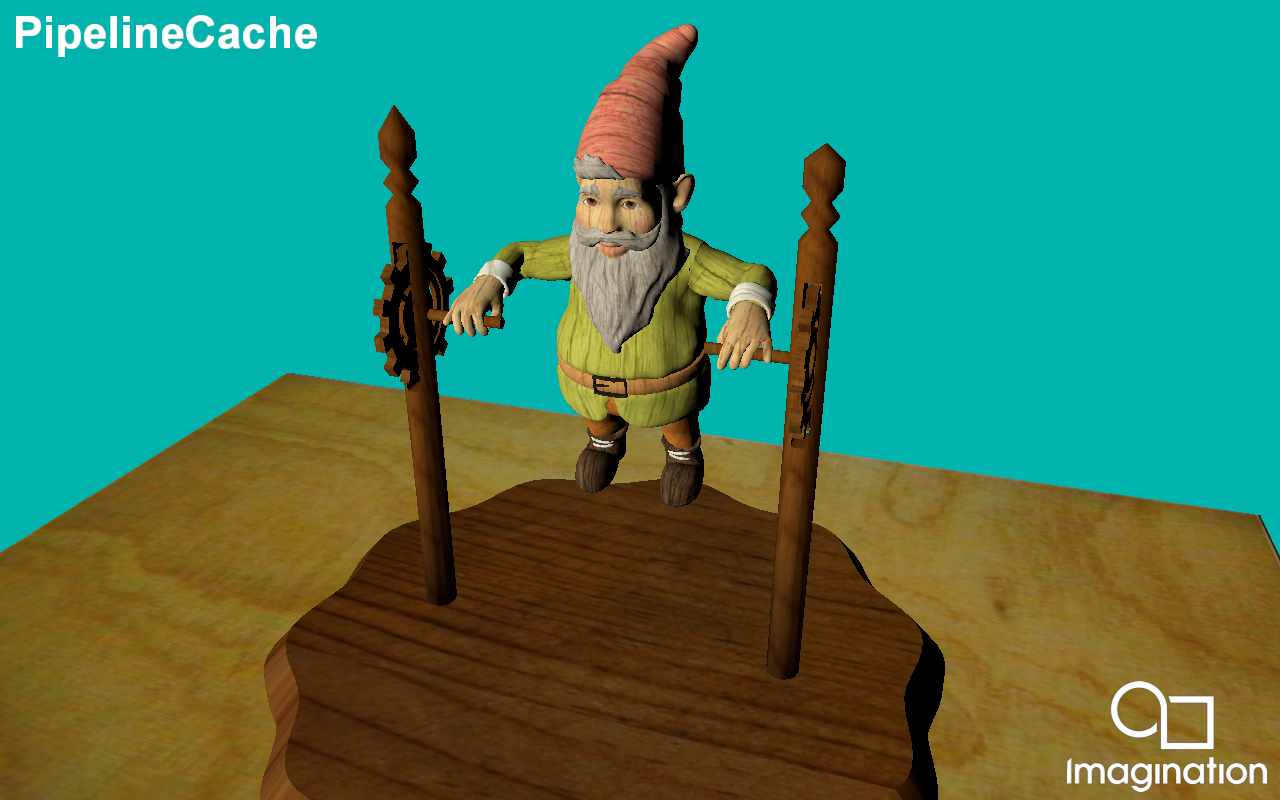
This example renders a .pod scene using a a simple vertex and fragment shader, making use of the PVRUtils library for various utility functions.
API#
Vulkan
Description#
This example demonstrates how Vulkan’s Pipeline Cache to store the pipeline data to a binary file to be used in later executions.
Controls#
Quit- Close the application
PostProcessing#
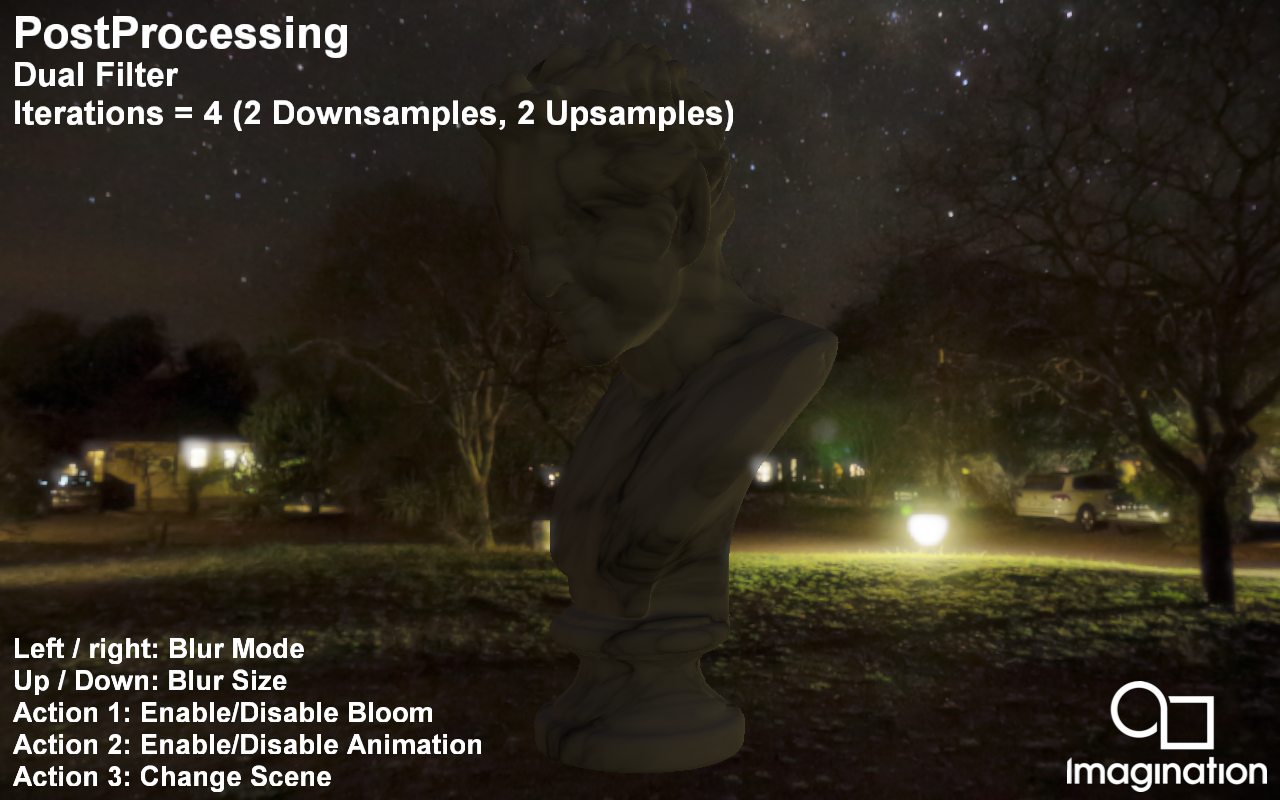
This example demonstrates a set of heavily-optimised bloom post-processing implementations.
API#
Vulkan
Description#
This example demonstrates a set of heavily-optimised bloom post-processing implementations including:
Reference implementation of a separated Gaussian Blur.
Linear sampler-optimised separated Gaussian Blur.
Sliding average compute-based separated Gaussian Blur.
Linear sampler-optimised separated Gaussian Blur with samples of negligible value truncated. This means the approximate blurs can be achieved with far fewer samples.
Hybrid Gaussian Blur using the truncated separated Gaussian Blur along with a sliding average-based Gaussian Blur.
Kawase Blur - Framebuffer post-processing effects in “DOUBLE-S.T.E.A.L.” aka “Wreckless”.
Dual Filter - Bandwidth-efficient rendering - siggraph2015-mmg-marius.
Tent Filter - Next generation post-processing in “Call Of Duty Advanced Warfare”.
Other than the Dual Filter and Tent Filter, the bloom post-processing implementations follow a similar high-level pattern:
Downsampling the brighter regions of an input image to a lower resolution.
Several post-process passes, each working from the output of the previous pass, rendering to intermediate textures.
The resulting blurred image is then composited onto the original image to create a smooth bloom around the brighter regions.
Controls#
Left/Right - Cycle through the various bloom implementations
Up/Down - Increase/decrease the size of the bloom intensity
Action1 - Pause
Action2 - Enable/disable rendering of bloom only
Quit - Close the application
PVRScopeExample#
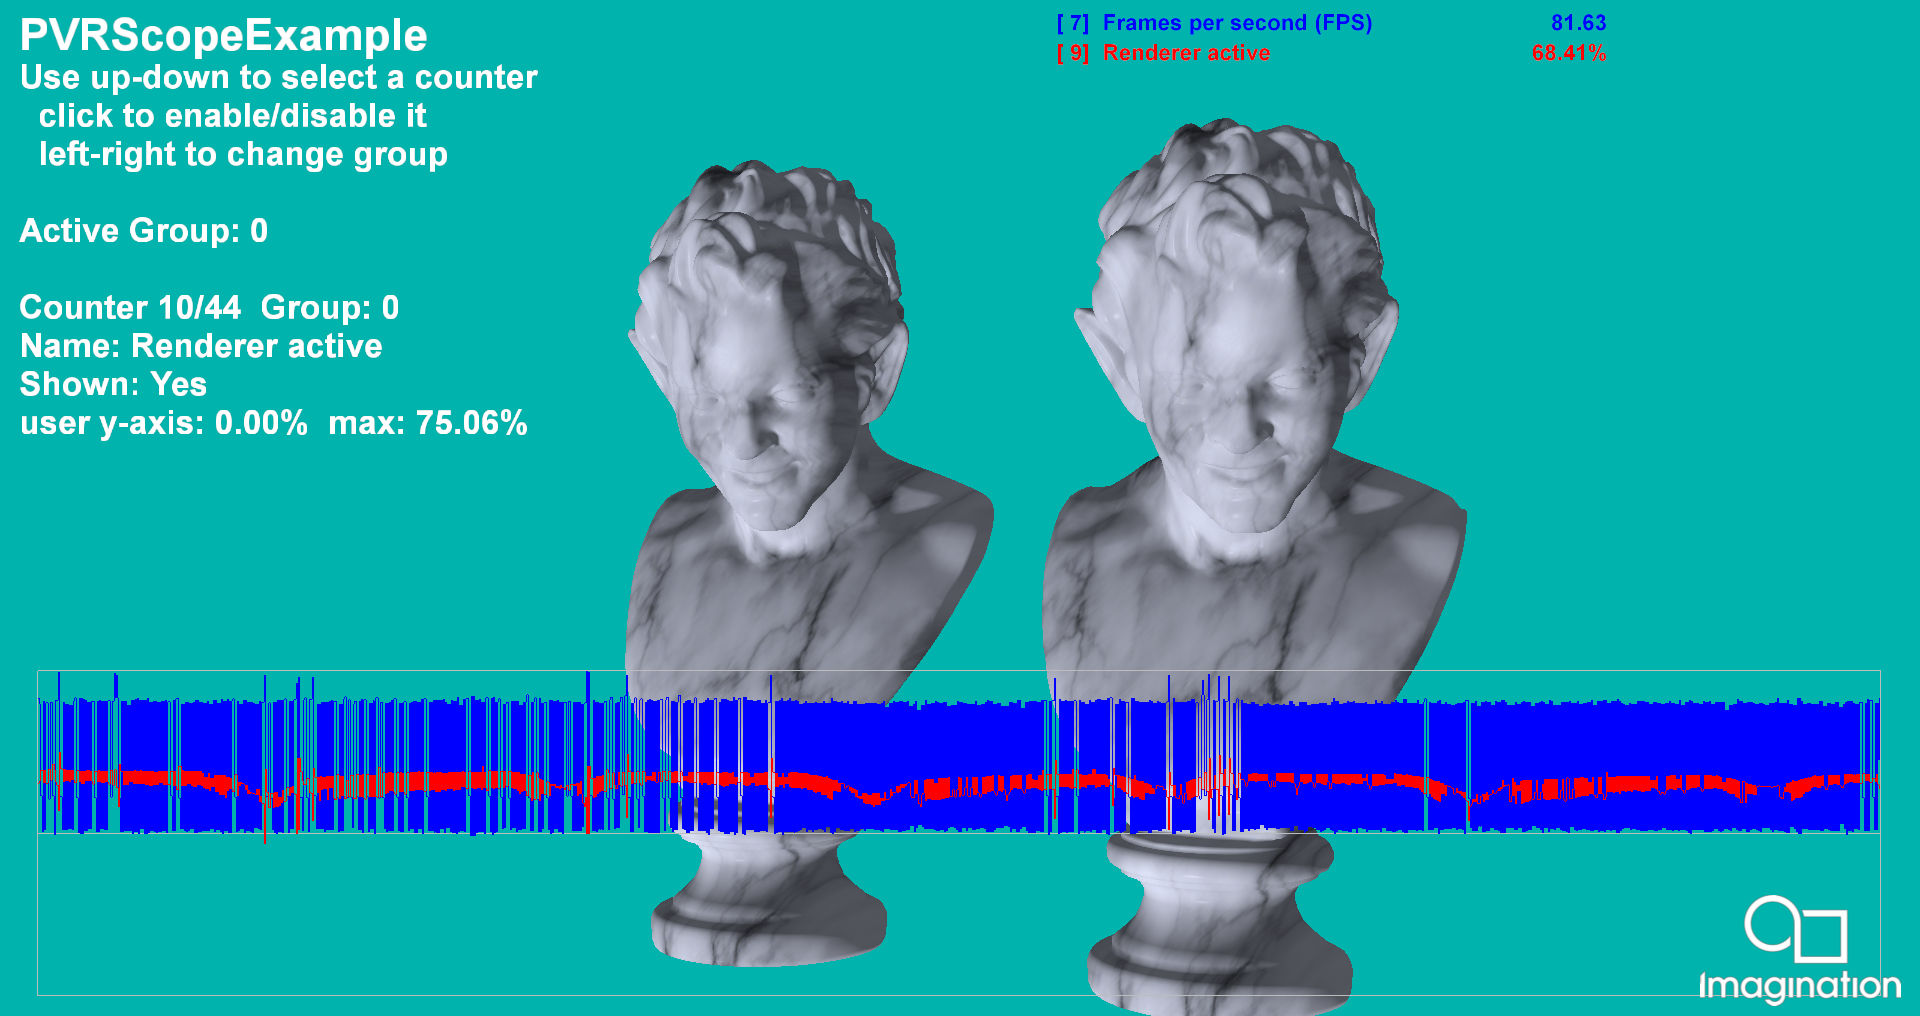
Demonstrates the use of PVRScope and the example graphing code.
API#
Vulkan
Description#
This example uses a simple PBR-style shader and shows the use of PVRScope to allow an application to return performance statistics from the GPU in real time. It uses the example graphing code to render a graph of the selected counters on the screen. For further details, refer to the PVRScope User Manual.
Controls#
Quit- Close demo
Up/Down- Select a counter from the available list of HW counters
Action1- Add/remove selected counter to the graph
PVRScopeRemote#
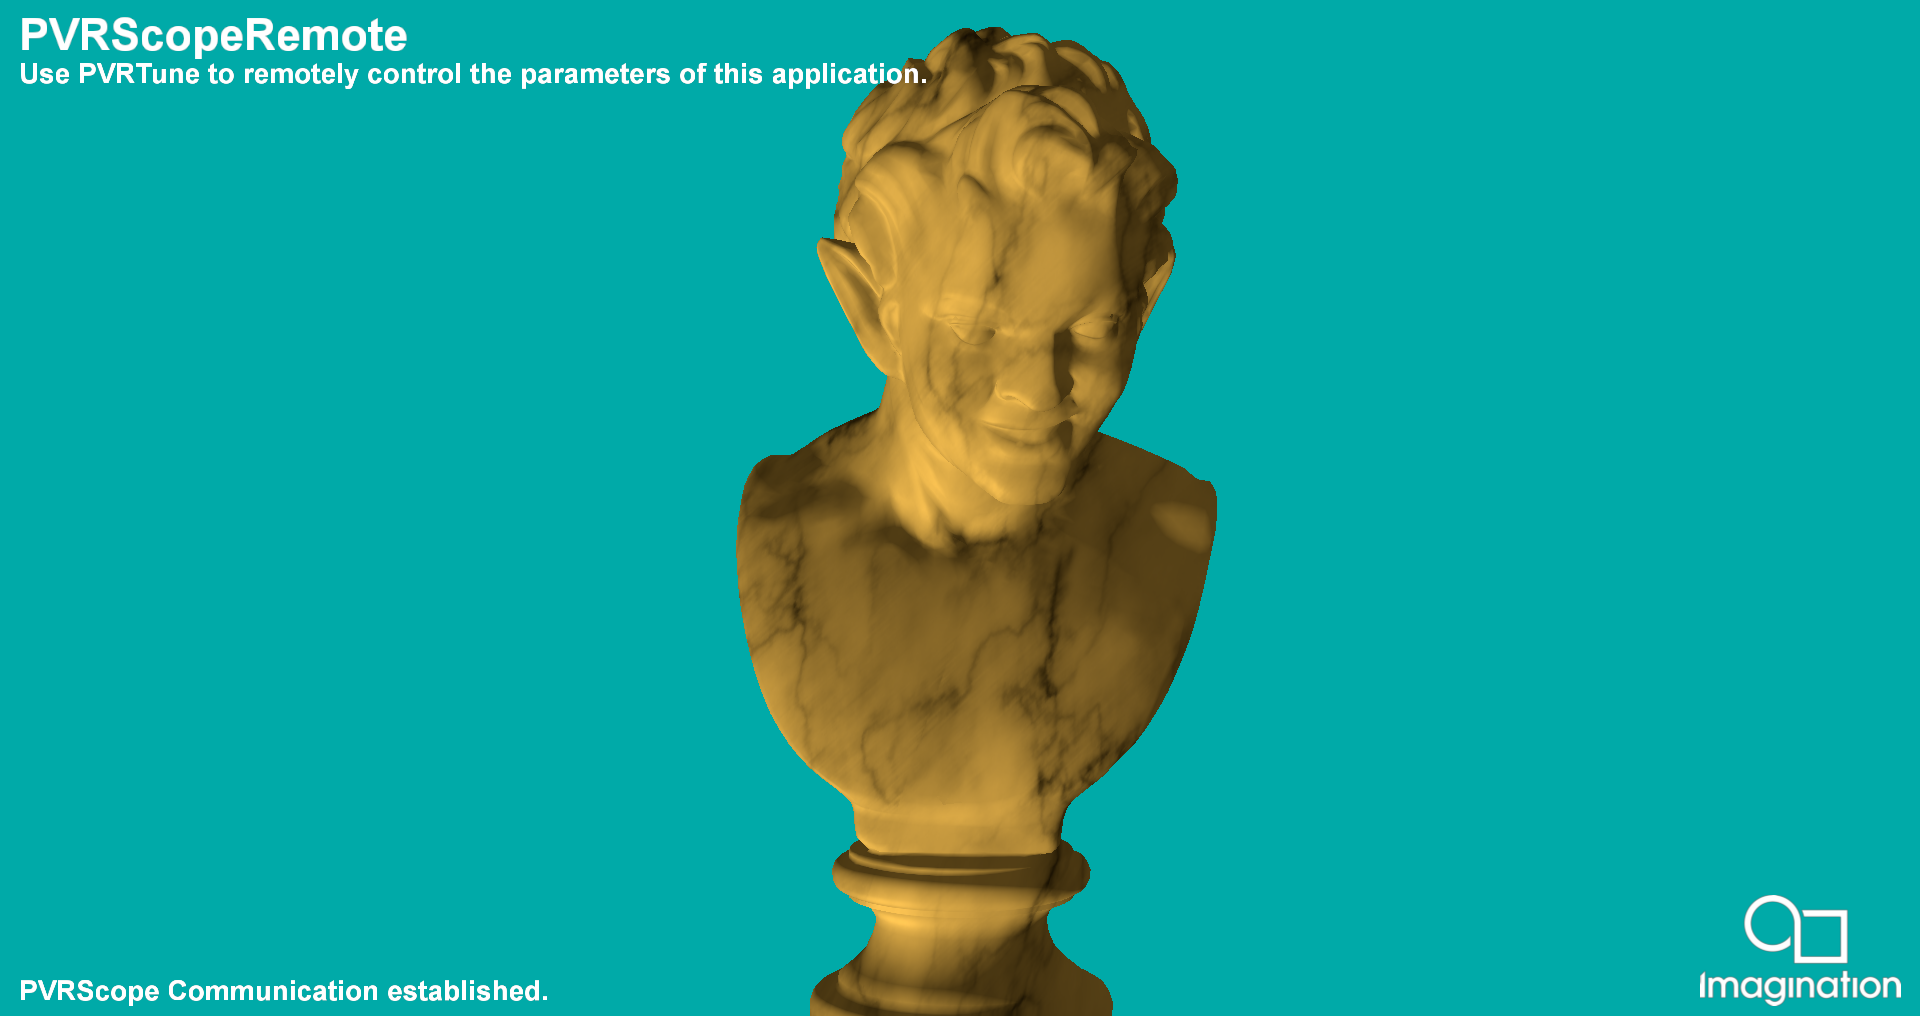
Demonstrates the use of PVRScope’s remote communication features.
API#
Vulkan
Description#
This example shows how to use the editable data and custom mark functionality of PVRScope. PVRTune must be running and connected to an instance of PVRPerfServer running on the target device for this example to function.
A simple physically-based shader is provided with properties of Albedo, Metallicity and Glossiness. These, together with the shaders, can be edited from the PVRTune GUI. This allows immediate modification of the appearance of the statue.
Controls#
Quit- Close demo
PVRTune- Control example variables through PVRTune
RayTracedHardShadows#
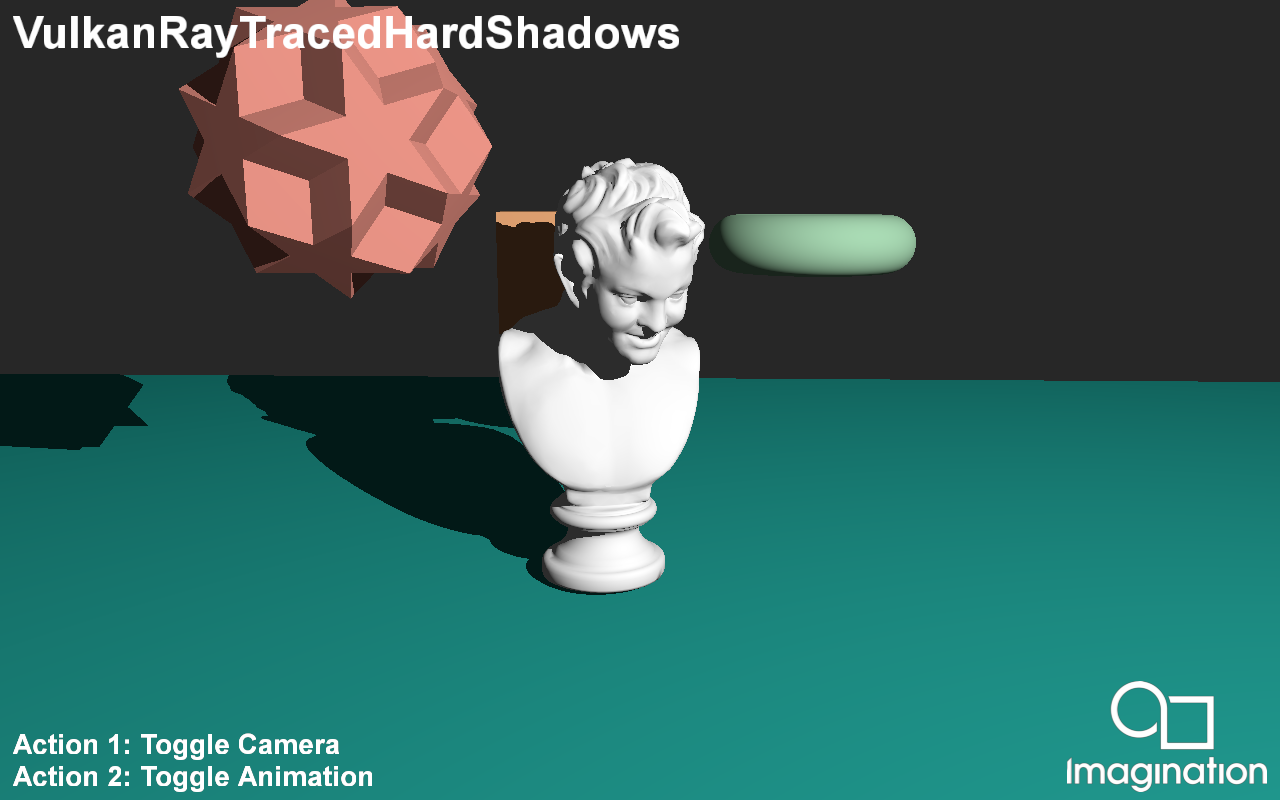
This example demonstrates raytraced hard shadows using the Vulkan Raytracing Pipeline Extension.
API#
Vulkan
Description#
Shadow rendering in traditional rasterization based pipelines is commonly done via Shadow Maps. While this approach produces acceptable result, it has a variety of issues. Using the Raytracing pipeline, a lot of these problems can be resolved to produce pixel perfect shadows.
This demo is fully raytraced which means the only traditional rasterization used is copying the finalised image from the raytracing pipeline to the onscreen framebuffer.
The application starts by producing one ray per pixel, starting at the camera location. These primary rays are then fired into the scene to collide with the scene geometry. If the Primary ray doesn’t collide with any geometry it writes the clear color to the image store. When a primary ray collides with scene geometry, the phong lighting component is calculated in a traditional manner. A secondary ray is then launched, starting at the primary collision point, and directed towards the light, if the shadow ray hits any more geometry then the phong lighting is set to 0, else it remains unaffected. To save on ray budget if the phong lighting is calculated to be 0 at the primary ray collision, then a secondary shadow ray is not launched.
Controls#
Action1 - Toggle Camera Movement
Action2 - Toggle Animation
Quit - Close the application
RayTracingDenoising#
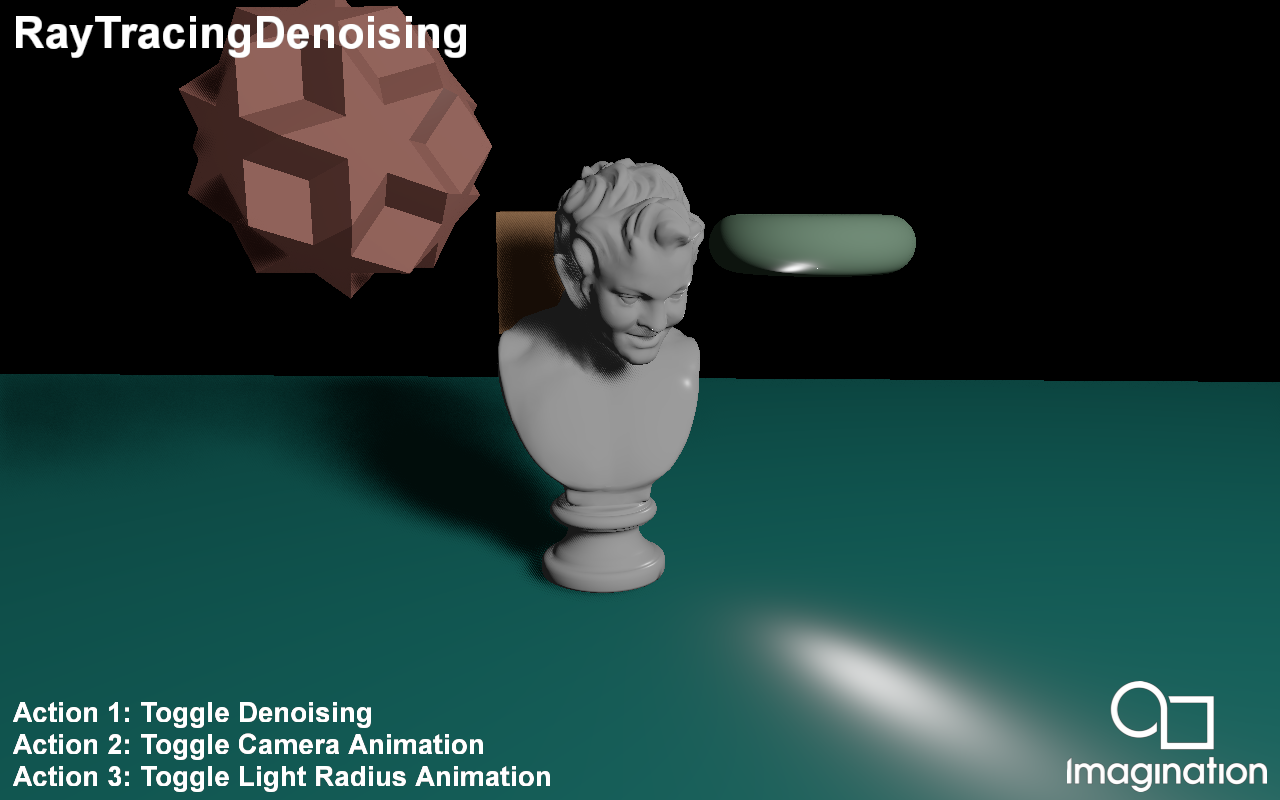
This example demonstrates denoising Ray Traced Soft Shadows using a combination of temporal and spatial techniques.
API#
Vulkan
Description#
Typical Ray Traced soft shadows requires many rays-per-pixel in order to converge to a noise-free result.
However, in Real-Time rendering we cannot afford more than a single ray in order to meet the required level of interactivity.
To combat this, we use denoising techniques to obtain a clean visual output with a low sample count.
In this demo we present a basic denoiser consisting of a temporal and spatial step:
In the Temporal step we accumulate the shadow mask of the previous frame by reprojecting the current pixel into the previous frame. We check if the reprojection is valid using a Plane Distance, Normal and Out of Frame disocclusion check. To prevent ghosting we compute a neighbourhood mean value from the noisy input and clamp the accumulated value to within 1 standard deviation of the current input sample. For this to work effectively we require a large wide neighbourhood, however that requires many texture samples. To minimize this, we downsample the noisy input image and compute the neighbourhood using a 3x3 kernel footprint at the 2md mip level, where a single texel covers 4x4 texels at the base mip level.
Finally in the Spatial denoising step, we perform a wide edge-aware poisson disc blur with 8 samples to clean up any remaining noise. Since we have a wide kernel radius with a low number of samples, we rotate all the samples for each pixel using Interleaved Gradient Noise in order to avoid any banding artefacts.
Controls#
Action1- Toggle Denoising
Action2- Toggle Camera Animation
Action3- Toggle Light Radius
Quit- Close the application
Shadows#
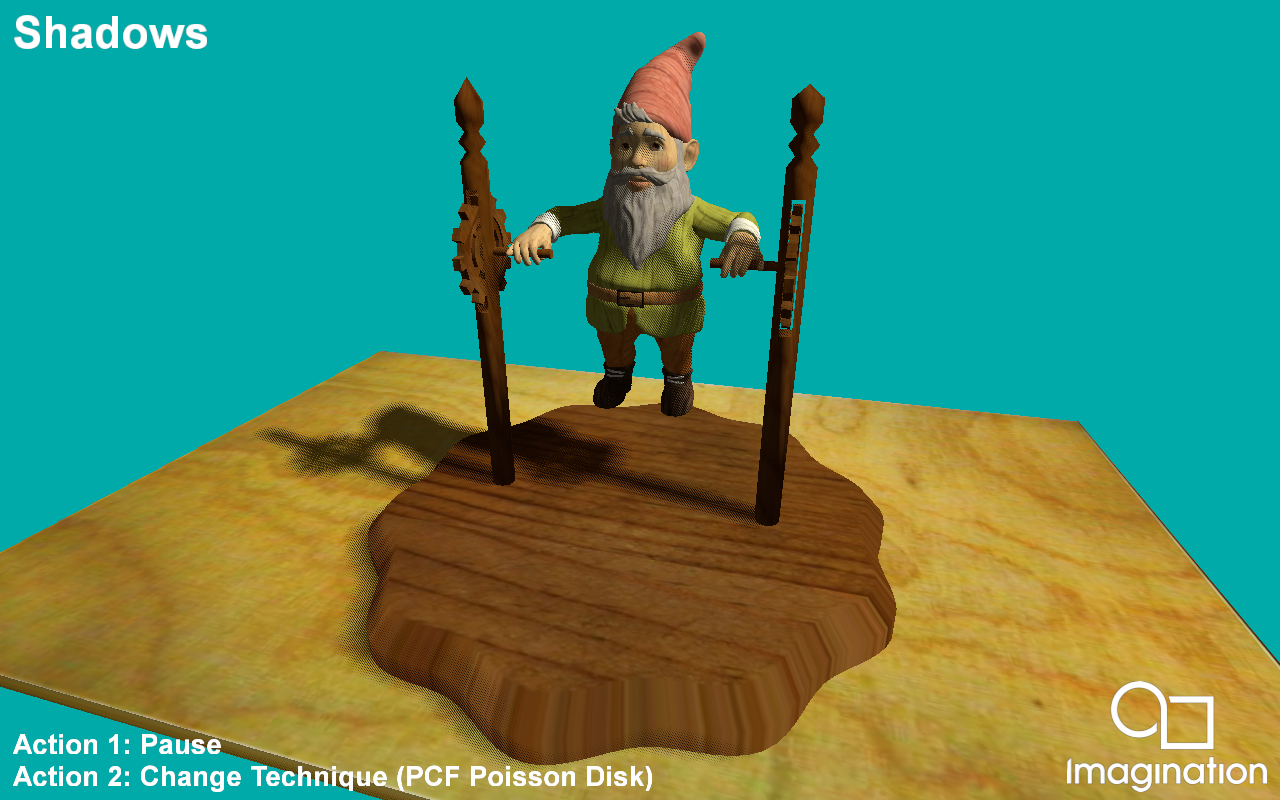
This example demonstrates a variety of techniques for rendering shadows on mobile devices using shadow maps.
API#
Vulkan
Description#
This sample demonstrates various shadow mapping techniques such as Percentage Closer Filtering and Variance Shadow Maps.
For PCF we present a poisson disc sampled approach that gives soft, yet slightly noisy results fit for mobile that only use 8 samples with random rotations using Interleaved Gradient Noise. There is also a technique created by Thekla Inc. for use in their game ‘The Witness’ which uses hardware PCF capabilities to archieve a soft result using minimal samples.
For Variance Shadow Maps we include the basic VSM implementation using depth and depth squared stored in the shadow map. We also include two Exponential Variance Shadow Map implementations that improve upon the VSM technique by reducing light bleed at the cost of using more memory, in the case of EVSM4.
Controls#
Action1- Pause Camera Animation
Action2- Cycle between techniques
Quit- Close the application
Skinning#
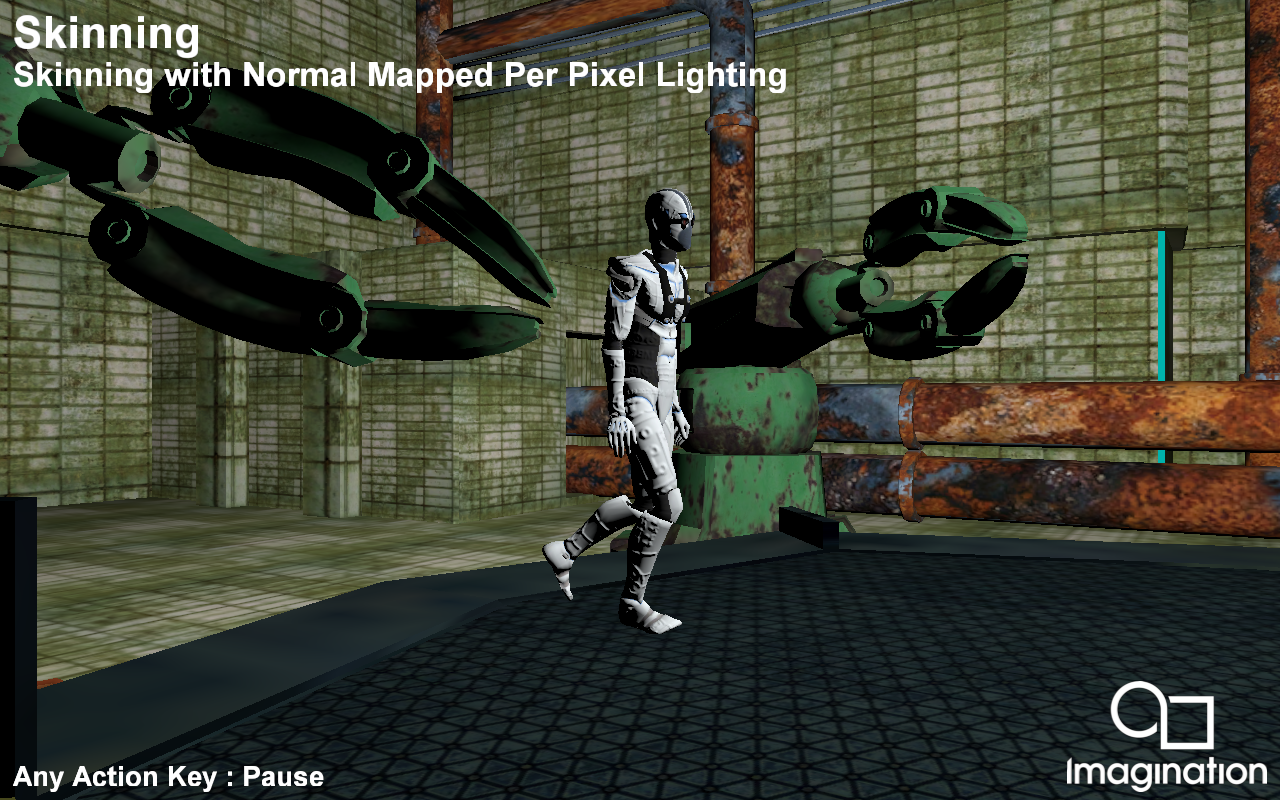
This example shows a scene with a combination of a skinned, bumpmapped character with non-skinned, non-bumpmapped objects.
API#
Vulkan
Description#
Skinning is the act of animating a vertex over time given a set (palette) of matrices, and a known set of blend weights assigned to those matrices.
The Skinning example shows a skinned character in combination with bump mapping. For each frame, the matrix palette is recomputed based on time.
PVRAssets and POD files support skinning with either full transformation matrices, or Quaternion rotation with scaling and translation vectors. The provided POD file contains matrix animation. A shader storage buffer object is used to support a dynamic number of bones.
Controls#
Action1/2/3- Pause
Esc- Close
SPHFluidSimulation#

This example demonstrates how to use the Vulkan extension VK_KHR_synchronization2 ( https://registry.khronos.org/vulkan/specs/1.3-extensions/man/html/VK_KHR_synchronization2.html ) through a compute intensive context where a fluid is simulated using Smoothed-particle Hydrodynamics (SPH).
API#
Vulkan
Description#
The new Vulkan extension VK_KHR_synchronization2 incorporates new APIs (vkCmdPipelineBarrier2KHR, vkCmdResetEvent2KHR, vkCmdSetEvent2KHR, vkCmdWaitEvents2KHR, vkCmdWriteTimestamp2KHR, vkQueueSubmit2KHR), structs (VkBufferMemoryBarrier2KHR, VkCommandBufferSubmitInfoKHR, VkDependencyInfoKHR, VkImageMemoryBarrier2KHR, VkSemaphoreSubmitInfoKHR, VkSubmitInfo2KHR) and enums (VkAccessFlagBits2KHR, VkPipelineStageFlagBits2KHR, VkSubmitFlagBitsKHR) allowing a more fine-grained control for each type of barrier. As an example, if we compare vkCmdPipelineBarrier (https://registry.khronos.org/vulkan/specs/1.3-extensions/man/html/vkCmdPipelineBarrier.html) and vkCmdPipelineBarrier2 (https://registry.khronos.org/vulkan/specs/1.3-extensions/man/html/vkCmdPipelineBarrier2KHR.html) we can see how most of the parameters have been wrapped into a VkDependencyInfo struct, which although it still holds the information about memory, buffer and image barriers, it does no longer have information about pipeline stage (parameters srcStageMask and dstStageMask of type VkPipelineStageFlags), which are now specified in each VkBufferMemoryBarrier2 and VkImageMemoryBarrier2 struct.
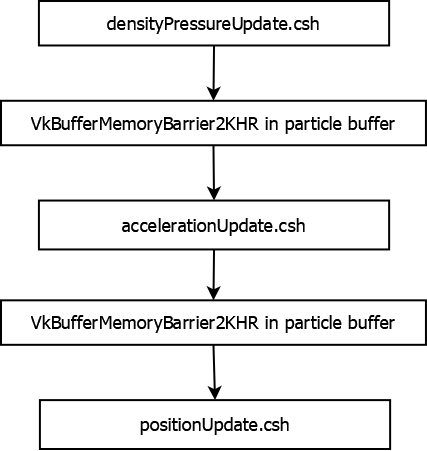
This example implements a small SPH fluid simulation based on the paper “Particle-Based Fluid Simulation for Interactive Applications” (Matthias Müller, David Charypar and Markus Gross), following the kernels explained and specified in the Algorithm 1 from “Accelerating Fluids Simulation Using SPH and Implementation on GPU” (Aditya Hendra) to compute the density, pressure, and pressure and viscosity forces to simulate the particles. In the example code, the buildParticleBuffer method implements the code to build the particle buffer and its initial content, the method buildParticleSimulationSettingsBuffer implements the structured buffer view with all the scene settings needed for the particle simulation to be done, including all the fluid parameters like rest density, stiffness, viscosity or gravity. The method buildSphereDrawingPipeline implements the code to draw the particles with a single instanced draw call, using as vertex input binding ID 0 the particle mesh information, and as vertex input binding ID 1 the position field of the particle buffer built in the buildParticleBuffer method. The particle simulation itself is done in three compute dispatches, with the first one corresponding to the densityPressureUpdate.csh shader where the density and pressure of each particle is computed, then the accelerationUpdate.csh shader where the pressure and viscosity forces acting on each particle determining its acceleration, and lastly the positionUpdate.csh shader, where each particle’s position is updated based on the acceleration computed on the previous stage. See each shader’s source code and comments for a better understanding of the algorithm. The implementation does not have any spatial acceleration, common in this type of simulations, to lower the computational cost of finding those particles within the area of effect of the particle or “core radius”.
The usage of the VK_KHR_synchronization2 extension is done in the recordComputeCommandBuffer method, where a call to vkCmdPipelineBarrier2KHR is done inside the call to pipelineBarrier2, adding a buffer memory barrier for the buffer containing all the particles simulation information. This makes sure all the shader writes from the previous compute dispatch are made visible to the next compute dispatch, needed to correctly perform the particle simulation, in the same command buffer submitted to a compute queue.
Due to the fragility of the simulation and the stability required, the particle simulation delta time is clamped and detached from the FPS.
Controls#
Quit- Close the application
VulkanSubgroups#

Shows how to make use of numerous GLSL subgroup extensions in order to gain more fine grained control over the execution of a compute pipeline.
API#
Vulkan
Description#
Workgroups are segmented into subgroups, and therefore when running a compute shader, the workgroup sizes should be a scalar multiple of the subgroup size supported by the hardware. Vulkan supports numerous subgroup extensions for GLSL. These allow for efficient memory and processor synchronisations across subgroups. This demo shows users some of the features available in the following extensions.
GL_KHR_shader_subgroup_basic
GL_KHR_shader_subgroup_vote
GL_KHR_shader_subgroup_ballot
GL_KHR_shader_subgroup_arithmetic
The user can then select which subgroup functionalities they wish to enable, either through a demo menu, or by passing command line paramaters.
NOTE: Currently on PowerVR Rogue architecture this functionality is supported with a subgroup size of just 1. This feature is fully supported on our next generation of GPU cores, Volcanic.
Controls#
Quit : Close the application
Action 1 : Open or close the compute pipeline selection menu
Compute Pipeline Selection Menu:
Up/Down : Move the cursor up or downLeft : Turn the selected feature offRight : Turn the selected feature on
## Command Line Arguments
The demos initial settings can be controlled by a series of command line arguments.
-texWidth=N Sets the offscreen texture width to N pixels wide.
-texHeight=N Sets the offscreen texture height to N pixels tall.
-scale=N.n If the user has not specified an offscreen texture size explicitly, then the offscreen texture size will be set to a floating point multiple of the onscreen texture size. If not set, the application defaults to 0.5.
-wgWidth=N Sets the workgroup width of the dispatched compute pipeline, if not specified the application attempts to make a best guess.
-wgHeight=N Sets the workgroup height of the dispatched compute pipeline, if not specified the application attempts to make a best guess.
-Subgroup_Basic Enabled the subgroup basic extension by default when the application first launches.
-Subgroup_Vote Enables the subgroup vote extension by default when the application first launches.
-Subgroup_Ballot Enables the subgroup ballot extension by default when the application first launches.
-Subgroup_Arithmetic Enables the subgroup arithmetic extension by default when the application first launches.
Timeline Semaphores#
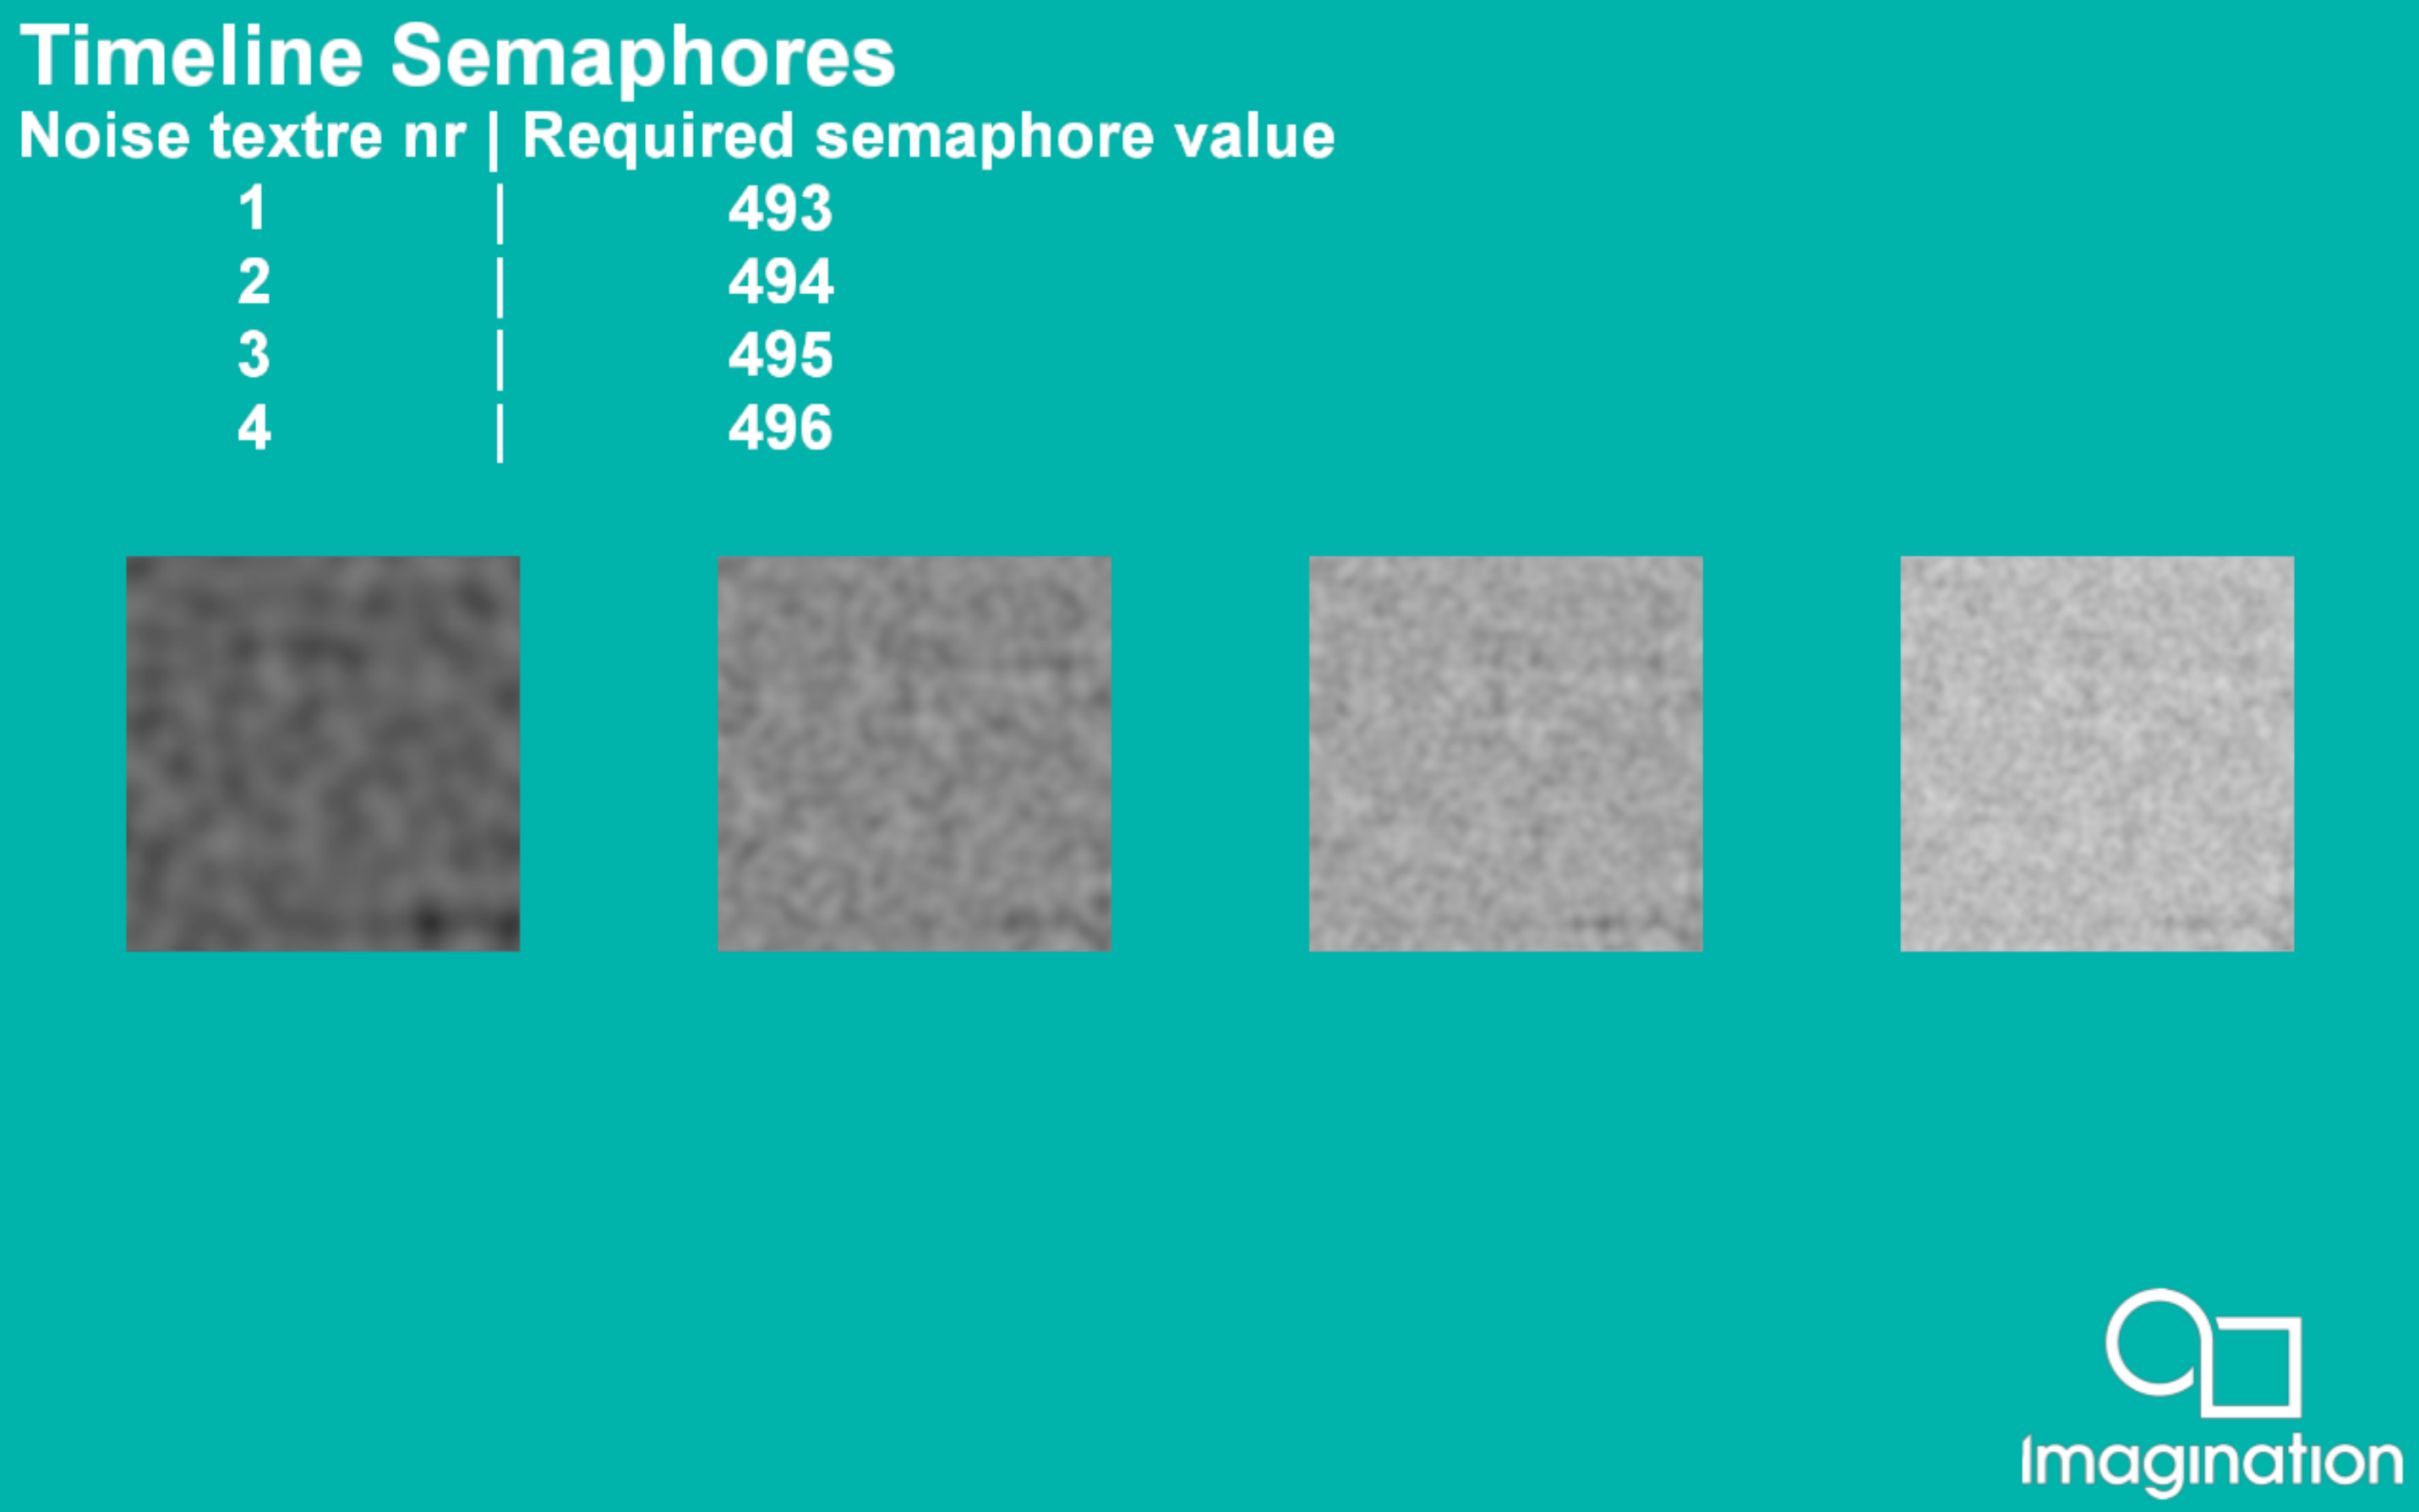
This example demonstrates how to use timeline semaphores in the PVR framework.
API#
Vulkan
Description#
A timeline semaphore is a synchronization primitive introduced in Vulkan 1.2. It uses an integer value instead of a binary one, like a traditional semaphore.
In this app, timeline semaphores are used to synchronize between dispatches of compute shader. The app creates layered noise texture and displays it on screen.
Controls#
Quit- Close the application